Gateway M255 Gateway Notebook Hardware Reference - Page 28
Open the LCD panel.
 |
View all Gateway M255 manuals
Add to My Manuals
Save this manual to your list of manuals |
Page 28 highlights
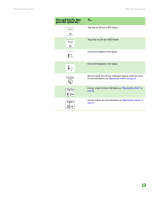
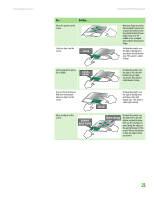
CHAPTER 2: Checking Out Your Gateway Notebook www.gateway.com 6 Remove the optional security screw if your notebook has one. Security screw (optional) 7 Slide the bay module release latch. The module moves out slightly. 8 Slide the bay module out. 9 Firmly push the new bay module straight into the bay until the latches click into place. 10 Reinstall the optional security screw if your notebook has one. 11 Turn your notebook over. 12 Reconnect the optional port replicator. 13 Open the LCD panel. 14 If your notebook is on, click OK to continue working on your notebook. - OR If your notebook is off, turn it on. 24
-
 1
1 -
2
-
3
-
4
-
5
-
6
-
7
-
8
-
9
-
10
-
11
-
12
-
13
-
14
-
15
-
16
-
17
-
18
-
19
-
20
-
21
-
22
-
 23
23 -
 24
24 -
 25
25 -
 26
26 -
 27
27 -
 28
28 -
 29
29 -
 30
30 -
 31
31 -
 32
32 -
 33
33 -
34
-
35
-
36
-
37
-
38
-
39
-
40
-
41
-
42
-
43
-
44
-
45
-
46
-
47
-
48
-
49
-
50
-
51
-
52
-
53
-
54
-
55
-
56
-
57
-
58
-
59
-
60
-
61
-
62
-
63
-
64
-
65
-
66
-
67
-
68
-
69
-
70
-
71
-
72
 |
 |
CHAPTER 2: Checking Out Your Gateway Notebook
www.gateway.com
24
6
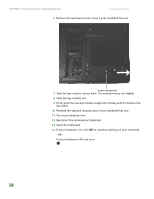
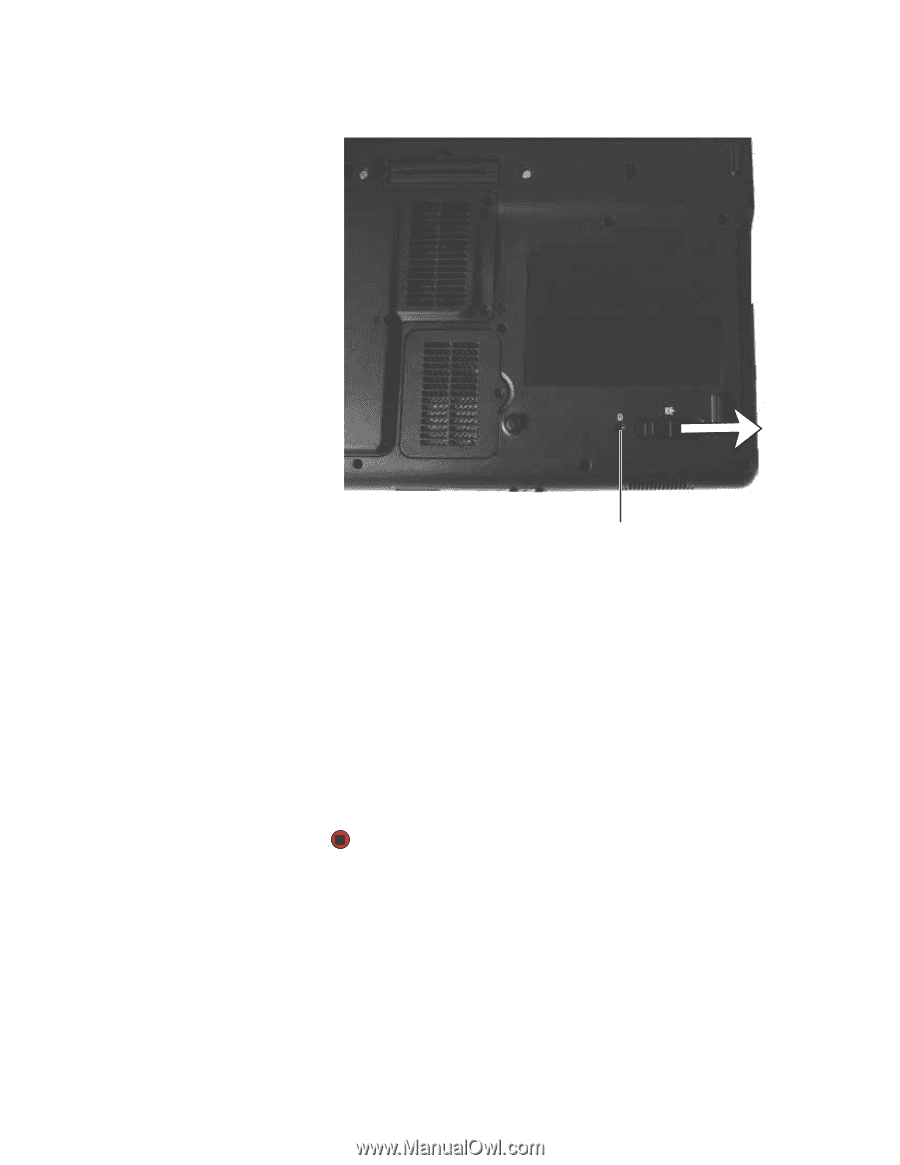
Remove the optional security screw if your notebook has one.
7
Slide the bay module release latch. The module moves out slightly.
8
Slide the bay module out.
9
Firmly push the new bay module straight into the bay until the latches click
into place.
10
Reinstall the optional security screw if your notebook has one.
11
Turn your notebook over.
12
Reconnect the optional port replicator.
13
Open the LCD panel.
14
If your notebook is on, click
OK
to continue working on your notebook.
- OR -
If your notebook is off, turn it on.
Security screw (optional)