GE E1250TW User Manual (English) - Page 38
Picture size setup
 |
UPC - 810027012500
View all GE E1250TW manuals
Add to My Manuals
Save this manual to your list of manuals |
Page 38 highlights
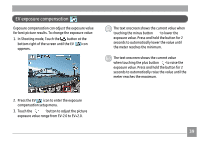
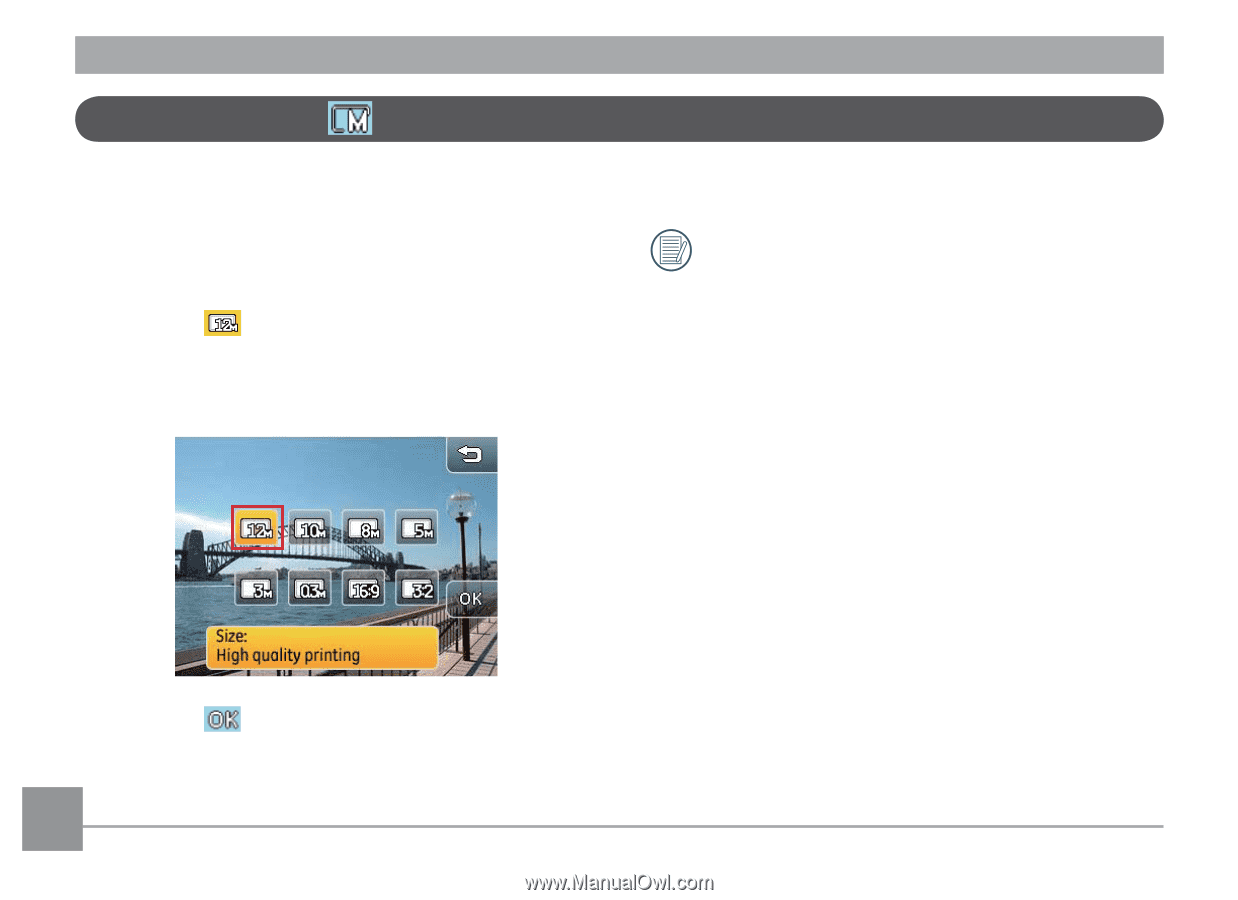
Picture size setup The size setting refers to the image resolution in pixels. A higher image resolution allows you to print that image in larger sizes without degrading the image. To change picture size: 1. Touch the button at the lower left corner of the screen to enter the Setup menu. 2. Select the picture size. 4. Number of remaining shots will be shown on screen. The larger the number of recorded pixels the better the image quality. The smaller the number of recorded pixels the more pictures you can store on a memory card. 3. Touch the button to confirm. 34
-
 1
1 -
2
-
3
-
4
-
5
-
6
-
7
-
8
-
9
-
10
-
11
-
12
-
13
-
14
-
15
-
16
-
17
-
18
-
19
-
20
-
21
-
22
-
23
-
24
-
25
-
26
-
27
-
28
-
29
-
30
-
31
-
32
-
 33
33 -
 34
34 -
 35
35 -
 36
36 -
 37
37 -
 38
38 -
 39
39 -
 40
40 -
 41
41 -
 42
42 -
 43
43 -
44
-
45
-
46
-
47
-
48
-
49
-
50
-
51
-
52
-
53
-
54
-
55
-
56
-
57
-
58
-
59
-
60
-
61
-
62
-
63
-
64
-
65
-
66
-
67
-
68
-
69
-
70
-
71
-
72
-
73
-
74
-
75
-
76
-
77
-
78
-
79
-
80
-
81
-
82
-
83
-
84
-
85
-
86
-
87
-
88
-
89
-
90
-
91
-
92
-
93
-
94
-
95
-
96
-
97
-
98
 |
 |
´µ
Picture size setup
The size setting refers to the image resolution
in pixels.
A higher image resolution allows you to print that im-
age in larger sizes without degrading the image.
To change picture size:
1. Touch the
button at the lower left corner of the
screen to enter the Setup menu.
2. Select the picture size.
3. Touch the
button to confirm.
4. Number of remaining shots will be shown on screen.
The larger the number of recorded pixels the
better the image quality. The smaller the number
of recorded pixels the more pictures you can store
on a memory card.