GE E1250TW User Manual (English) - Page 52
and Exposure Compensation. - reviews
 |
UPC - 810027012500
View all GE E1250TW manuals
Add to My Manuals
Save this manual to your list of manuals |
Page 52 highlights
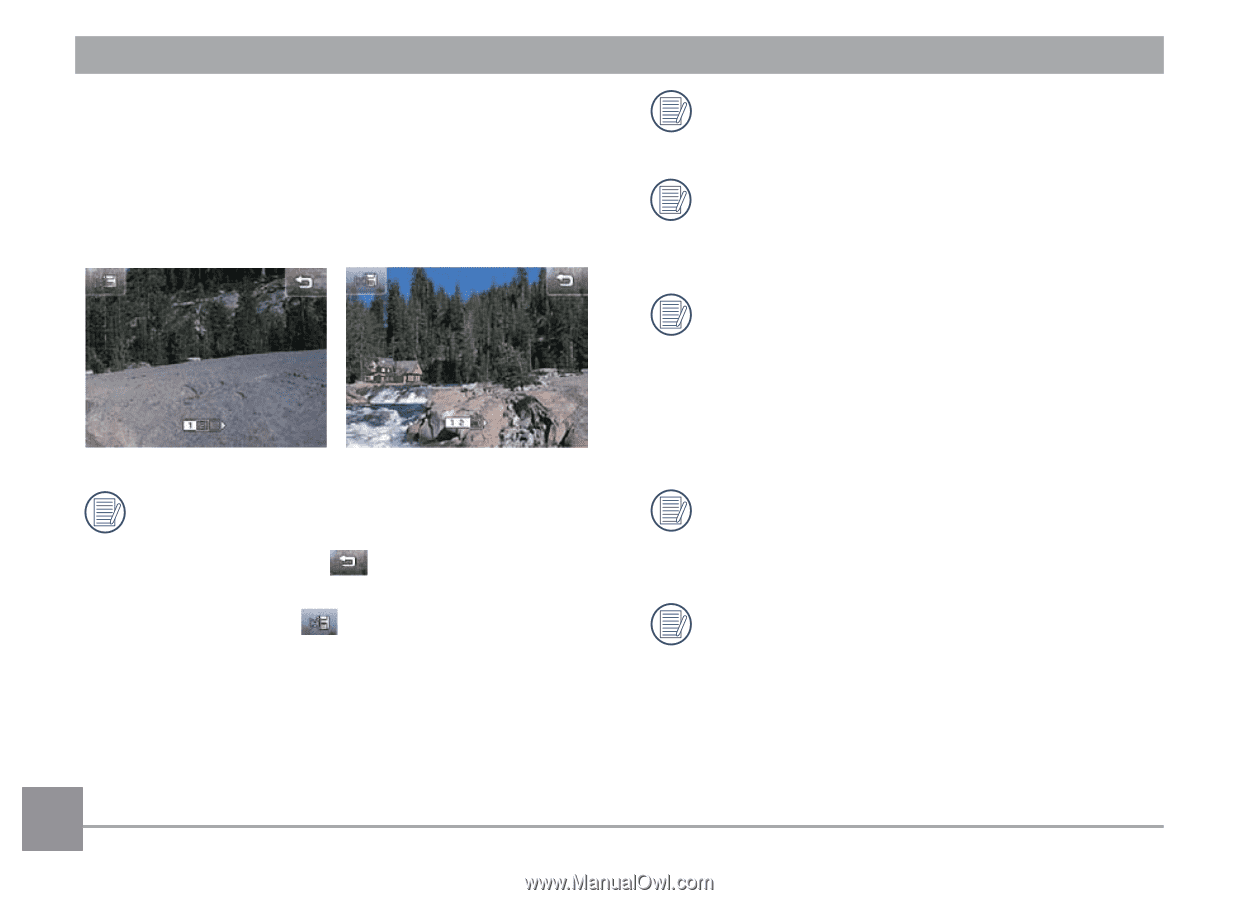
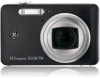
When Using Manual Stitching: After the first shot is taken, the semi-transparent image of the first shot will appear at the edge of the screen. You can use this image to compose your picture before you press the shutter button to finish manual stitching. Image stitching will remain activated throughout the shooting process until the camera runs out of battery. Touch the button to have the camera return to the standby screen without saving. Touch the button to save the file and return to the standby screen. 6. The camera will then stitch the pictures into a panorama automatically. 7. Press the playback button to enter Playback mode and review the panorama result. 48 For best results, the use of a tripod is recommended. When you have taken the first image, be sure to avoid moving the camera too fast as it may lead to stitch failure. If the camera is moved to the wrong direction or the angle of movement has deviated, you will see a warning message on screen. The camera will save the captured image 2 seconds later and stop the shooting mode by returning to the Auto Stitching menu. After taking the first picture, the following modes will not be accessible: Flash, Self-timer, Macro and Exposure Compensation. When the panorama mode is active, no picture can be deleted during the three shot sequence, and no focus adjustment is allowed.
-
 1
1 -
2
-
3
-
4
-
5
-
6
-
7
-
8
-
9
-
10
-
11
-
12
-
13
-
14
-
15
-
16
-
17
-
18
-
19
-
20
-
21
-
22
-
23
-
24
-
25
-
26
-
27
-
28
-
29
-
30
-
31
-
32
-
33
-
34
-
35
-
36
-
37
-
38
-
39
-
40
-
41
-
42
-
43
-
44
-
45
-
46
-
 47
47 -
 48
48 -
 49
49 -
 50
50 -
 51
51 -
 52
52 -
 53
53 -
 54
54 -
 55
55 -
 56
56 -
 57
57 -
58
-
59
-
60
-
61
-
62
-
63
-
64
-
65
-
66
-
67
-
68
-
69
-
70
-
71
-
72
-
73
-
74
-
75
-
76
-
77
-
78
-
79
-
80
-
81
-
82
-
83
-
84
-
85
-
86
-
87
-
88
-
89
-
90
-
91
-
92
-
93
-
94
-
95
-
96
-
97
-
98
 |
 |