HP Photosmart 3200 User Guide - Page 14
Scan To menu, HP Instant Share Menu, Scan - installation software
 |
View all HP Photosmart 3200 manuals
Add to My Manuals
Save this manual to your list of manuals |
Page 14 highlights
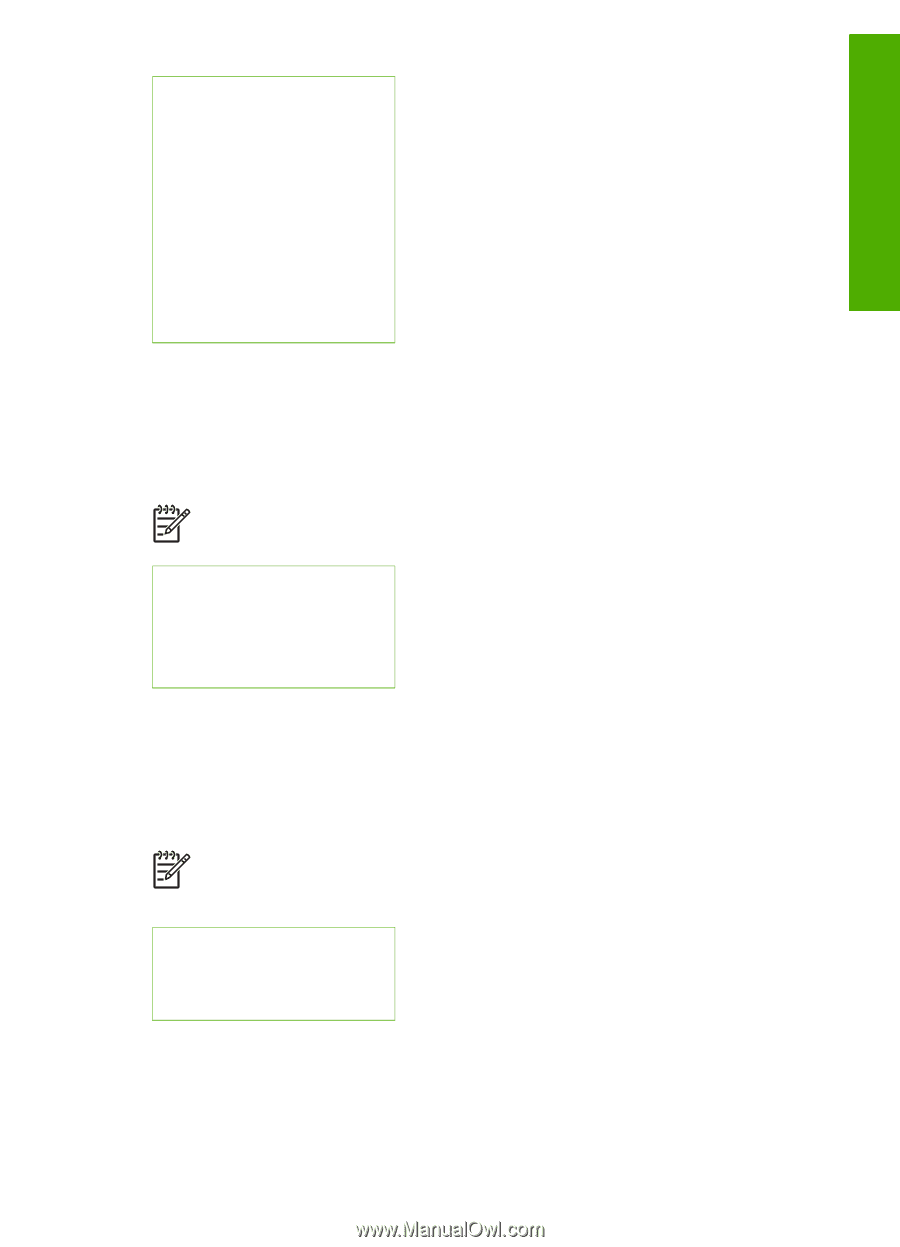
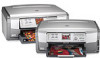
Overview (continued) 3.Reduce/Enlarge 4.Crop 5.Tray Select 6.Paper Size 7.Paper Type 8.Copy Quality 9.Lighter/Darker 0.Enhancements .Set New Defaults Scan To menu The following Scan To menu options are available when you press the Scan button on the control panel. This menu only appears when you press the Scan button if your HP All-in-One is connected to your computer with a USB cable. The options available on this menu vary depending on the software applications installed on your computer. Note If your HP All-in-One is connected to a network, the Scan Menu appears when you press the Scan button. For more information, see Scan Menu. 1.HP Image Zone 2.Microsoft PowerPoint 3.HP Instant Share 4.Memory Device Scan Menu The following Scan Menu options are available when you press the Scan button on the control panel. This menu only appears when you press the Scan button if your HP All-in-One is connected to a network. The Scan Menu enables you to select a connected computer before displaying other scan options. Note If your HP All-in-One is connected to a computer with a USB cable, the Scan To menu appears when you press the Scan button. For more information, see Scan To menu. 1.Select Computer 2.HP Instant Share 3.Memory Device HP Instant Share Menu This menu applies only if the HP All-in-One is connected to a network. If your HP Allin-One connects to your computer with a USB cable, you can access HP Instant Share through your computer. User Guide 11
-
 1
1 -
2
-
3
-
4
-
5
-
6
-
7
-
8
-
 9
9 -
 10
10 -
 11
11 -
 12
12 -
 13
13 -
 14
14 -
 15
15 -
 16
16 -
 17
17 -
 18
18 -
 19
19 -
20
-
21
-
22
-
23
-
24
-
25
-
26
-
27
-
28
-
29
-
30
-
31
-
32
-
33
-
34
-
35
-
36
-
37
-
38
-
39
-
40
-
41
-
42
-
43
-
44
-
45
-
46
-
47
-
48
-
49
-
50
-
51
-
52
-
53
-
54
-
55
-
56
-
57
-
58
-
59
-
60
-
61
-
62
-
63
-
64
-
65
-
66
-
67
-
68
-
69
-
70
-
71
-
72
-
73
-
74
-
75
-
76
-
77
-
78
-
79
-
80
-
81
-
82
-
83
-
84
-
85
-
86
-
87
-
88
-
89
-
90
-
91
-
92
-
93
-
94
-
95
-
96
-
97
-
98
-
99
-
100
-
101
-
102
-
103
-
104
-
105
-
106
-
107
-
108
-
109
-
110
-
111
-
112
-
113
-
114
-
115
-
116
-
117
-
118
-
119
-
120
-
121
-
122
-
123
-
124
-
125
-
126
-
127
-
128
-
129
-
130
-
131
-
132
-
133
-
134
-
135
-
136
-
137
-
138
-
139
-
140
-
141
-
142
-
143
-
144
 |
 |