Lexmark 2350 User's Guide - Page 40
Previewing items before scanning, Finishing the scan
 |
UPC - 734646051002
View all Lexmark 2350 manuals
Add to My Manuals
Save this manual to your list of manuals |
Page 40 highlights
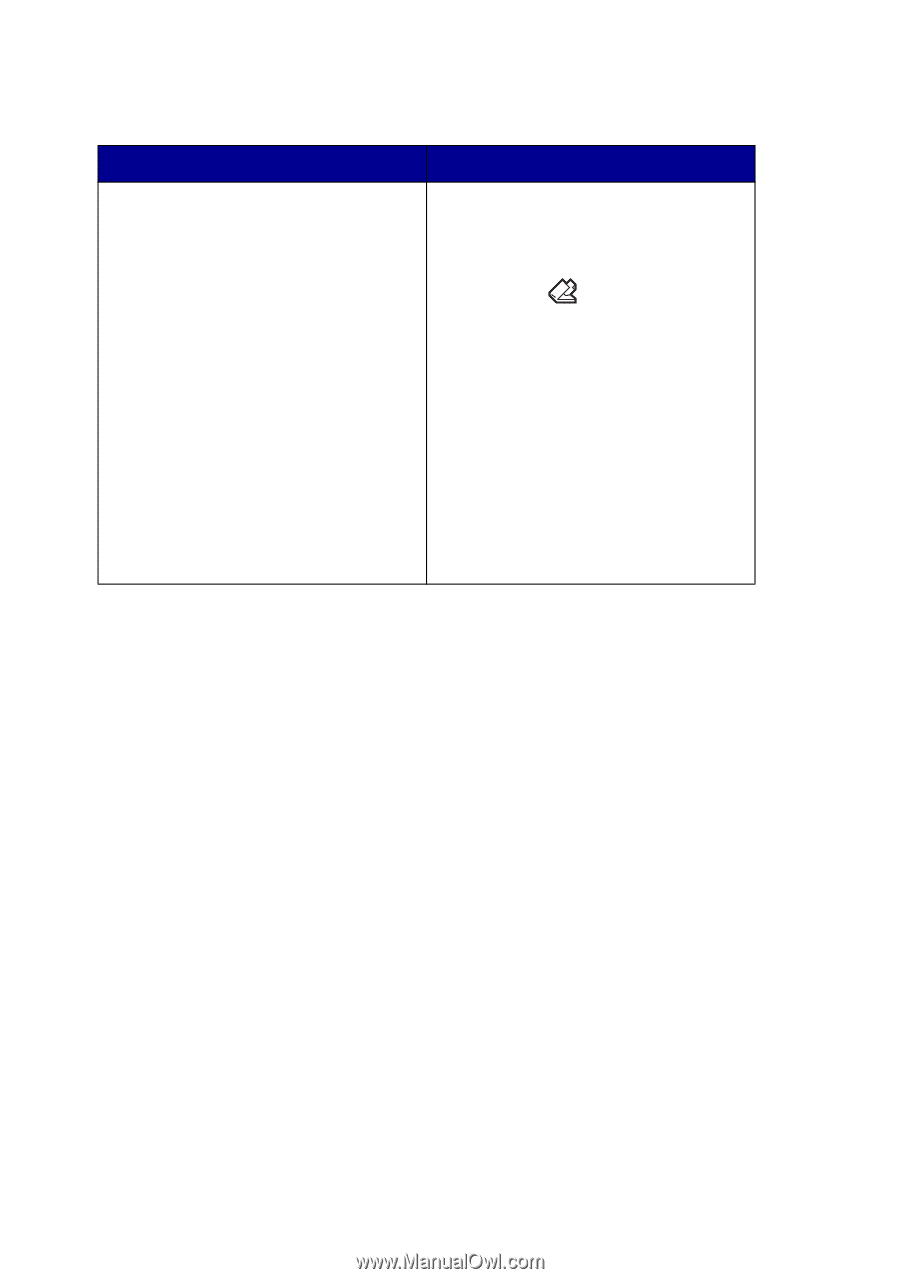
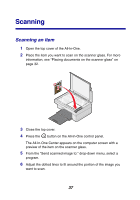
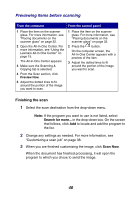
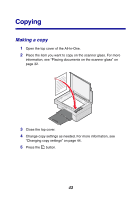
Previewing items before scanning From the computer 1 Place the item on the scanner glass. For more information, see "Placing documents on the scanner glass" on page 32. 2 Open the All-In-One Center. For more information, see "Using the Lexmark All-In-One Center" on page 15. The All-In-One Center appears. 3 Make sure the Scanning & Copying tab is selected. 4 From the Scan section, click Preview Now. 5 Adjust the dotted lines to fit around the portion of the image you want to scan. From the control panel 1 Place the item on the scanner glass. For more information, see "Placing documents on the scanner glass" on page 32. 2 Press the button. On the computer screen, the All-In-One Center appears with a preview of the item. 3 Adjust the dotted lines to fit around the portion of the image you want to scan. Finishing the scan 1 Select the scan destination from the drop-down menu. Note: If the program you want to use is not listed, select Search for more... in the drop-down box. On the screen that follows, click Add to locate and add the program to the list. 2 Change any settings as needed. For more information, see "Customizing a scan job" on page 38. 3 When you are finished customizing the image, click Scan Now. When the document has finished processing, it will open the program to which you chose to send the image. 40
-
 1
1 -
2
-
3
-
4
-
5
-
6
-
7
-
8
-
9
-
10
-
11
-
12
-
13
-
14
-
15
-
16
-
17
-
18
-
19
-
20
-
21
-
22
-
23
-
24
-
25
-
26
-
27
-
28
-
29
-
30
-
31
-
32
-
33
-
34
-
 35
35 -
 36
36 -
 37
37 -
 38
38 -
 39
39 -
 40
40 -
 41
41 -
 42
42 -
 43
43 -
 44
44 -
 45
45 -
46
-
47
-
48
-
49
-
50
-
51
-
52
-
53
-
54
-
55
-
56
-
57
-
58
-
59
-
60
-
61
-
62
-
63
-
64
-
65
-
66
-
67
-
68
-
69
-
70
-
71
-
72
-
73
-
74
-
75
-
76
-
77
 |
 |