Lexmark 2350 User's Guide - Page 46
Copying 4x6 photos, Preview Now, Photo, See More Copy Settings, Copy Now
 |
UPC - 734646051002
View all Lexmark 2350 manuals
Add to My Manuals
Save this manual to your list of manuals |
Page 46 highlights
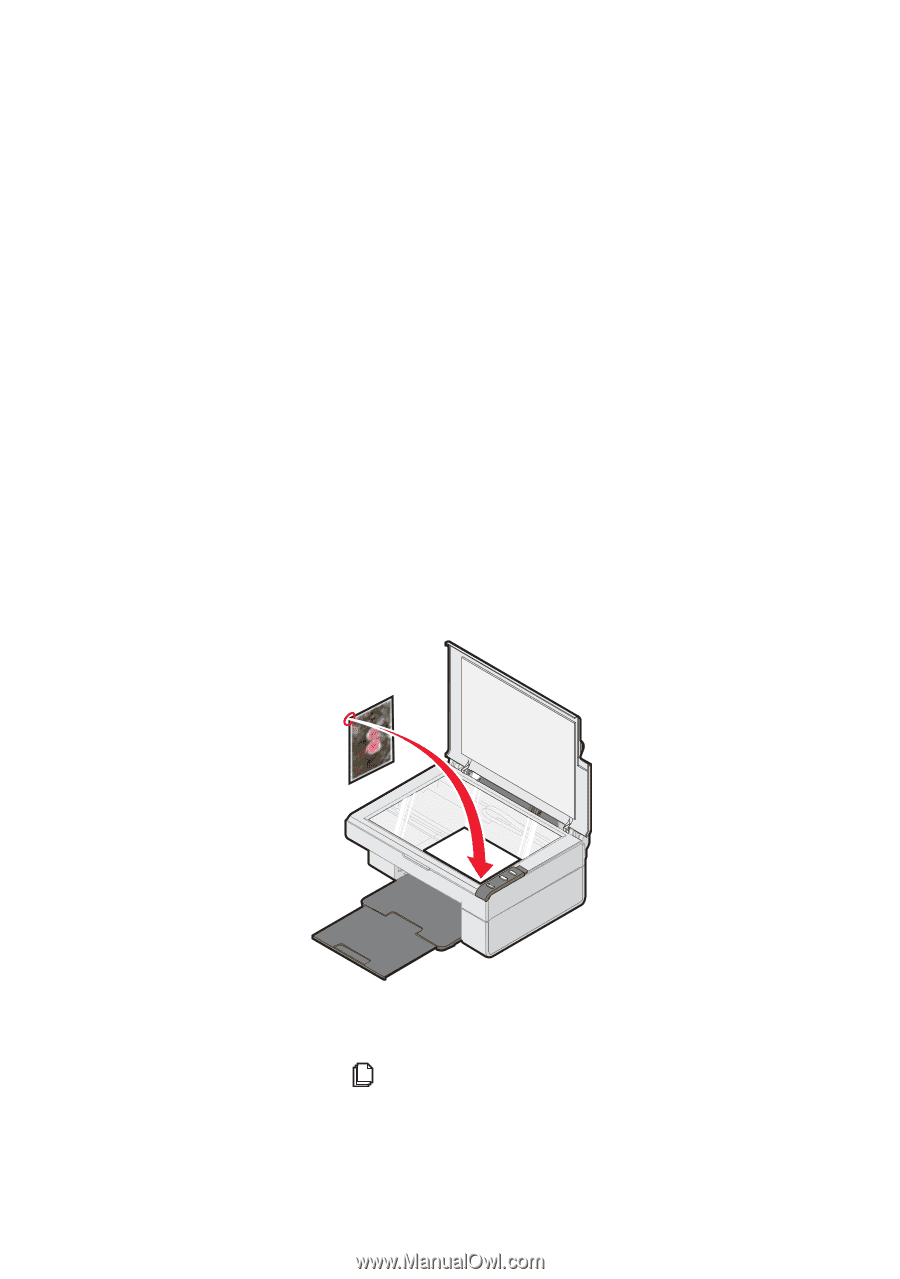
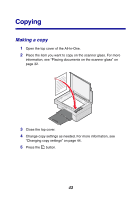
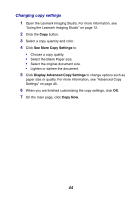
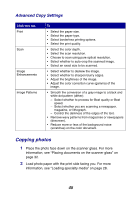
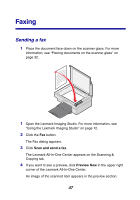
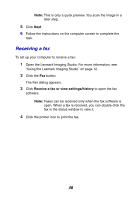
3 Open the Lexmark All-In-One Center. For more information, see "Using the Lexmark All-In-One Center" on page 15. 4 From the Scanning & Copying tab, click Preview Now. 5 Adjust the dotted lines to fit around the part of the image you want to print. 6 From the Copy area, select Photo. 7 Select a copy quantity and color. 8 To further customize the photo, click See More Copy Settings. 9 When you are finished customizing the settings, click Copy Now. Copying 4x6 photos 1 Place the 4x6 photo face down on the scanner glass. For more information, see "Placing documents on the scanner glass" on page 32. 2 Load photo paper with the print side facing you. For more information, see "Loading specialty media" on page 28. 3 Press and hold the button for three seconds. The All-In-One prints a 4x6 copy of your photo. 46
-
 1
1 -
2
-
3
-
4
-
5
-
6
-
7
-
8
-
9
-
10
-
11
-
12
-
13
-
14
-
15
-
16
-
17
-
18
-
19
-
20
-
21
-
22
-
23
-
24
-
25
-
26
-
27
-
28
-
29
-
30
-
31
-
32
-
33
-
34
-
35
-
36
-
37
-
38
-
39
-
40
-
 41
41 -
 42
42 -
 43
43 -
 44
44 -
 45
45 -
 46
46 -
 47
47 -
 48
48 -
 49
49 -
 50
50 -
 51
51 -
52
-
53
-
54
-
55
-
56
-
57
-
58
-
59
-
60
-
61
-
62
-
63
-
64
-
65
-
66
-
67
-
68
-
69
-
70
-
71
-
72
-
73
-
74
-
75
-
76
-
77
 |
 |