Lexmark P450 User's Guide - Page 21
Selecting and editing photos, Adjusting the print area
 |
View all Lexmark P450 manuals
Add to My Manuals
Save this manual to your list of manuals |
Page 21 highlights
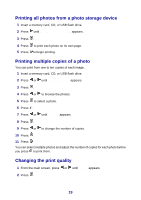
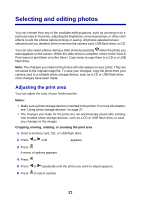
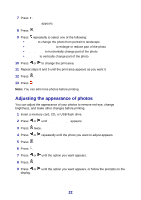
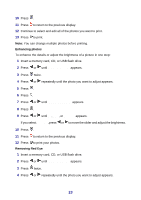
Selecting and editing photos You can choose from any of the available editing options, such as zooming in on a particular area in the photo, adjusting the brightness, removing red eye, or other color effects to edit the photos before printing or saving. All photos selected remain selected until you deselect them or remove the camera card, USB flash drive, or CD. You can also select photos during a slide show by pressing when the photo you want appears on the screen. When the slide show is complete, return to the View & Print menu to print them or to the Save / Copy menu to copy them to a CD or a USB flash drive. Note: The changes you make to the photos will only appear on your prints. They are not saved to the original image file. To save your changes, copy the photo from your camera card to a writable photo storage device, such as a CD or USB flash drive, once changes have been made. Adjusting the print area You can adjust the area of your finished prints. Notes: • Make sure a photo storage device is inserted in the printer. For more information, see "Using photo storage devices" on page 27. • The changes you make for the prints are not automatically saved after printing. Use writable photo storage devices, such as a CD or USB flash drive, to save any changes to the images. Cropping, moving, rotating, or zooming the print area 1 Insert a memory card, CD, or USB flash drive. 2 Press or until View & Print appears. 3 Press . A menu of options appears. 4 Press . 5 Press or repeatedly until the photo you want to adjust appears. 6 Press to select a photo. 21
-
 1
1 -
2
-
3
-
4
-
5
-
6
-
7
-
8
-
9
-
10
-
11
-
12
-
13
-
14
-
15
-
 16
16 -
 17
17 -
 18
18 -
 19
19 -
 20
20 -
 21
21 -
 22
22 -
 23
23 -
 24
24 -
 25
25 -
 26
26 -
27
-
28
-
29
-
30
-
31
-
32
-
33
-
34
-
35
-
36
-
37
-
38
-
39
-
40
-
41
-
42
-
43
-
44
-
45
-
46
-
47
-
48
-
49
-
50
-
51
-
52
-
53
-
54
-
55
-
56
 |
 |