Lexmark P450 User's Guide - Page 22
Adjusting the appearance of photos, Crop & Zoom, Rotate, Zoom-In/Zoom-Out, Left/Right, Up/Down
 |
View all Lexmark P450 manuals
Add to My Manuals
Save this manual to your list of manuals |
Page 22 highlights
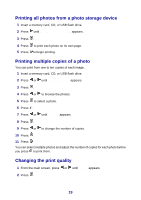
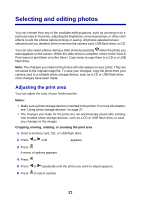
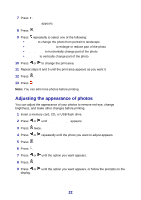
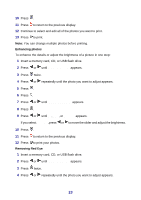
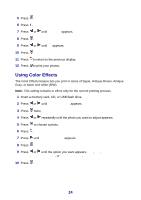
7 Press . Crop & Zoom appears. 8 Press . 9 Press repeatedly to select one of the following: • Rotate to change the photo from portrait to landscape • Zoom-In/Zoom-Out to enlarge or reduce part of the photo • Left/Right to horizontally change part of the photo • Up/Down to vertically change part of the photo 10 Press or to change the print area. 11 Repeat steps 8 and 9 until the print area appears as you want it. 12 Press . 13 Press . Note: You can edit more photos before printing. Adjusting the appearance of photos You can adjust the appearance of your photos to remove red-eye, change brightness, and make other changes before printing. 1 Insert a memory card, CD, or USB flash drive. 2 Press or until View & Print appears. 3 Press twice. 4 Press or repeatedly until the photo you want to adjust appears. 5 Press . 6 Press . 7 Press or until the option you want appears. 8 Press . 9 Press or until the option you want appears, or follow the prompts on the display. 22
-
 1
1 -
2
-
3
-
4
-
5
-
6
-
7
-
8
-
9
-
10
-
11
-
12
-
13
-
14
-
15
-
16
-
 17
17 -
 18
18 -
 19
19 -
 20
20 -
 21
21 -
 22
22 -
 23
23 -
 24
24 -
 25
25 -
 26
26 -
 27
27 -
28
-
29
-
30
-
31
-
32
-
33
-
34
-
35
-
36
-
37
-
38
-
39
-
40
-
41
-
42
-
43
-
44
-
45
-
46
-
47
-
48
-
49
-
50
-
51
-
52
-
53
-
54
-
55
-
56
 |
 |