Netgear RND2150 RND2110 User Manual - Page 34
USB Storage, USB_FLASH_1, USB_HDD_1
 |
UPC - 606449056822
View all Netgear RND2150 manuals
Add to My Manuals
Save this manual to your list of manuals |
Page 34 highlights
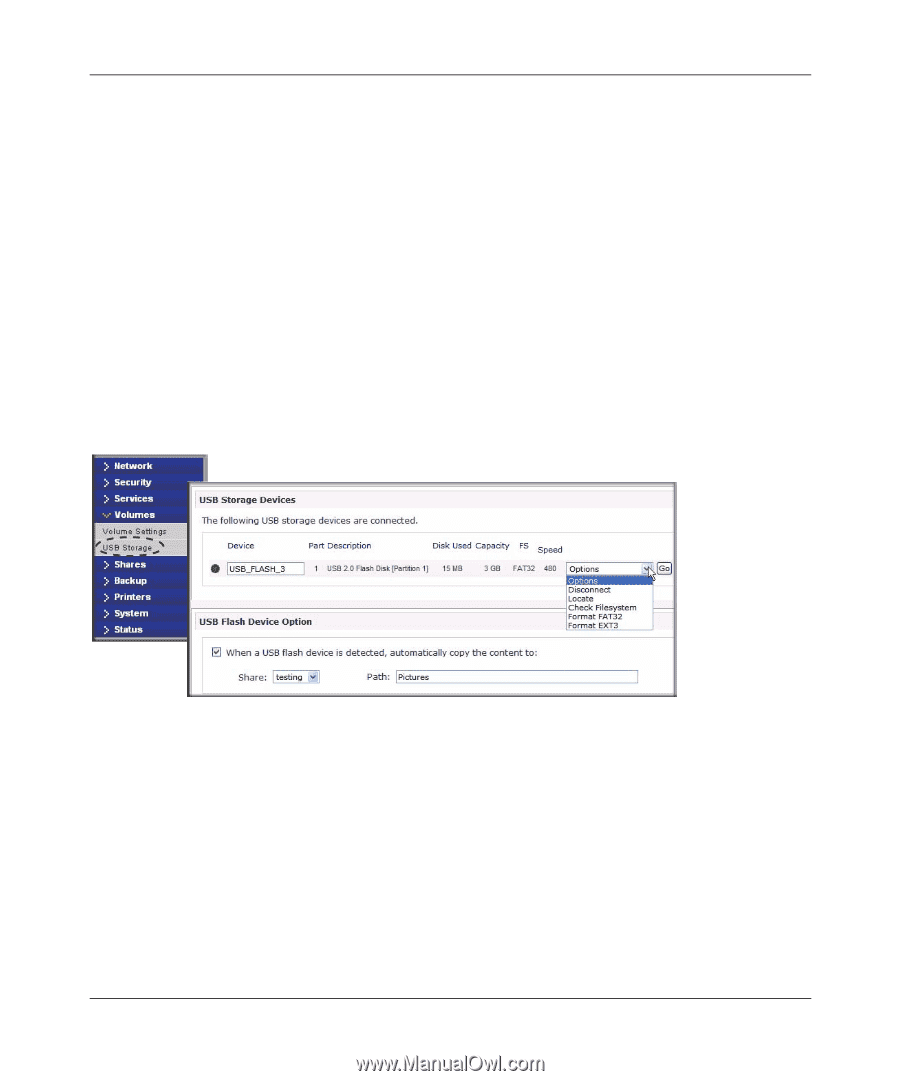
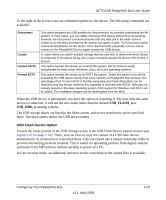
NETGEAR ReadyNAS Duo User Guide First, power down the ReadyNAS Duo, replace the first disk with the large-capacity disk, and then reboot. If your ReadyNAS Duo supports hot-swapping, you can hot-swap the disk without powering down. The ReadyNAS Duo will detect that a new disk was put in place and resynchronizes the disk with data from the removed disk. This process takes several hours, depending on disk capacity. The disk is initialized and scanned for bad sectors first before the rsync process is started. The total time from the start of initialization to the end of resynchronization can be around 5 hours or more, depending on disk capacity. You will be notified by e-mail upon completion. USB Storage The USB tab displays the USB disk and flash devices connected to the ReadyNAS Duo, and offers various options for these devices. A flash device appears as USB_FLASH_1 and a disk device appears as USB_HDD_1. If you have multiple devices, they appear appended by an increasing device number; for example, USB_HDD_2. If the device contains multiple partitions, the partitions are listed beneath the main device entry. Figure 1-27 Partitions on the storage devices must be one of the following file system formats: • FAT32 • NTFS • Ext2 • Ext3 1-22 v1.1, April 2008 Configuring Your ReadyNAS Duo
-
 1
1 -
2
-
3
-
4
-
5
-
6
-
7
-
8
-
9
-
10
-
11
-
12
-
13
-
14
-
15
-
16
-
17
-
18
-
19
-
20
-
21
-
22
-
23
-
24
-
25
-
26
-
27
-
28
-
 29
29 -
 30
30 -
 31
31 -
 32
32 -
 33
33 -
 34
34 -
 35
35 -
 36
36 -
 37
37 -
 38
38 -
 39
39 -
40
-
41
-
42
-
43
-
44
-
45
-
46
-
47
-
48
-
49
-
50
-
51
-
52
-
53
-
54
-
55
-
56
-
57
-
58
-
59
-
60
-
61
-
62
-
63
-
64
-
65
-
66
-
67
-
68
-
69
-
70
-
71
-
72
-
73
-
74
-
75
-
76
-
77
-
78
-
79
-
80
-
81
-
82
-
83
-
84
-
85
-
86
-
87
-
88
-
89
-
90
-
91
-
92
-
93
-
94
-
95
-
96
-
97
-
98
-
99
-
100
 |
 |