Panasonic DMPBDT220 DMPBDT220 User Guide - Page 14
Inserting or removing media, HOME menu, Press [OK] or - camera
 |
View all Panasonic DMPBDT220 manuals
Add to My Manuals
Save this manual to your list of manuals |
Page 14 highlights
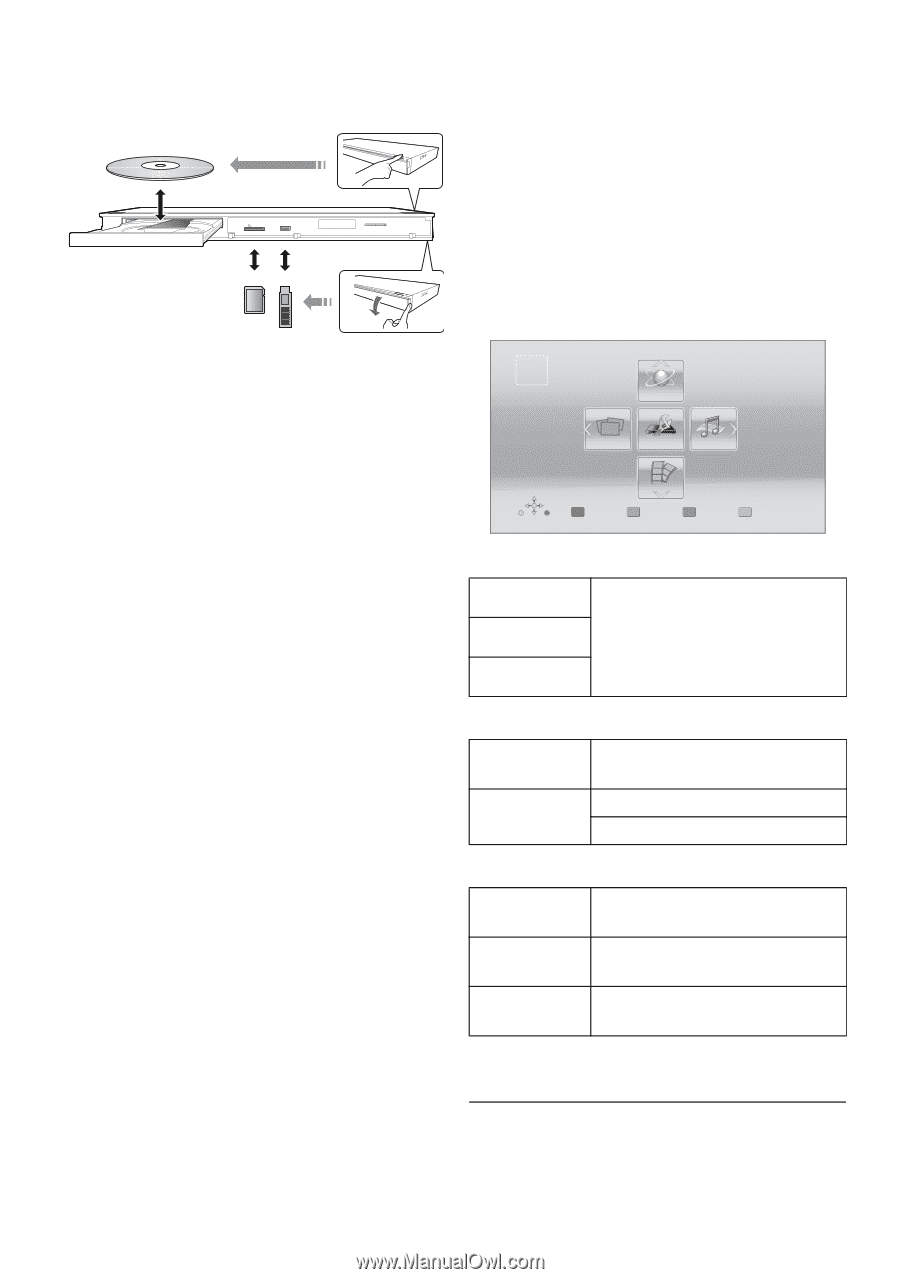
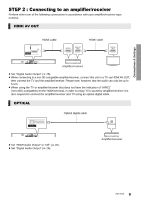
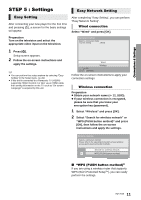
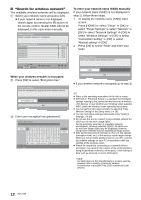
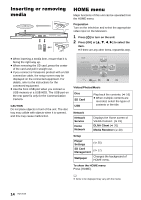
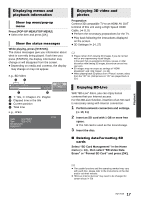
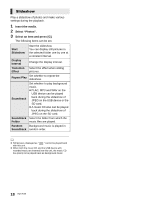
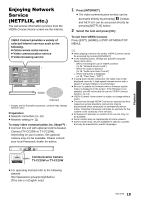
Inserting Playback or removing media HOME menu Major functions of this unit can be operated from the HOME menu. Preparation Turn on the television and select the appropriate video input on the television. 1 Press [Í] to turn on the unit. 2 Press [OK] or [3, 4, 2, 1] to select the item. ≥ If there are any other items, repeat this step. ≥ When inserting a media item, ensure that it is facing the right way up. ≥ When removing the SD card, press the center of the card and pull it straight out. ≥ If you connect a Panasonic product with a USB connection cable, the setup screen may be displayed on the connected equipment. For details, refer to the instructions for the connected equipment. ≥ Use the front USB port when you connect a USB memory or a USB HDD. The USB port on the rear panel is only for the Communication Camera. CAUTION Do not place objects in front of the unit. The disc tray may collide with objects when it is opened, and this may cause malfunction. HOME Blu-ray Disc Player Network Photos Setup Music Personalize 1st user Videos Videos/Photos/Music Disc SD Card USB Play back the contents. (> 16) ≥ When multiple contents are recorded, select the types of contents or the title. Network Network Service Home Network Displays the Home screen of VIERA Connect. (> 19) DLNA Client (> 20) Media Renderer (> 20) Setup Player Settings (> 25) SD Card Management (> 17) Wallpaper Changes the background of HOME menu. To show the HOME menu Press [HOME]. ≥ Items to be displayed may vary with the media. 14 VQT3V20
-
 1
1 -
2
-
3
-
4
-
5
-
6
-
7
-
8
-
 9
9 -
 10
10 -
 11
11 -
 12
12 -
 13
13 -
 14
14 -
 15
15 -
 16
16 -
 17
17 -
 18
18 -
 19
19 -
20
-
21
-
22
-
23
-
24
-
25
-
26
-
27
-
28
-
29
-
30
-
31
-
32
-
33
-
34
-
35
-
36
-
37
-
38
-
39
-
40
-
41
-
42
-
43
-
44
 |
 |