RCA HD30W854T User Manual - Page 15
RCA HD30W854T Manual
 |
View all RCA HD30W854T manuals
Add to My Manuals
Save this manual to your list of manuals |
Page 15 highlights
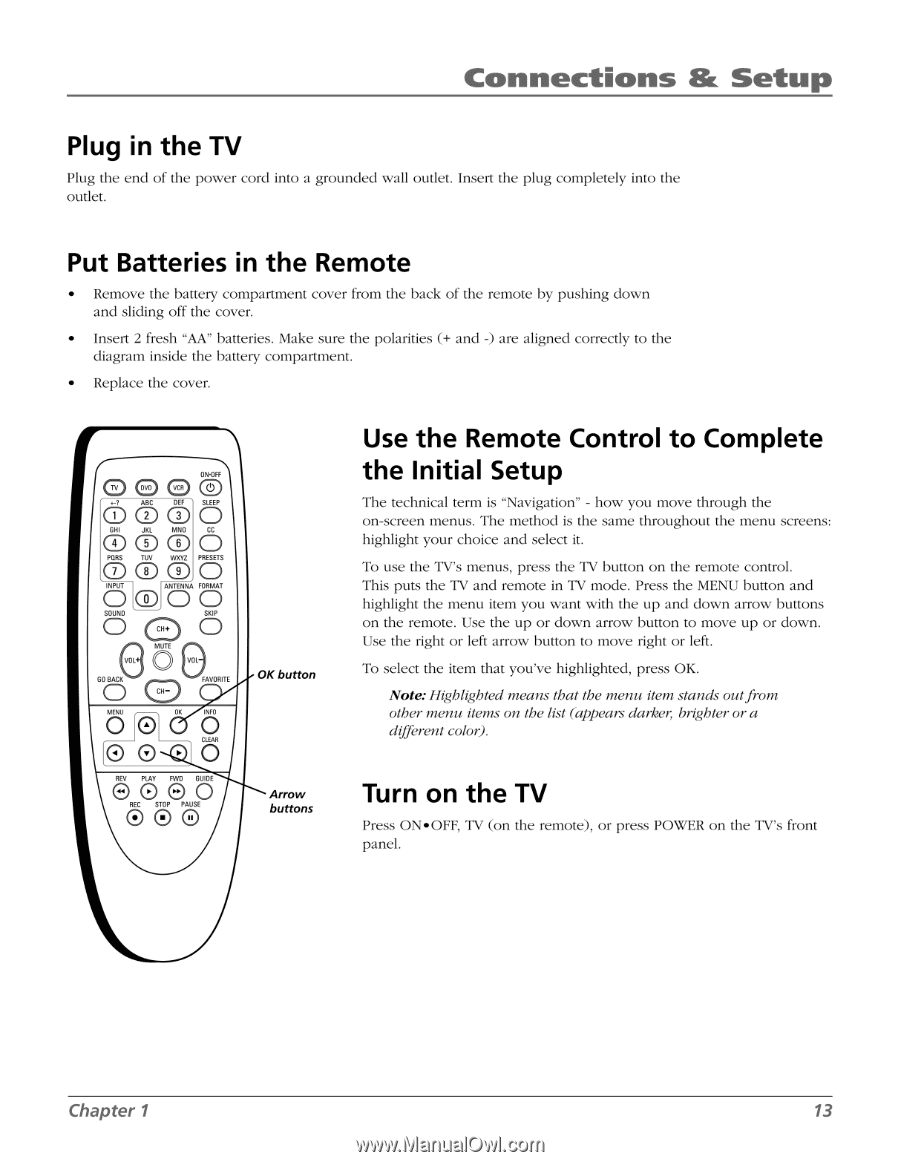
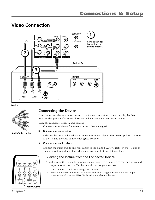
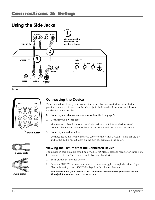
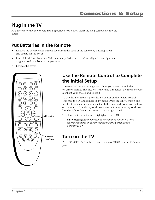
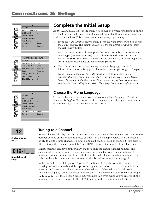
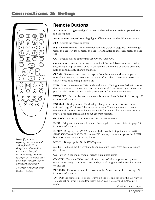
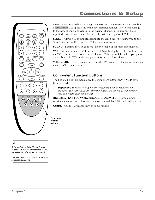
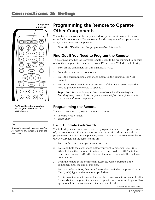
Connections & Setup Plug in the TV Plug the end of the power cord into a grounded wall outlet. Insert the plug completely into the outlet. Put Batteries in the Remote • Remove the battery compartment cover from the back of the remote by pushing down and sliding off the cover. • Insert 2 fresh "AA" batteries. Make sure the polarities (+ and -) are aligned correctly to the diagram inside the battery compartment. • Replace the cover. O Dw O (1) .4 ABC DEF SLEEP 0 0 tO O GNI JKL MNO a O PQRS 0 INPUT CD TUV 0 CD O NOM PRESETS O 0 ANTENNA FORMAT O O O SOUND 0 a MUTE 0 SKIP 0 GO RACK FAVORITE CN- MENU OK Ito 0 O CLEAR 00 O REV PLAY FWD GUIDE 0000 REC STOP PAUSE 0 0 O OK button Arrow buttons Use the Remote Control to Complete the Initial Setup The technical term is "Navigation" - how you move through the on-screen menus. The method is the same throughout the menu screens: highlight your choice and select it. To use the TV's menus, press the TV button on the remote control. This puts the TV and remote in TV mode. Press the MENU button and highlight the menu item you want with the up and down arrow buttons on the remote. Use the up or down arrow button to move up or down. Use the right or left arrow button to move right or left. To select the item that you've highlighted, press OK. Note:Highlighted means that the menu item stands outfrom other menu items on the list (appears darker, brighter or a different color). Turn on the TV Press ON•OFF, TV (on the remote), or press POWER on the TV's front panel. Chapter 1 13
-
 1
1 -
2
-
3
-
4
-
5
-
6
-
7
-
8
-
9
-
 10
10 -
 11
11 -
 12
12 -
 13
13 -
 14
14 -
 15
15 -
 16
16 -
 17
17 -
 18
18 -
 19
19 -
 20
20 -
21
-
22
-
23
-
24
-
25
-
26
-
27
-
28
-
29
-
30
-
31
-
32
-
33
-
34
-
35
-
36
-
37
-
38
-
39
-
40
-
41
-
42
-
43
-
44
-
45
-
46
-
47
-
48
 |
 |