Samsung Digimax i5 User Manual - Page 26
Starting the recording mode
 |
View all Samsung Digimax i5 manuals
Add to My Manuals
Save this manual to your list of manuals |
Page 26 highlights
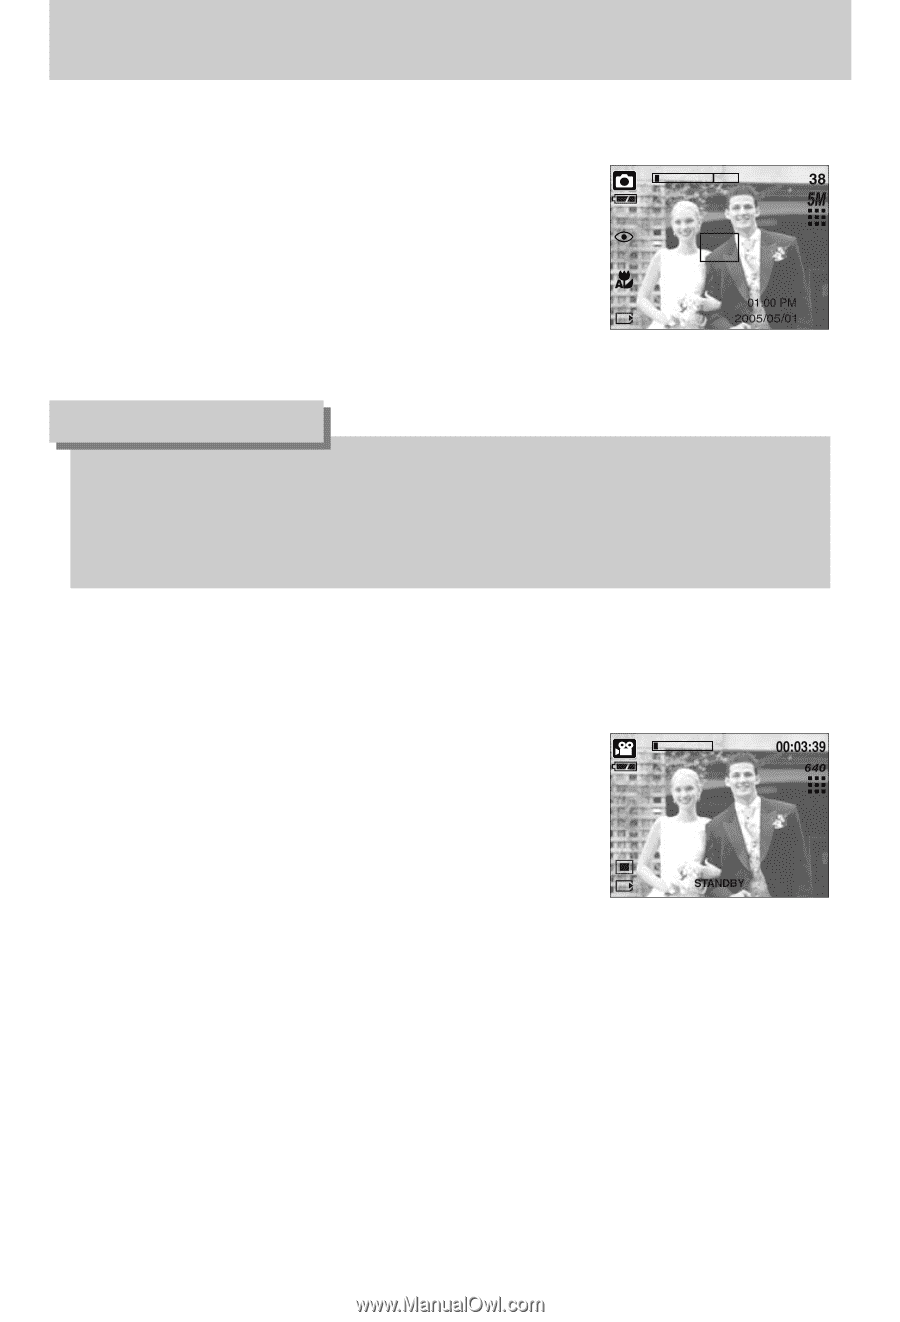
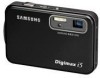
Starting the recording mode ■ How to use the Auto mode Use this for shooting basic still images. 1. Select the [Full] sub menu on the [Mode] menu (p.24). 2. Select the Auto mode by pressing the M (Mode) button (p.25). 3. Point the camera towards the subject and compose the image by using the LCD monitor. 4. Press the shutter button to capture an image. [AUTO mode] INFORMATION ● If the auto focus frame turns to red when you press the shutter button down half way, it means that the camera cannot focus on the subject. Should this be the case, the camera is less likely to capture an image clearly. ● Avoid obstructing the lens or the flash when you capture an image. ■ How to use the Movie clip mode A movie clip can be recorded for as long as the available recording time of the memory capacity allows. 1. Select the [Full] sub menu on the [Mode] menu (p.24). 2. Select the Movie clip mode by pressing the M (Mode) button (p.25). 3. Point the camera towards the subject and compose the image by using the LCD monitor. 4. Press the shutter button once and movie clips are recorded for as long as the available recording time allows. Movie clips will still be recorded if the shutter [MOVIE CLIP mode] button is released. If you wish to stop recording, press the shutter button again. ※ Image size and type are listed below. - Image size : 640X480, 320X240, 160X128 (user selectable) - Movie clip file type : AVI (MPEG-4) 《26》
-
 1
1 -
2
-
3
-
4
-
5
-
6
-
7
-
8
-
9
-
10
-
11
-
12
-
13
-
14
-
15
-
16
-
17
-
18
-
19
-
20
-
 21
21 -
 22
22 -
 23
23 -
 24
24 -
 25
25 -
 26
26 -
 27
27 -
 28
28 -
 29
29 -
 30
30 -
 31
31 -
32
-
33
-
34
-
35
-
36
-
37
-
38
-
39
-
40
-
41
-
42
-
43
-
44
-
45
-
46
-
47
-
48
-
49
-
50
-
51
-
52
-
53
-
54
-
55
-
56
-
57
-
58
-
59
-
60
-
61
-
62
-
63
-
64
-
65
-
66
-
67
-
68
-
69
-
70
-
71
-
72
-
73
-
74
-
75
-
76
-
77
-
78
-
79
-
80
-
81
-
82
-
83
-
84
-
85
-
86
-
87
-
88
-
89
-
90
-
91
-
92
-
93
-
94
-
95
-
96
-
97
-
98
-
99
-
100
-
101
-
102
-
103
-
104
-
105
-
106
-
107
-
108
-
109
-
110
-
111
-
112
-
113
-
114
-
115
-
116
-
117
-
118
-
119
-
120
-
121
-
122
-
123
-
124
-
125
-
126
-
127
-
128
-
129
-
130
-
131
-
132
-
133
-
134
-
135
-
136
-
137
-
138
-
139
-
140
-
141
-
142
-
143
-
144
-
145
-
146
-
147
-
148
 |
 |