Samsung SC-D366 User Manual (ENGLISH) - Page 24
Using the QUICK MENU
 |
View all Samsung SC-D366 manuals
Add to My Manuals
Save this manual to your list of manuals |
Page 24 highlights
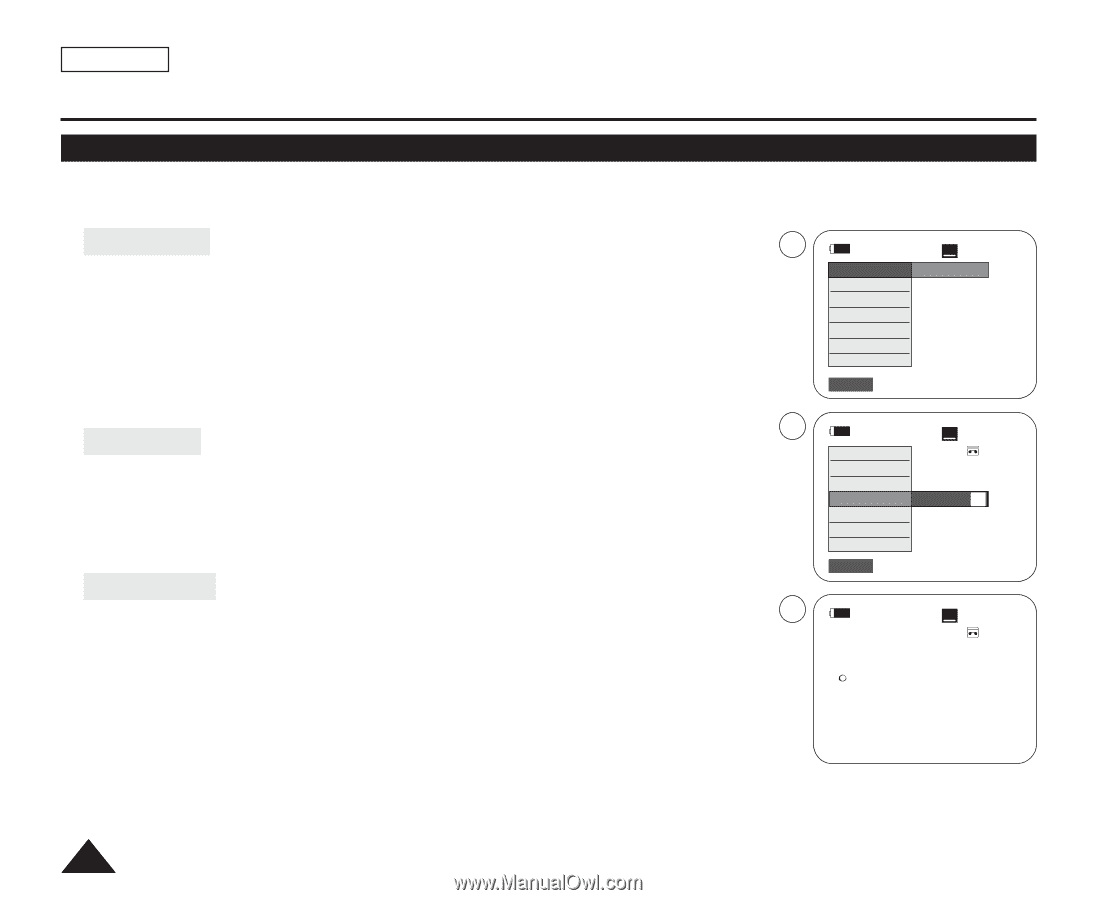
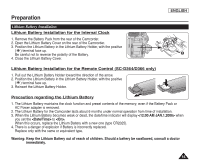
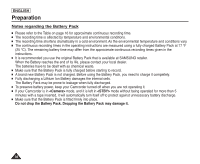
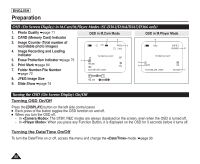
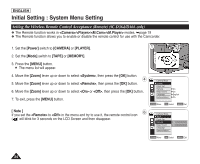
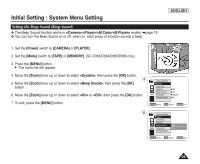
ENGLISH Preparation Using the QUICK MENU ✤ QUICK MENU is used to access Camcorder functions by using the [QUICK MENU] button. ✤ QUICK MENU provides easier access to frequently used menus without using the [MENU] button. ✤ Functions available using the QUICK MENU are as below: Camera Mode 1 STBY SP 0:00:10 I Setting the Digital Image Stabilizer (DIS) ➥page 55 DIS Off 60min I Programed Automatic Exposure Modes (Program AE) ➥page 49 Program AE I Setting the 16:9 Wide ➥page 54 I Setting the White Balance (White Balance) ➥page 51 I Setting the Shutter Speed (Shutter)- Only can be operated by using the QUICK MENU 16:9 Wide White Balance Shutter Exposure ➥page 47 BLC I Setting the Exposure (Exposure)- Only can be operated by using the QUICK MENU ➥page 47 Q.MENU Exit I Setting the Back Light Compensation (BLC) ➥page 41 M.Cam Mode I Setting the Memory Type (Memory Type) ➥page 70 2 STBY SP 0:00:10 DIS 60min Program AE I Setting the White Balance (White Balance) ➥page 51 16:9 Wide ... I Setting the Photo Quality (Photo Quality) ➥page 71 I Setting the Exposure (Exposure)- Only can be operated by using the QUICK MENU ➥page 47 White Balance Shutter Exposure BLC Auto A † I Setting the Back Light Compensation (BLC) ➥page 41 Q.MENU Exit M.Player Mode I Setting the Memory Type (Memory Type) ➥page 70 4 I Playing the Moving Images (MPEG) on the Memory Card (M. Play Select) ➥page 80 I Deleting Photo Images and Moving Images (Delete) ➥page 76 I Protection from accidental Erasure (Protect) ➥page 75 I Marking Images for Printing (Print Mark) ➥page 84 œ STBY SP 0:00:10 60min For example: Setting the White Balance 1. Press the [QUICK MENU] button. The quick menu list will appear. 2. Move the [Zoom] lever up or down to select , then press the [OK] button. 3. Move the [Zoom] lever up or down to select desired mode (Auto, Indoor, Outdoor or Custom WB), then press the [OK] button. 4. To exit, press the [QUICK MENU] button. 20
-
 1
1 -
2
-
3
-
4
-
5
-
6
-
7
-
8
-
9
-
10
-
11
-
12
-
13
-
14
-
15
-
16
-
17
-
18
-
 19
19 -
 20
20 -
 21
21 -
 22
22 -
 23
23 -
 24
24 -
 25
25 -
 26
26 -
 27
27 -
 28
28 -
 29
29 -
30
-
31
-
32
-
33
-
34
-
35
-
36
-
37
-
38
-
39
-
40
-
41
-
42
-
43
-
44
-
45
-
46
-
47
-
48
-
49
-
50
-
51
-
52
-
53
-
54
-
55
-
56
-
57
-
58
-
59
-
60
-
61
-
62
-
63
-
64
-
65
-
66
-
67
-
68
-
69
-
70
-
71
-
72
-
73
-
74
-
75
-
76
-
77
-
78
-
79
-
80
-
81
-
82
-
83
-
84
-
85
-
86
-
87
-
88
-
89
-
90
-
91
-
92
-
93
-
94
-
95
-
96
-
97
-
98
-
99
-
100
-
101
-
102
-
103
-
104
-
105
-
106
-
107
-
108
-
109
-
110
-
111
 |
 |