Seagate Maxtor OneTouch III USB 2.0 User Guide for Windows - Page 5
Installing the OneTouch III Mini Edition - guide
 |
View all Seagate Maxtor OneTouch III USB 2.0 manuals
Add to My Manuals
Save this manual to your list of manuals |
Page 5 highlights
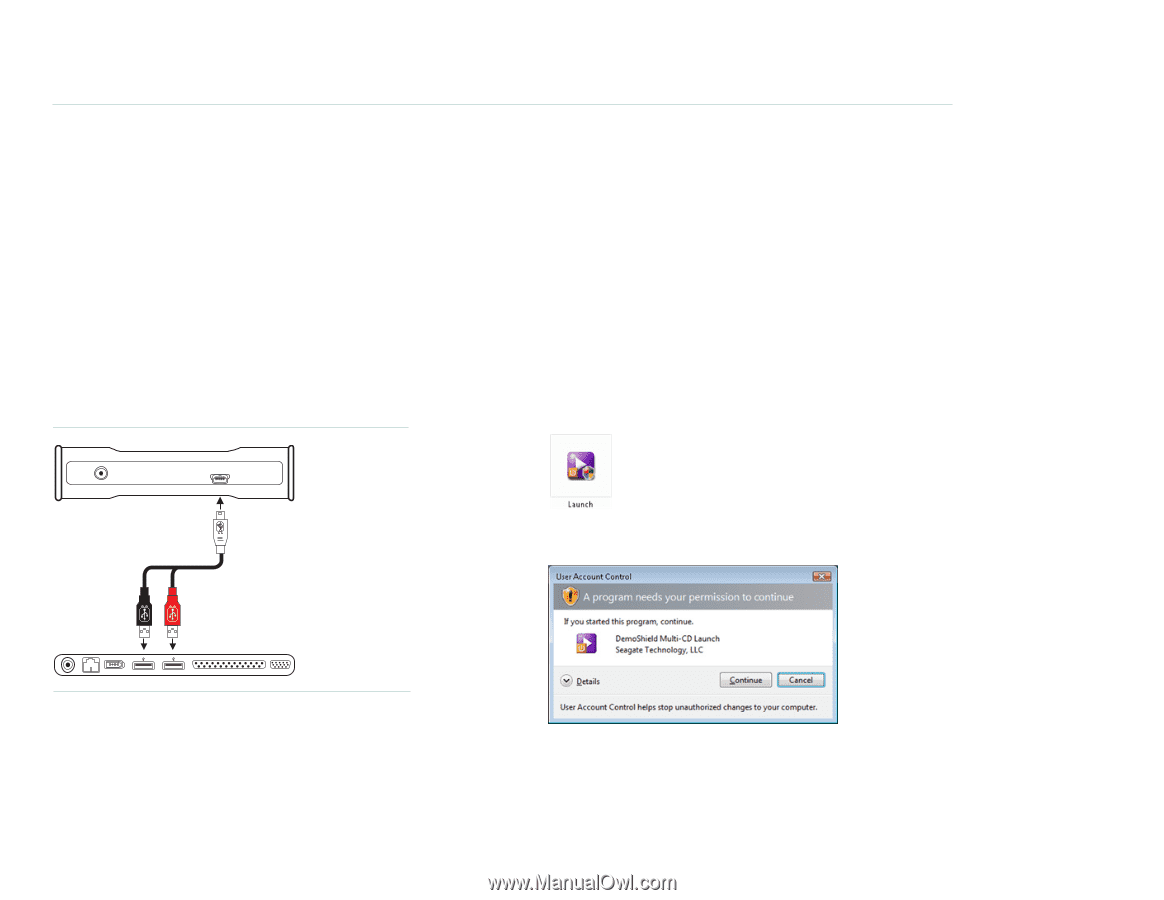
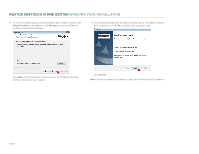
MAXTOR ONETOUCH III MINI EDITION WINDOWS VISTA INSTALLATION Installing the OneTouch III Mini Edition Step 1 - Connect the Drive 1. Plug the Power + Data connector into an available USB port on your system. 2. Plug the Power Only connector into an available USB port on your system. 3. Connect the Type "B" connector to the OneTouch III Mini Edition Drive. Note: If your computer does not supply enough power to the OneTouch III Mini Edition through the red connector, plug in the unused black connector on the 'Y' cable to another USB port on your computer (or a powered USB hub). If both ports fail to supply enough power to the drive, an optional power supply should be purchased from Maxtor at www.maxstore.com FIGURE 3 CONNECTING THE ONETOUCH III MINI EDITION Step 2 - Install the Software Important: Seagate suggests that you copy the software installation program located on the OneTouch III Mini Edition to another location. If you opt not to create a copy of this program or if your copy becomes corrupt, you can download the program from Seagate's website at www.seagate.com. The installation software is located on the OneTouch III Mini Edition. The following steps will guide you through the installation procedure. 1. After connecting the OneTouch III Mini to your computer, the AutoPlay window opens. Click Run Launch.exe. Note: In the event that the AutoPlay window does not open, click Start Computer. Browse to and select the drive letter associated with the OneTouch III Mini. Then double-click Launch (this may appear as Launch.exe). Small Connector Black Connector Red Connector 2. A User Account Control window for the DemoShield Multi-CD Launch needs permission to continue. Click Continue. PAGE 3
-
 1
1 -
 2
2 -
 3
3 -
 4
4 -
 5
5 -
 6
6 -
 7
7 -
 8
8 -
 9
9 -
 10
10 -
 11
11 -
12
-
13
-
14
-
15
-
16
-
17
-
18
-
19
-
20
-
21
-
22
-
23
-
24
-
25
-
26
-
27
-
28
 |
 |