Sony SR60 Handycam Handbook - Page 89
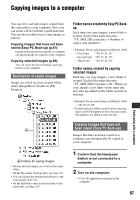
Copying selected images
 |
UPC - 027242698970
View all Sony SR60 manuals
Add to My Manuals
Save this manual to your list of manuals |
Page 89 highlights
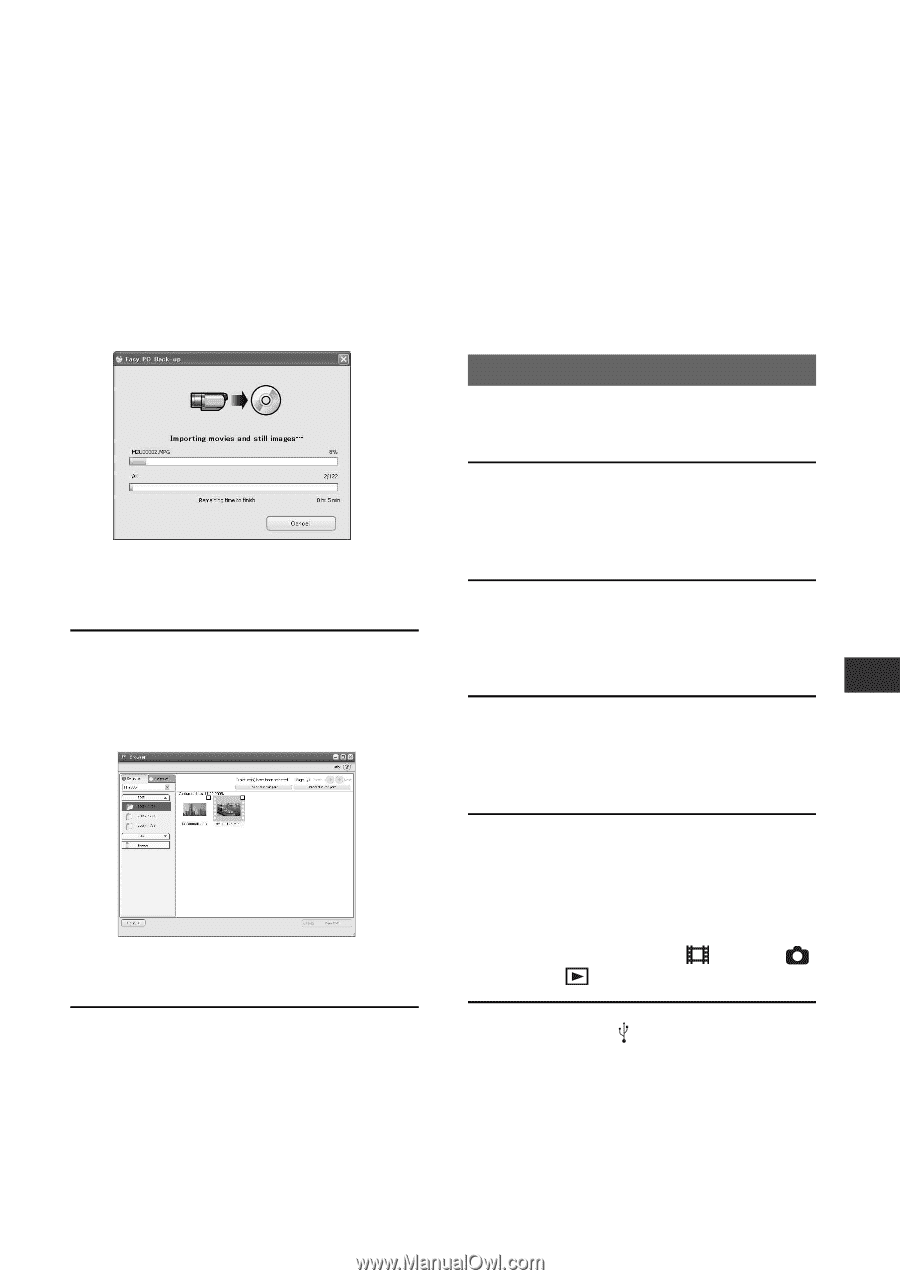
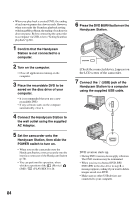
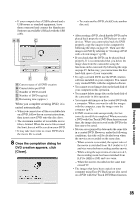
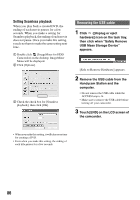
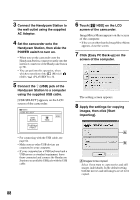
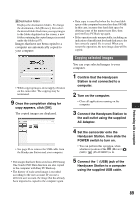
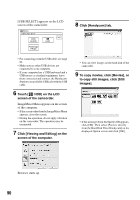
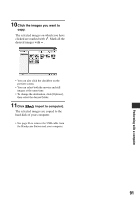
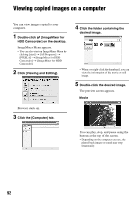
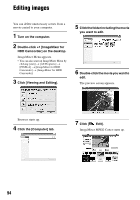
BDestination folder Displays the destination folders. To change the destination, click [Browse], then select the desired folder. Each time you copy images to the folder displayed on the screen, a new folder containing the copied images is created under the folder (p.87). Images that have not been copied to a computer are automatically copied to your computer. • While copying images, do not apply vibration on the camcorder. The copying may be terminated. 9 Once the completion dialog for copy appears, click [OK]. The copied images are displayed. • See page 86 to remove the USB cable from the Handycam Station and your computer. • The images that have been saved on a DVD using One Touch DVD Burn function are also copied to the computer with Easy PC Back-up. • The history of each saved image is recorded according to the user account. If you use a different user account, the image that has already been imported is copied to the computer again. • Data copy is cancelled when the free hard disk space of the computer becomes less than 500 MB. In this case, increase free hard disk space by deleting some of the unnecessary files, then perform Easy PC Back-up again. • If the operation ends unexpectedly, including an indication of insufficient free hard disk space, the last correctly copied file is saved. When you restart the operation, the next image data will be copied. Copying selected images You can copy selected images to your computer. 1 Confirm that the Handycam Station is not connected to a computer. 2 Turn on the computer. • Close all applications running on the computer. 3 Connect the Handycam Station to the wall outlet using the supplied AC Adaptor. 4 Set the camcorder onto the Handycam Station, then slide the POWER switch to turn on. • You can perform this operation, when whichever position of the (Movie) / (Still) / (PLAY/EDIT) is lit. 5 Connect the (USB) jack of the Handycam Station to a computer using the supplied USB cable. Performing with a computer 89
-
 1
1 -
2
-
3
-
4
-
5
-
6
-
7
-
8
-
9
-
10
-
11
-
12
-
13
-
14
-
15
-
16
-
17
-
18
-
19
-
20
-
21
-
22
-
23
-
24
-
25
-
26
-
27
-
28
-
29
-
30
-
31
-
32
-
33
-
34
-
35
-
36
-
37
-
38
-
39
-
40
-
41
-
42
-
43
-
44
-
45
-
46
-
47
-
48
-
49
-
50
-
51
-
52
-
53
-
54
-
55
-
56
-
57
-
58
-
59
-
60
-
61
-
62
-
63
-
64
-
65
-
66
-
67
-
68
-
69
-
70
-
71
-
72
-
73
-
74
-
75
-
76
-
77
-
78
-
79
-
80
-
81
-
82
-
83
-
 84
84 -
 85
85 -
 86
86 -
 87
87 -
 88
88 -
 89
89 -
 90
90 -
 91
91 -
 92
92 -
 93
93 -
 94
94 -
95
-
96
-
97
-
98
-
99
-
100
-
101
-
102
-
103
-
104
-
105
-
106
-
107
-
108
-
109
-
110
-
111
-
112
-
113
-
114
-
115
-
116
-
117
-
118
-
119
-
120
-
121
-
122
-
123
-
124
-
125
-
126
-
127
-
128
-
129
-
130
-
131
-
132
 |
 |