TP-Link TL-WR702N TL-WR702N V1 User Guide - Page 30
Client Mode - setup mac
 |
View all TP-Link TL-WR702N manuals
Add to My Manuals
Save this manual to your list of manuals |
Page 30 highlights
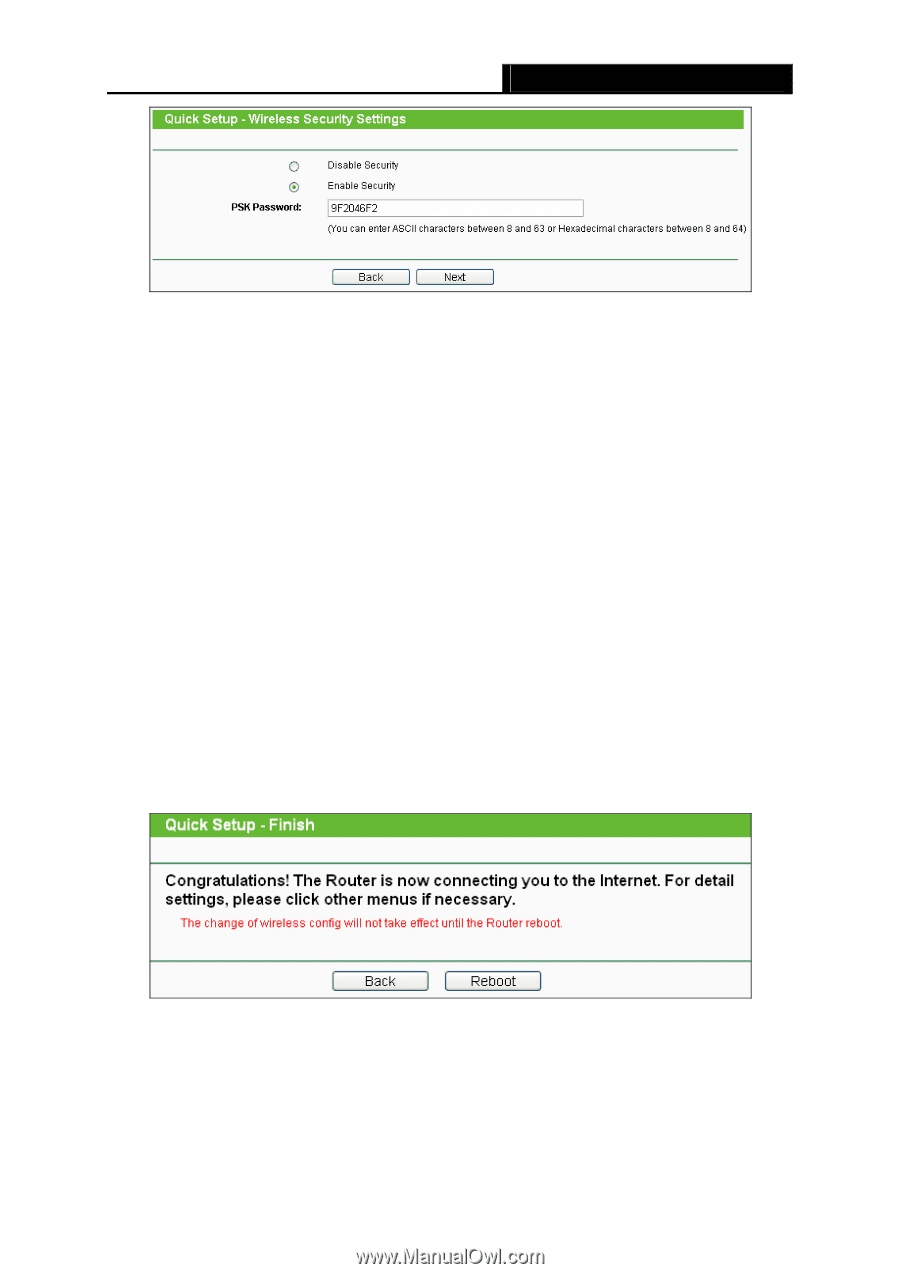
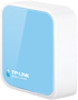
TL-WR702N 150Mbps Wireless N Nano Router Figure 3-19 Quick Setup - Wireless Security Settings This page is for setting wireless security of your own AP. When computers and mobile phones are connected to the AP, they should input the same password. ¾ Disable Security - The wireless security function can be enabled or disabled. If disabled, the wireless stations will be able to connect the Router without encryption. It is recommended strongly to enable security. ¾ PSK Password - ou can enter ASCII or Hexadecimal characters. The default password is the last unique eight numbers of each Router's MAC address For ASCII, the key can be made up of any numbers 0 to 9 and any letters A to Z, the length should be between 8 and 63 characters. For Hexadecimal, the key can be made up of any numbers 0 to 9 and letters A to F, the length should be between 8 and 64 characters. Please also note the key is case sensitive, this means that upper and lower case keys will affect the outcome. It would also be a good idea to write down the key and all related wireless security settings. 3. Click the Next button in Figure 3-20. You will then see the Finish page. Click the Reboot button to make your wireless configuration take effect and finish the Quick Setup. 3.2.5 Client Mode Figure 3-20 Quick Setup - Finish When you choose Client on Working Mode page in Figure 3-5 , take the following steps: 1. Click Next in Figure 3-5, and then Wireless Client page will appear as shown in Figure 3-21. - 24 -
-
 1
1 -
2
-
3
-
4
-
5
-
6
-
7
-
8
-
9
-
10
-
11
-
12
-
13
-
14
-
15
-
16
-
17
-
18
-
19
-
20
-
21
-
22
-
23
-
24
-
 25
25 -
 26
26 -
 27
27 -
 28
28 -
 29
29 -
 30
30 -
 31
31 -
 32
32 -
 33
33 -
 34
34 -
 35
35 -
36
-
37
-
38
-
39
-
40
-
41
-
42
-
43
-
44
-
45
-
46
-
47
-
48
-
49
-
50
-
51
-
52
-
53
-
54
-
55
-
56
-
57
-
58
-
59
-
60
-
61
-
62
-
63
-
64
-
65
-
66
-
67
-
68
-
69
-
70
-
71
-
72
-
73
-
74
-
75
-
76
-
77
-
78
-
79
-
80
-
81
-
82
-
83
-
84
-
85
-
86
-
87
-
88
-
89
-
90
-
91
-
92
-
93
-
94
-
95
-
96
-
97
-
98
-
99
-
100
-
101
-
102
-
103
-
104
-
105
-
106
-
107
-
108
-
109
-
110
-
111
-
112
-
113
-
114
-
115
-
116
-
117
-
118
-
119
-
120
-
121
-
122
-
123
-
124
-
125
-
126
-
127
-
128
-
129
-
130
-
131
-
132
-
133
-
134
-
135
-
136
-
137
-
138
-
139
-
140
-
141
-
142
-
143
-
144
-
145
-
146
-
147
-
148
-
149
-
150
-
151
-
152
-
153
-
154
-
155
-
156
-
157
-
158
-
159
-
160
-
161
-
162
-
163
-
164
-
165
-
166
-
167
-
168
-
169
-
170
-
171
-
172
-
173
-
174
-
175
 |
 |