Toshiba D-VR4XSU Owners Manual - Page 80
Dubbing a disc onto a tape
 |
View all Toshiba D-VR4XSU manuals
Add to My Manuals
Save this manual to your list of manuals |
Page 80 highlights
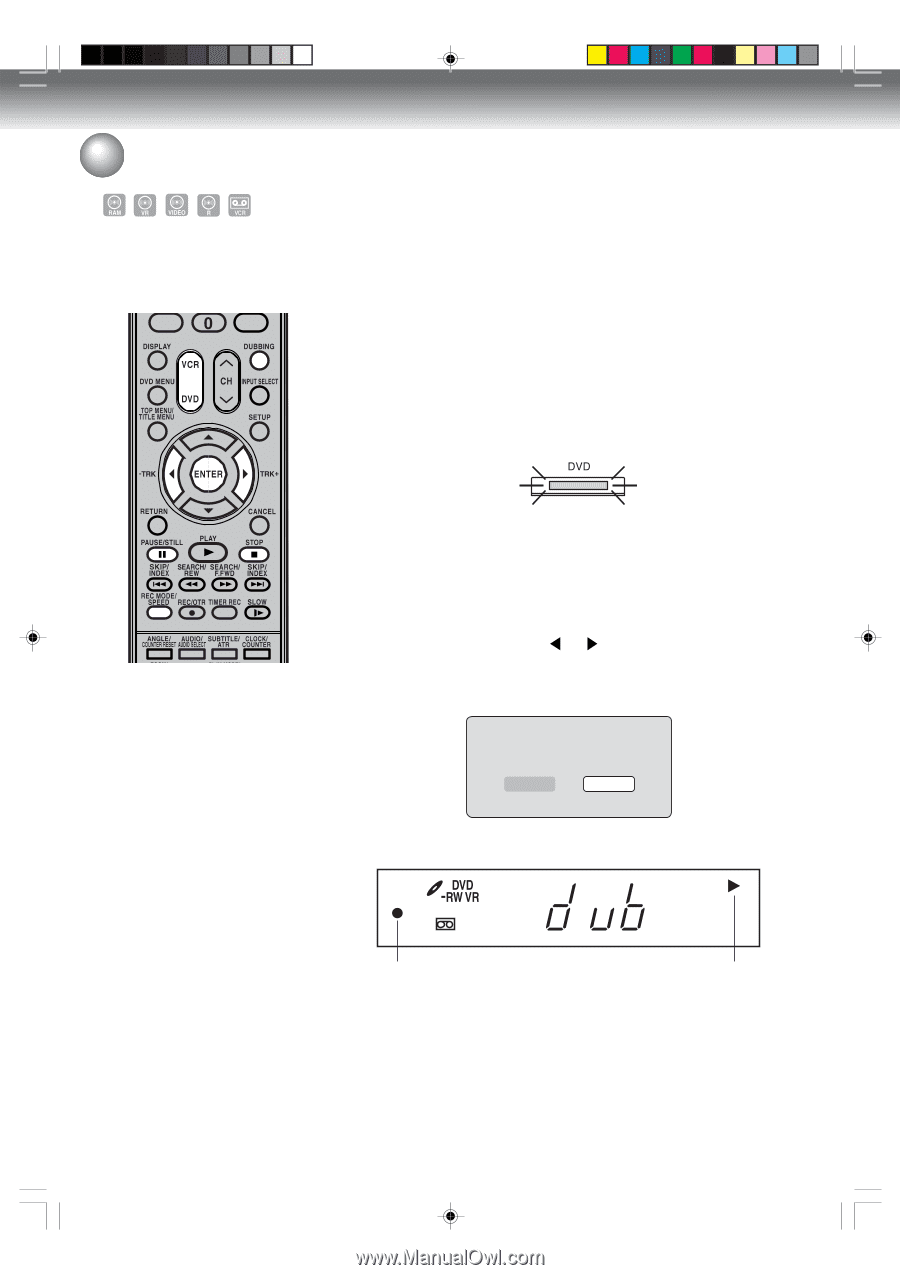
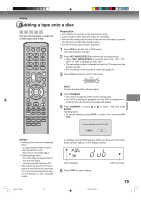
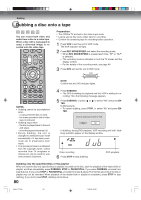
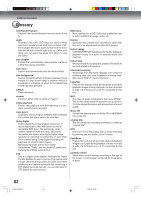
Dubbing Dubbing a disc onto a tape You can record both video and audio from a disc to a video tape. When a disc with a copy guard is used, a distorted image is recorded onto the video tape. Preparation: • Turn ON the TV and set to the video input mode. • Load a source disc and a video tape for recording. • Confirm the remaining tape for recording before operation. 1 Press VCR to set this unit to VCR mode. The VCR indicator will light. 2 Press REC MODE/SPEED and select the recording mode. • When REC MODE/SPEED is pressed each time, "SP" or "SLP" is selected. • The recording mode is indicated on both the TV screen and the display window. • For the details of the recording mode, see page 46. 3 Press DVD and set the unit to DVD mode. NOTE: Confirm that the DVD indicator lights. NOTES: • Dubbing cannot be accomplished when - a copy protected disc is used. - the erase prevention tab of video tape is removed. • Dubbing stops when - the disc is played back to the end and stops. - recording space becomes full. • During dubbing, the unit is changed to interlaced scan mode automatically if it has been previously set to progressive scan mode. • If no special permission is obtained from the copyright owner, videos recorded from TV programs or movies can only be used for your own personal enjoyment. 4 Press DUBBING. • The DVD is waiting for playback and the VCR is waiting for recording. Then the following message appears. 5 Press DUBBING, or press or to select "Yes" and press ENTER. Dubbing starts. • To cancel dubbing, press STOP, or select "No" and press ENTER. Confirm dubbing from DVD to VCR. Yes No In dubbing, during DVD playback, VCR recording and "dub" (dubbing) indicator appear on the display window. Video recording 6 Press STOP to stop dubbing. DVD playback Dubbing only the specified titles or the playlist When you want to dub only specific titles or playlists recorded on the disc, start the playback of the desired title or playlist, and then immediately press DUBBING, STOP or PAUSE/STILL. If you press DUBBING, proceed from step 5 above. If you press STOP or PAUSE/STILL, proceed from step 4 above. The first few seconds of the title or playlist may not be recorded. When playback of the desired title or playlist is completed, press STOP to stop dubbing. If you don't press STOP, dubbing will continue. 80 2H5-01 P74-81 80 7/25/05, 23:23
-
 1
1 -
2
-
3
-
4
-
5
-
6
-
7
-
8
-
9
-
10
-
11
-
12
-
13
-
14
-
15
-
16
-
17
-
18
-
19
-
20
-
21
-
22
-
23
-
24
-
25
-
26
-
27
-
28
-
29
-
30
-
31
-
32
-
33
-
34
-
35
-
36
-
37
-
38
-
39
-
40
-
41
-
42
-
43
-
44
-
45
-
46
-
47
-
48
-
49
-
50
-
51
-
52
-
53
-
54
-
55
-
56
-
57
-
58
-
59
-
60
-
61
-
62
-
63
-
64
-
65
-
66
-
67
-
68
-
69
-
70
-
71
-
72
-
73
-
74
-
 75
75 -
 76
76 -
 77
77 -
 78
78 -
 79
79 -
 80
80 -
 81
81 -
 82
82 -
 83
83 -
 84
84 -
 85
85 -
86
-
87
-
88
-
89
-
90
-
91
-
92
 |
 |