Yamaha CLP-380 Owner's Manual - Page 80
Making detailed settings
 |
View all Yamaha CLP-380 manuals
Add to My Manuals
Save this manual to your list of manuals |
Page 80 highlights
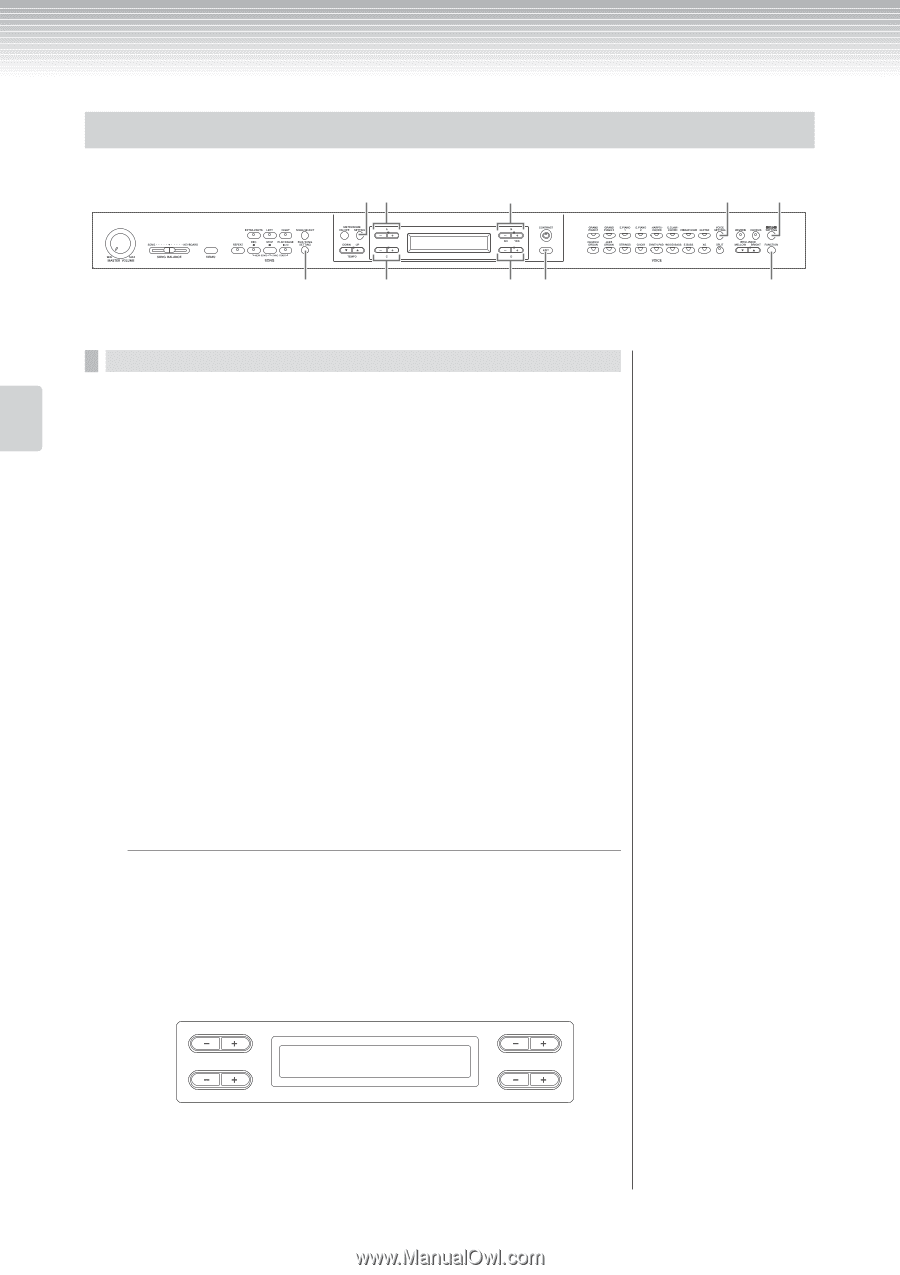
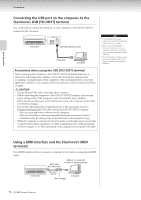
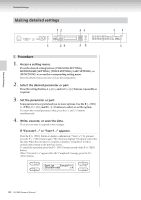
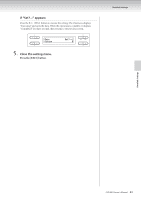
Detailed Settings Detailed Settings Making detailed settings 12 3 4 1 2 3 35 Procedure 1. Access a setting menu. Press the desired setting button ([FILE/SONG SETTING], METRONOME [SETTING], [VOICE SETTING], [iAFC SETTING], or [FUNCTION]) to access the corresponding setting menu. Press the [EXIT] button any time to close the setting menu. 2. Select the desired parameter or part. Press the setting button, A [-][+], and/or C [-][+] buttons repeatedly as required. 3. Set the parameter or part. Some parameters or parts lead you to more options. Use the B [- (NO)] [+ (YES)], C [-][+], and D [-][+] buttons to select or set the option. To restore the normal parameter value, press the [-] and [+] buttons simultaneously. 4. Write, execute, or save the data. There are two ways to respond to the messages. If "Execute?→" or "Start?→" appears: Press the B [+ (YES)] button to display confirmation ("Sure?→"). To proceed, press the B [+ (YES)] button again. The Clavinova displays "Executing" and writes the data. When the operation is complete, it displays "Completed" for three seconds, then returns to the previous screen. To cancel the operation, press the B [- (NO)] button instead of the B [+ (YES)] button. When "Overwrite?→" appears after the "Completed" message, press the B [+ (YES)] button. A B Quantize Execute?--> Strength=100% 1/4 NO YES C D 11 1 80 CLP-380 Owner's Manual
-
 1
1 -
2
-
3
-
4
-
5
-
6
-
7
-
8
-
9
-
10
-
11
-
12
-
13
-
14
-
15
-
16
-
17
-
18
-
19
-
20
-
21
-
22
-
23
-
24
-
25
-
26
-
27
-
28
-
29
-
30
-
31
-
32
-
33
-
34
-
35
-
36
-
37
-
38
-
39
-
40
-
41
-
42
-
43
-
44
-
45
-
46
-
47
-
48
-
49
-
50
-
51
-
52
-
53
-
54
-
55
-
56
-
57
-
58
-
59
-
60
-
61
-
62
-
63
-
64
-
65
-
66
-
67
-
68
-
69
-
70
-
71
-
72
-
73
-
74
-
 75
75 -
 76
76 -
 77
77 -
 78
78 -
 79
79 -
 80
80 -
 81
81 -
 82
82 -
 83
83 -
 84
84 -
 85
85 -
86
-
87
-
88
-
89
-
90
-
91
-
92
-
93
-
94
-
95
-
96
-
97
-
98
-
99
-
100
-
101
-
102
-
103
-
104
-
105
-
106
-
107
-
108
-
109
-
110
-
111
-
112
-
113
-
114
-
115
-
116
-
117
-
118
-
119
-
120
-
121
-
122
-
123
-
124
-
125
-
126
-
127
-
128
-
129
-
130
-
131
-
132
-
133
-
134
-
135
-
136
 |
 |