Yamaha PSR-620 Owner's Manual - Page 53
Toofunky
 |
View all Yamaha PSR-620 manuals
Add to My Manuals
Save this manual to your list of manuals |
Page 53 highlights
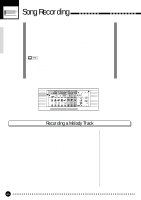
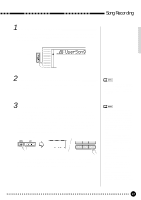
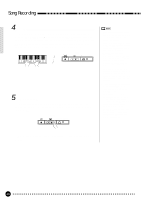
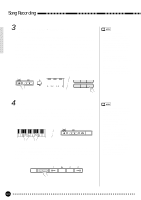
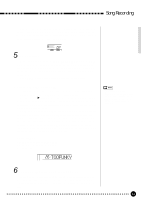
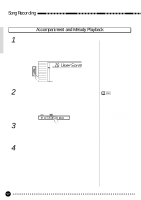
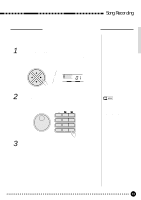
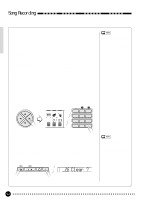
Song Recording Play the required chords in the Auto Accompaniment section of the keyboard. If you've also selected the MELODY track to be recorded, play the melody on the right-hand section of the keyboard. The MEASURE number on the display will increment as recording progresses. a02 MEASURE 5 Stop Recording ...Stop recording by pressing the SONG [PLAY/STOP] button, the AUTO ACCOMPANIMENT [START/STOP] button, or stop with an ending by pressing the AUTO ACCOMPANIMENT [ENDING] button. The [REC] button indicator will go out and the MEASURE number on the display will return to "01". The ACCOMP track volume setting will appear on the display. q Enter a New Name for the Song If you want to enter a descriptive name for the user song (song number "26"), enter your original song name, this is recommended. Use the cursor [>] button to move the cursor to the first (left most) character of the song name in the display. A song name can consist of up to 8 characters. The position of the character you want to enter or change can be selected by moving the cursor. Using the [-/NO] and [+/YES] buttons or the data dial, enter the desired character listed below. The number buttons can also be used to enter the number. If you want to insert an underline character at the cursor position, press the cursor [v] button. If you want to delete a character at the cursor position, press the cursor [w] button. When you've finished entering the song name, move the cursor to the position other than the song name so that the newly entered song name will be memorized. Character List ABCDEFGHIJKLMNOPQRSTUVWXYZ abcdefghijklmnopqrstuvwxyz 0123456789- • The Song data including it's name is retained in memory even when the power switch is turned OFF, as long as the batteries are installed or the AC adaptor is connected. 126 TOOFUNKY 6 Save Your Completed Song to Floppy Disk When you've finished recording your song - or have recorded as much as you want to in the current session - save your song to floppy disk as described on page 66. Making this step a habit will prevent accidental loss of data. 51
-
 1
1 -
2
-
3
-
4
-
5
-
6
-
7
-
8
-
9
-
10
-
11
-
12
-
13
-
14
-
15
-
16
-
17
-
18
-
19
-
20
-
21
-
22
-
23
-
24
-
25
-
26
-
27
-
28
-
29
-
30
-
31
-
32
-
33
-
34
-
35
-
36
-
37
-
38
-
39
-
40
-
41
-
42
-
43
-
44
-
45
-
46
-
47
-
 48
48 -
 49
49 -
 50
50 -
 51
51 -
 52
52 -
 53
53 -
 54
54 -
 55
55 -
 56
56 -
 57
57 -
 58
58 -
59
-
60
-
61
-
62
-
63
-
64
-
65
-
66
-
67
-
68
-
69
-
70
-
71
-
72
-
73
-
74
-
75
-
76
-
77
-
78
-
79
-
80
-
81
-
82
-
83
-
84
-
85
-
86
-
87
-
88
-
89
-
90
-
91
-
92
-
93
-
94
-
95
-
96
-
97
-
98
-
99
-
100
-
101
-
102
-
103
-
104
-
105
-
106
-
107
-
108
-
109
-
110
-
111
 |
 |