Yamaha PSR-S950 Reference Manual - Page 70
Multi Pad Editing, Multi Pad-Step Recording via MIDI
 |
View all Yamaha PSR-S950 manuals
Add to My Manuals
Save this manual to your list of manuals |
Page 70 highlights
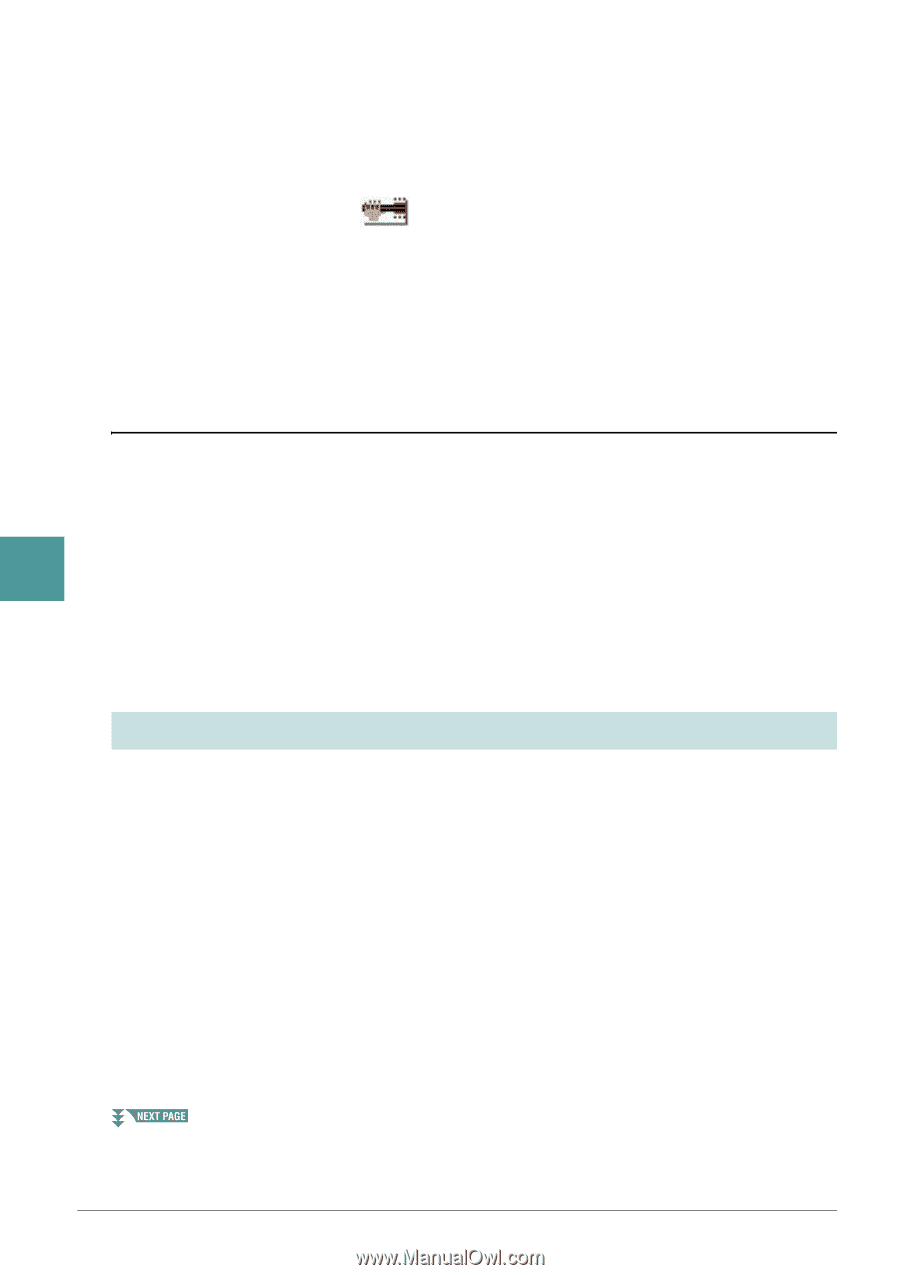
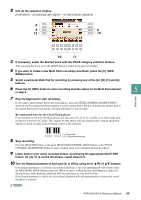
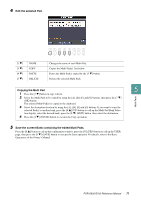
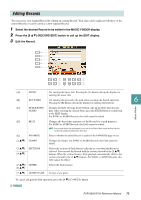
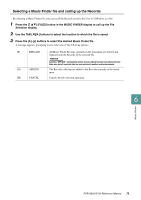
11 Turn Chord Match of each pad On or Off by using the [5 ]-[8 ] buttons. If the Chord Match parameter is on for the selected pad, the corresponding pad is played back according to the chord specified in the chord section of the keyboard generated by turning [ACMP] on, or specified in the LEFT Voice section of the keyboard generated by turning [LEFT] on (when turning the [ACMP] off). NOTE Multi Pads indicated with the following icon (hand on fretboard) are created with Guitar NTT (page 40) to produce natural chord voicings characteristic of the guitar. Keep in mind that if the Chord Match setting is set to off, these Multi Pads may not sound appropriately. 12 Press the [D] (NAME) button, then enter the desired name for each Multi Pad. 13 If you want to record other Multi Pads, repeat steps 5-12. 14 Press the [I] (SAVE) button to save the Multi Pad, then save the Multi Pad data as a Bank containing a set of four Pads. Multi Pad-Step Recording via MIDI Step Recording can be executed in the EDIT page. After selecting a Multi Pad in step 5 on page 69, press the TAB [F] button to select the EDIT page. The EDIT page indicates the Event list, which lets you record notes with absolutely precise timing. This Step Recording procedure is essentially the same as that for Song Recording (pages 52-55), with the exception of the points listed below: 5 • There is no LCD button for switching channels, since Multi Pads contain data for only a single channel. • In the Multi Pad Creator, only channel events and System Exclusive messages can be entered. Chord and Lyrics events are not available. You can switch between the two types of Event Lists by pressing the [F] but- ton. Multi Pads Multi Pad Editing You can manage (rename, copy, paste and delete) your created Multi Pad Bank and each of the Multi Pads belonging to the Bank. For instructions on managing the Multi Pad Bank, refer to the Basic Operations of the Owner's Manual. This section covers how to manage each Multi Pad. 1 Select the Multi Pad Bank containing the Multi Pad to be edited. Press the MULTI PAD CONTROL [SELECT] button to call up the Multi Pad Bank Selection display, use the TAB [E][F] buttons to call up "PRESET," "USER" or "USB" (when USB flash memory is connected), then use the [A]-[J] buttons to select the desired Multi Pad Bank. NOTE If you select a Preset Multi Pad Bank then edit the Multi Pads, save your edits to "USER" or "USB" (when USB flash memory is connected) as a User Bank. 2 Press the [8 ] (EDIT) button to call up the MULTI PAD EDIT display. 3 Select a particular Multi Pad to be edited by pressing any of the [A], [B], [F] and [G] buttons. 70 PSR-S950/S750 Reference Manual
-
 1
1 -
2
-
3
-
4
-
5
-
6
-
7
-
8
-
9
-
10
-
11
-
12
-
13
-
14
-
15
-
16
-
17
-
18
-
19
-
20
-
21
-
22
-
23
-
24
-
25
-
26
-
27
-
28
-
29
-
30
-
31
-
32
-
33
-
34
-
35
-
36
-
37
-
38
-
39
-
40
-
41
-
42
-
43
-
44
-
45
-
46
-
47
-
48
-
49
-
50
-
51
-
52
-
53
-
54
-
55
-
56
-
57
-
58
-
59
-
60
-
61
-
62
-
63
-
64
-
 65
65 -
 66
66 -
 67
67 -
 68
68 -
 69
69 -
 70
70 -
 71
71 -
 72
72 -
 73
73 -
 74
74 -
 75
75 -
76
-
77
-
78
-
79
-
80
-
81
-
82
-
83
-
84
-
85
-
86
-
87
-
88
-
89
-
90
-
91
-
92
-
93
-
94
-
95
-
96
-
97
-
98
-
99
-
100
-
101
-
102
-
103
-
104
-
105
-
106
-
107
-
108
-
109
-
110
-
111
-
112
-
113
-
114
-
115
-
116
-
117
-
118
 |
 |