Brother International 2700CN Network Users Manual - English - Page 109
Configuring the IP Address with BRCONFIG, Local>, SET IP ADDRESS, ipaddress
 |
UPC - 012502607670
View all Brother International 2700CN manuals
Add to My Manuals
Save this manual to your list of manuals |
Page 109 highlights
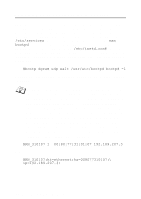
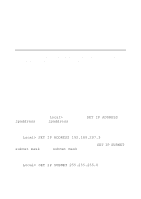
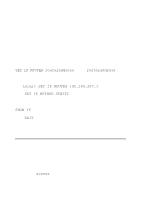
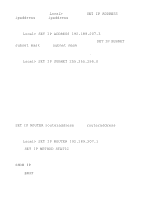
Certain BOOTP host software implementations will not respond to BOOTP requests if you have not included a download filename in the configuration file; if this is the case, simply create a null file on the host and specify the name of this file and its path in the configuration file. As with rarp, the print server will load its IP address from the BOOTP server when the printer is powered on. Configuring the IP Address with BRCONFIG Users of Novell networks have additional alternatives for configuring the IP address of Brother print servers by using the remote console facility. On a NetWare network, you can use the BRCONFIG utility which is included with every print server. Execute BRCONFIG from the Windows® menu. Select the corresponding server name from the list of print servers. When you get the message that the print server is connected, type the default password access in response to the "#" prompt. You will be prompted for a user name. Enter anything in response to this prompt. You will then get the Local> prompt. Type SET IP ADDRESS ipaddress, where ipaddress is the desired IP address you wish to assign to the print server (check with your network manager for the IP address to use). For example: Local> SET IP ADDRESS 192.189.207.3 You will now need to set the subnet mask by typing SET IP SUBNET subnet mask, where subnet mask is the desired subnet mask you wish to assign to the print server (check with your network manager for the subnet mask to use). For example: Local> SET IP SUBNET 255.255.255.0 TCP/IP CONFIGURATION 10 - 10
-
 1
1 -
2
-
3
-
4
-
5
-
6
-
7
-
8
-
9
-
10
-
11
-
12
-
13
-
14
-
15
-
16
-
17
-
18
-
19
-
20
-
21
-
22
-
23
-
24
-
25
-
26
-
27
-
28
-
29
-
30
-
31
-
32
-
33
-
34
-
35
-
36
-
37
-
38
-
39
-
40
-
41
-
42
-
43
-
44
-
45
-
46
-
47
-
48
-
49
-
50
-
51
-
52
-
53
-
54
-
55
-
56
-
57
-
58
-
59
-
60
-
61
-
62
-
63
-
64
-
65
-
66
-
67
-
68
-
69
-
70
-
71
-
72
-
73
-
74
-
75
-
76
-
77
-
78
-
79
-
80
-
81
-
82
-
83
-
84
-
85
-
86
-
87
-
88
-
89
-
90
-
91
-
92
-
93
-
94
-
95
-
96
-
97
-
98
-
99
-
100
-
101
-
102
-
103
-
 104
104 -
 105
105 -
 106
106 -
 107
107 -
 108
108 -
 109
109 -
 110
110 -
 111
111 -
 112
112 -
 113
113 -
 114
114 -
115
-
116
-
117
-
118
-
119
-
120
-
121
-
122
-
123
-
124
-
125
-
126
-
127
-
128
-
129
-
130
-
131
-
132
-
133
-
134
 |
 |
