Brother International BES-100E BE-100 Workbook - English - Page 37
Multipass Stitching
 |
View all Brother International BES-100E manuals
Add to My Manuals
Save this manual to your list of manuals |
Page 37 highlights
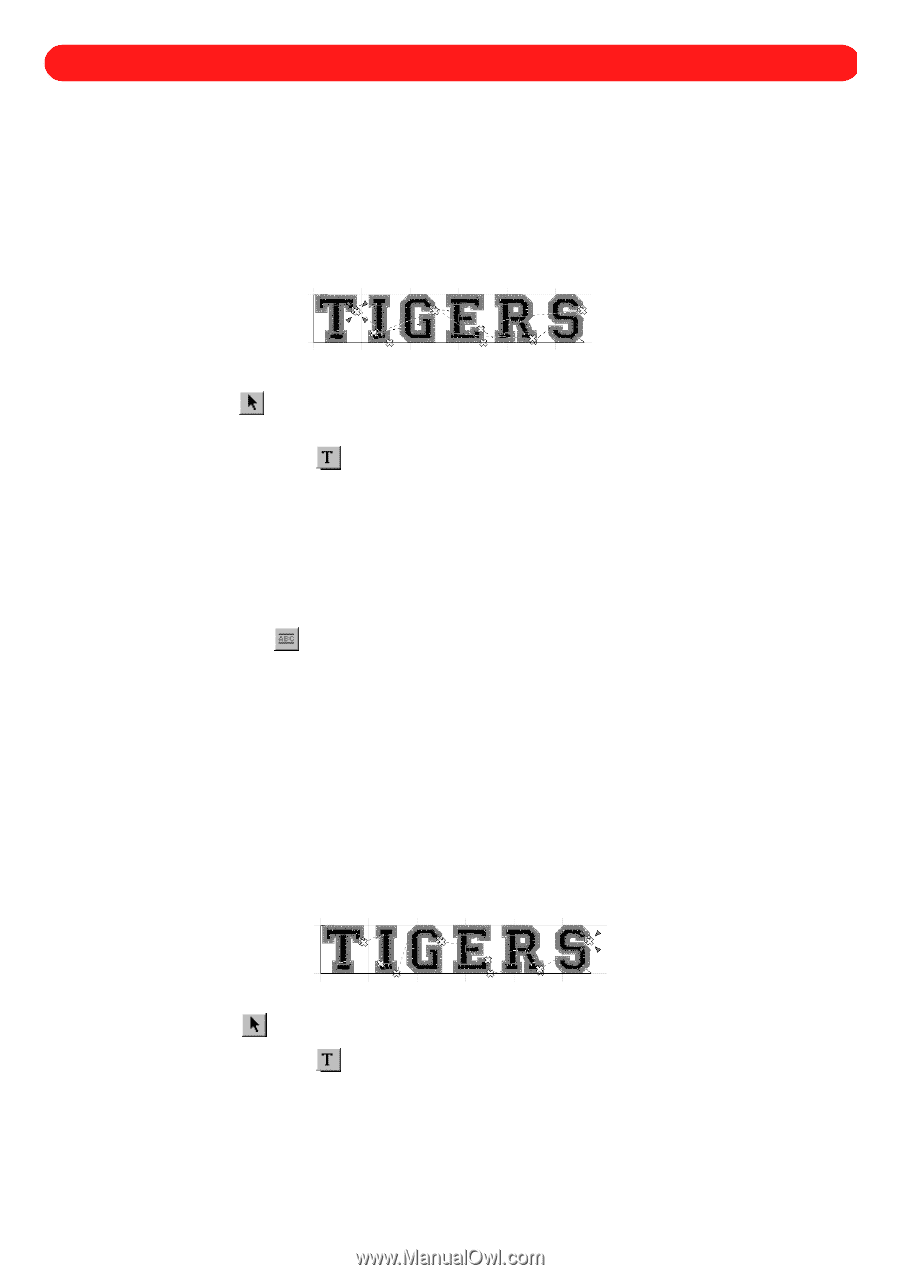
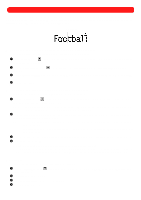
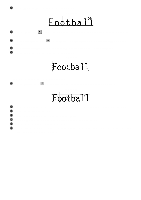
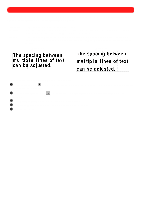
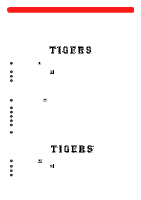
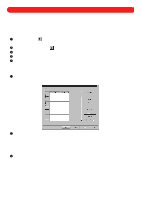
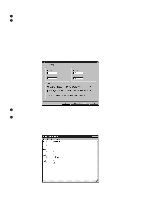
Chapter 13: Multipass Stitching Multipass stitching is used to sew multicolored text more efficiently by reducing the number of times the needles (each of which contain thread of a different color) need to be changed. For example, with the two-color font Collegetown, both colors of a character would be sewn before continuing to the next one. This would mean that the text shown in figure 67 below would need 12 needle (thread color) changes, instead of two if the Multipass stitching setting was selected to sew all of one color before sewing all of the other. NOTE: The placemarker (four red arrows) shows where the sewing of the entire design ends. Figure 67 To select multipass stitching: 1 Using the Move tool ( ), select the text shape that you wish to change. "Dancing ants" (moving dashes) appear around the shape. 2 Click the Text Properties button ( ) in the Text bar. The Text tab of the Text Properties dialog box appears. 3 Select the Multipass stitching check box. A check mark will appear. 4 Click the OK button. s Example To create the multicolored text shape "TIGERS", then reduce the number of needle (thread color) changes needed for sewing it: 1 Click the Simple Text tool ( dialog box appears. ), and then right-click in the design area. The Text tab of the Text Properties 2 In the Text box, type "TIGERS" (in uppercase letters). 3 In the Font drop-down list, select "Collegetown" (a two-color font). 4 In the Size box, type "1.0". 5 In the Text box, drag the pointer across the all of the text to highlight it. 6 Select the black thread color from the Needle drop-down list, and the red orange thread color from the Secondary needle drop-down list. 7 Click the OK button. The text appears as shown below and would be sewn from left to right with 12 needle (thread color) changes. Figure 68 8 Using the Move tool ( ), select the text shape. "Dancing ants" appear around the shape. 9 Click the Text Properties button ( ) in the Text bar. The Text tab of the Text Properties dialog box appears. 0 Select the Multipass stitching check box. A check mark will appear. A Click the OK button. The text would now be sewn with only two needle (thread color) changes, as shown in figure 67 above. 34
-
 1
1 -
2
-
3
-
4
-
5
-
6
-
7
-
8
-
9
-
10
-
11
-
12
-
13
-
14
-
15
-
16
-
17
-
18
-
19
-
20
-
21
-
22
-
23
-
24
-
25
-
26
-
27
-
28
-
29
-
30
-
31
-
 32
32 -
 33
33 -
 34
34 -
 35
35 -
 36
36 -
 37
37 -
 38
38 -
 39
39 -
 40
40 -
 41
41 -
 42
42 -
43
-
44
-
45
-
46
-
47
-
48
-
49
-
50
-
51
-
52
-
53
-
54
-
55
-
56
-
57
-
58
-
59
-
60
-
61
-
62
-
63
-
64
-
65
-
66
-
67
-
68
-
69
-
70
-
71
-
72
-
73
-
74
-
75
-
76
-
77
-
78
-
79
-
80
-
81
-
82
-
83
-
84
-
85
-
86
-
87
-
88
-
89
-
90
-
91
-
92
-
93
-
94
-
95
-
96
-
97
-
98
-
99
-
100
-
101
-
102
-
103
-
104
-
105
-
106
-
107
-
108
-
109
-
110
-
111
-
112
-
113
-
114
-
115
-
116
-
117
-
118
-
119
 |
 |