Brother International BES-100E BE-100 Workbook - English - Page 46
Converting Text Shapes to Graphic Shapes Paths and Regions
 |
View all Brother International BES-100E manuals
Add to My Manuals
Save this manual to your list of manuals |
Page 46 highlights
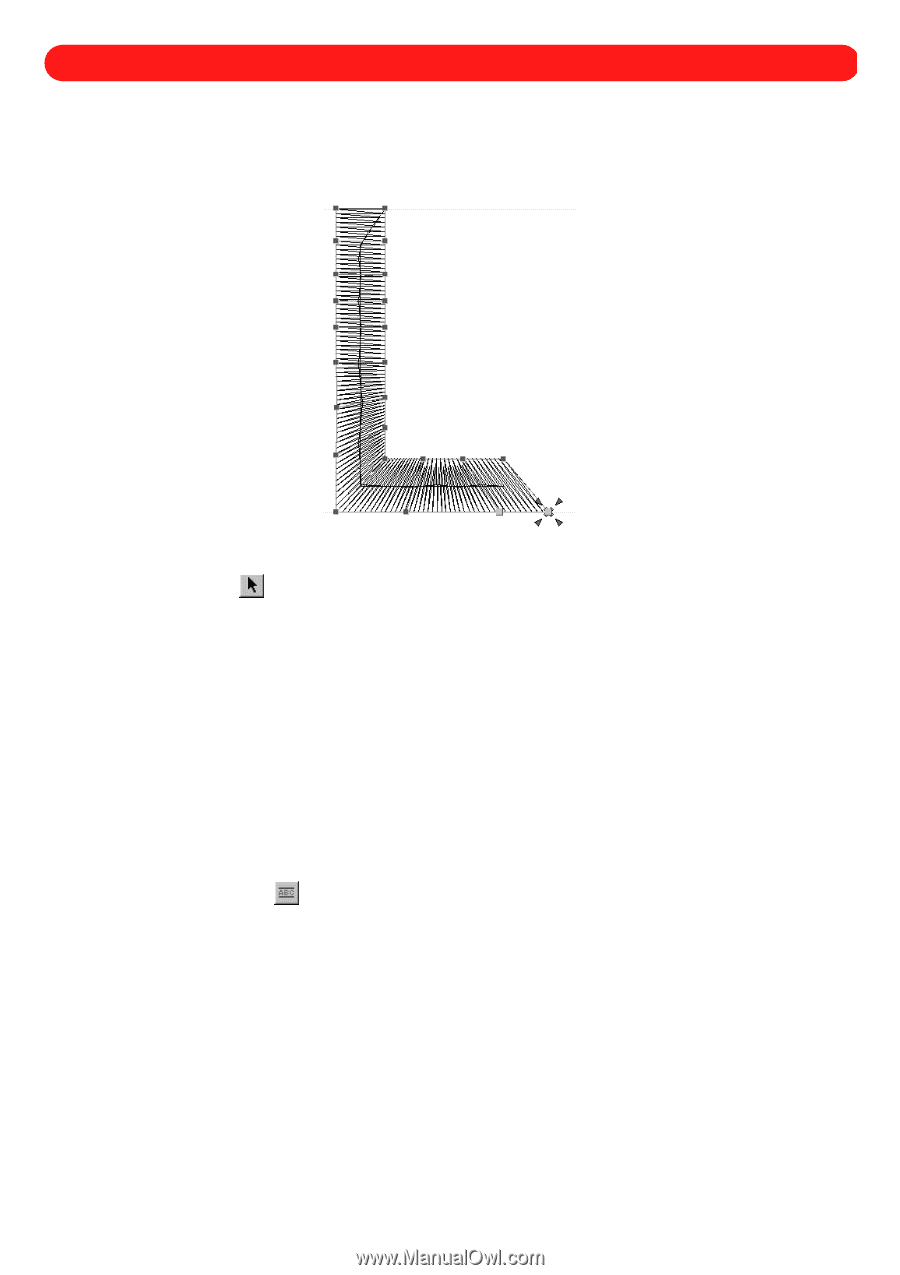
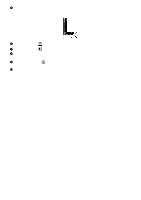
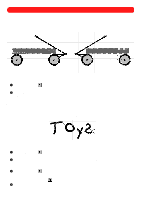
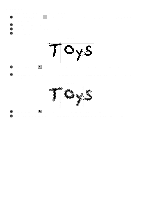
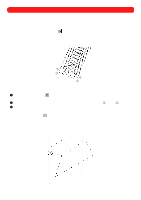
Chapter 18: Converting Text Shapes to Graphic Shapes (Paths and Regions) Converting the characters of a text shape into graphic shapes, consisting of various paths and regions, allows you to reshape them by manipulating individual punchpoints. Figure 76 To convert a text shape to graphic shapes of paths and regions: 1 Using the Move tool ( ), select the text shape that you wish to convert. "Dancing ants" (moving dashes) appear around the shape. 2 On the Shape drop-down menu, point to Convert To, and then click Paths/Regions. The selected text shape is converted to paths and regions, and the punchpoints for all shapes within the design appear in blue. NOTE: For more information about selecting and moving punchpoints, see chapter 4. For more information about inserting new punchpoints as well as setting entry and exit points, see chapter 24. When widening satin-stitched columns, be sure not to make the stitches too wide. A wide stitch length will not hold well during laundering and, depending on the garment, has a tendency to snag and tear, causing the stitches to unravel. s Example To convert a text shape to paths and regions: 1 Click the Simple Text tool ( dialog box appears. ), and then right-click in the design area. The Text tab of the Text Properties 2 In the Text box, type "L". 3 In the Font drop-down list, select "Helsinki". 4 In the Size box, type "1.0". 43
-
 1
1 -
2
-
3
-
4
-
5
-
6
-
7
-
8
-
9
-
10
-
11
-
12
-
13
-
14
-
15
-
16
-
17
-
18
-
19
-
20
-
21
-
22
-
23
-
24
-
25
-
26
-
27
-
28
-
29
-
30
-
31
-
32
-
33
-
34
-
35
-
36
-
37
-
38
-
39
-
40
-
 41
41 -
 42
42 -
 43
43 -
 44
44 -
 45
45 -
 46
46 -
 47
47 -
 48
48 -
 49
49 -
 50
50 -
 51
51 -
52
-
53
-
54
-
55
-
56
-
57
-
58
-
59
-
60
-
61
-
62
-
63
-
64
-
65
-
66
-
67
-
68
-
69
-
70
-
71
-
72
-
73
-
74
-
75
-
76
-
77
-
78
-
79
-
80
-
81
-
82
-
83
-
84
-
85
-
86
-
87
-
88
-
89
-
90
-
91
-
92
-
93
-
94
-
95
-
96
-
97
-
98
-
99
-
100
-
101
-
102
-
103
-
104
-
105
-
106
-
107
-
108
-
109
-
110
-
111
-
112
-
113
-
114
-
115
-
116
-
117
-
118
-
119
 |
 |