Canon CONSOLE Image Control & Storage Software v1.1 CONSOLE_V1-1_ENG.pdf - Page 41
Passing Down the Custom Preset Setting to the Other Camcorders
 |
View all Canon CONSOLE Image Control & Storage Software v1.1 manuals
Add to My Manuals
Save this manual to your list of manuals |
Page 41 highlights
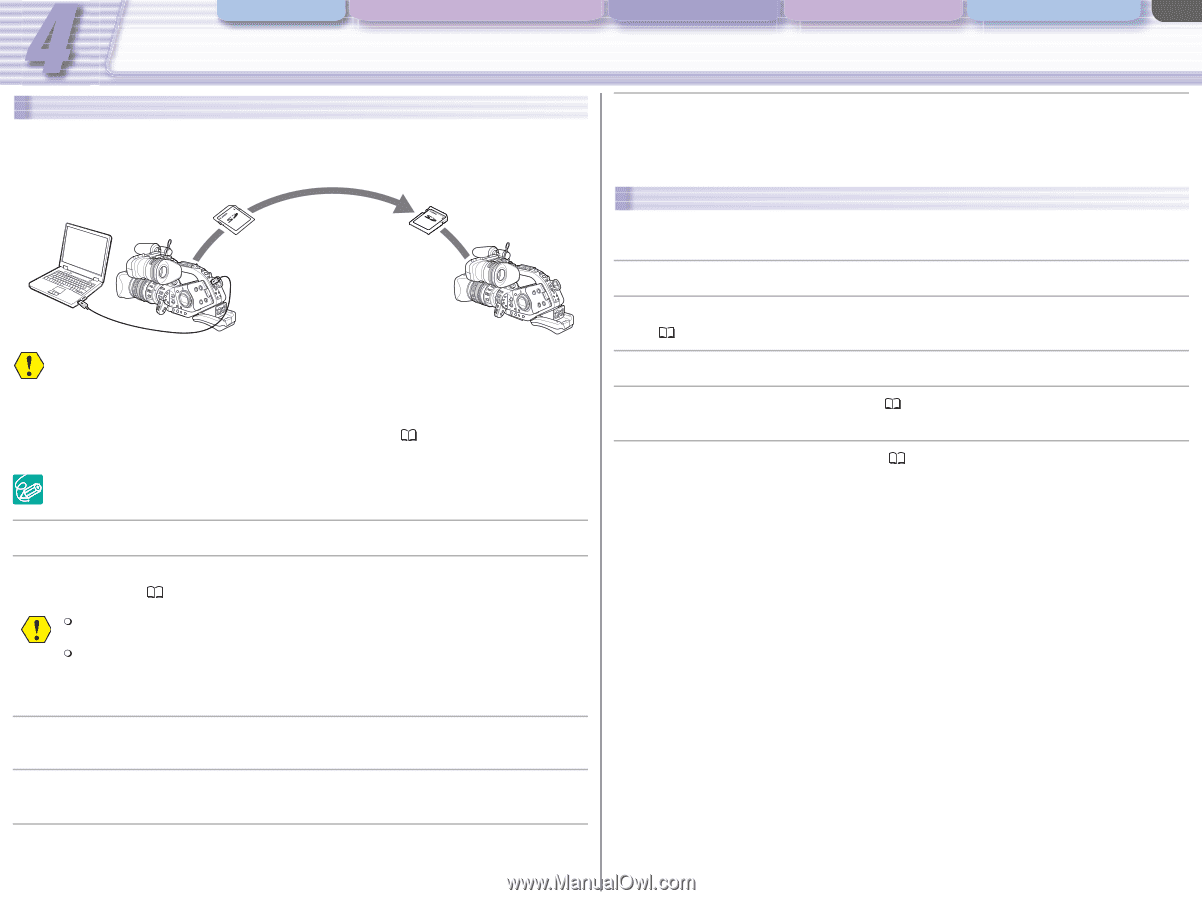
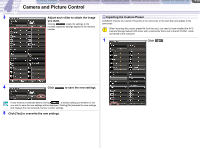
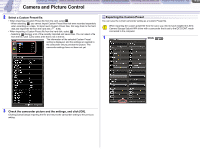
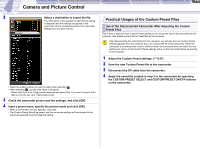
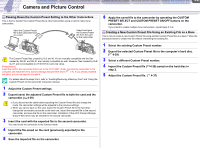
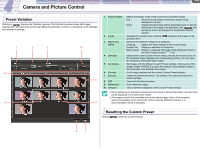
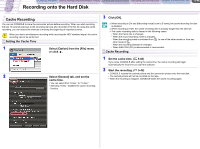
CONSOLE Windows Various Settings and [Performance Check] Camera and Picture Control Recording onto the Hard Disk Playback the Recorded Files Camera and Picture Control 4-41 Passing Down the Custom Preset Setting to the Other Camcorders This is how to transfer the Custom Preset file to other camcorders using a card to make clone camcorders. Save the Custom Preset file to the camcorder and on a card. Import and save the Custom Preset file from the card to the camcorder. The Custom Preset files created by XL2 and XL H1 are mutually compatible and the files created by XH G1 and XH A1 are mutually compatible as well. However, files created by XL2/ XL H1 are not compatible to XH G1/XH A1 and vice versa. [Preparations] Insert the card to the camcorder that is set to the EXT.CONT. mode. Connect the camcorder to the computer and install the AV/C Camera Storage Subunit-WIA driver ( 1-7). If you already installed the driver, you do not need to re-install it. For details about the steps 3 to 6, refer to "Inserting/Removing a Memory Card" and "Using the Custom Preset" on the camcorder instruction manual. 1 Adjust the Custom Preset settings. 2 Export (save) the adjusted Custom Preset file to both the card and the camcorder. ( 4-39) If you disconnect the cable before exporting the Custom Preset file and change the mode, the camcorder settings will be adjusted to the previous settings. When you cannot save on the card, export the Custom Preset file to the hard disk, change the connected camcorder to the next one, import the exported file to the second camcorder, and save the file on the camcorder. Installation of the AV/C Camera Storage Subunit-WIA driver may be needed for the second camcorder. 3 Insert the card with the exported file to the second camcorder. You need to set the camcorder to the Camera mode. 4 Import the file saved on the card (previously exported) to the camcorder. 5 Save the imported file on the camcorder. 6 Apply the saved file to the camcorder by operating the CUSTOM PRESET SELECT and CUSTOM PRESET ON/OFF buttons on the camcorder. If you intend to create multiple clone camcorders, repeat steps 3 to 6. Creating a New Custom Preset File Using an Existing File as a Base This is how to create a new Custom Preset file using another Custom Preset file as a base. Follow the procedure below to create new file without overwriting the existing file. 1 Select the existing Custom Preset number. 2 Export the selected Custom Preset file to the computer's hard disc. ( 4-39) 3 Select a different Custom Preset number. 4 Import the Custom Preset file ( 4-38) saved on the hard disc in step 2. 5 Adjust the Custom Preset file. ( 4-37)
-
 1
1 -
2
-
3
-
4
-
5
-
6
-
7
-
8
-
9
-
10
-
11
-
12
-
13
-
14
-
15
-
16
-
17
-
18
-
19
-
20
-
21
-
22
-
23
-
24
-
25
-
26
-
27
-
28
-
29
-
30
-
31
-
32
-
33
-
34
-
35
-
 36
36 -
 37
37 -
 38
38 -
 39
39 -
 40
40 -
 41
41 -
 42
42 -
 43
43 -
 44
44 -
 45
45 -
 46
46 -
47
-
48
-
49
-
50
-
51
-
52
-
53
-
54
-
55
-
56
-
57
-
58
-
59
-
60
-
61
-
62
 |
 |