Casio CTK 671 User Guide - Page 47
Reca l l
 |
UPC - 079767312459
View all Casio CTK 671 manuals
Add to My Manuals
Save this manual to your list of manuals |
Page 47 highlights
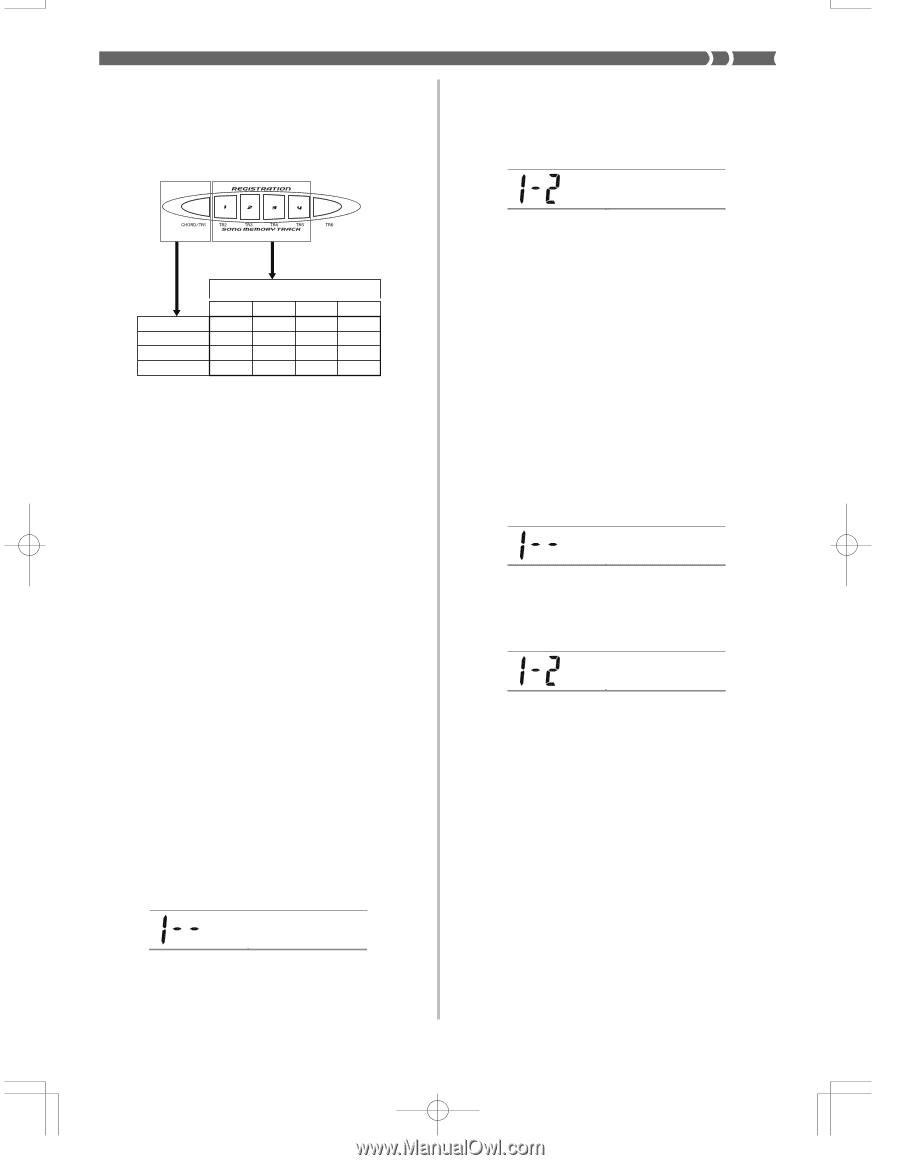
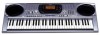
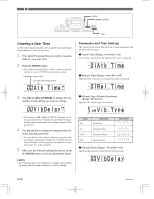
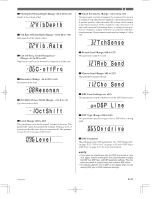
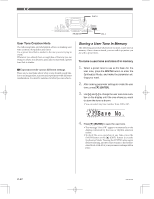
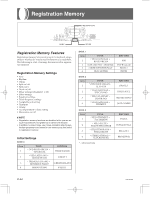
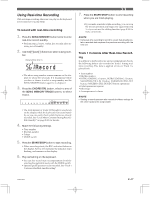
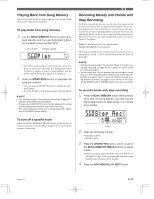
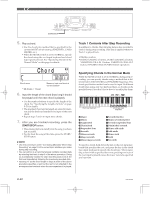
Setup Names You can assign setups into one of 16 areas, which you can select using BANK buttons 1 through 4 and the four REGISTRATION buttons. Area names range from 0-1 through 3-4 as shown below. BANK STORE 1 2 BANK 0 BANK 1 BANK 2 BANK 3 1 2 3 4 0-1 0-2 0-3 0-4 1-1 1-2 1-3 1-4 2-1 2-2 2-3 2-4 3-1 3-2 3-3 3-4 1 Use the BANK button to select the bank. Each press of BANK cycle through the bank numbers from 0 to 3. 2 Pressing one of the REGISTRATION buttons (1 to 4) selects the corresponding area in the currently selected bank. ❚ NOTE • Whenever you save a setup and assign it a setup name, any setup data previously assigned to that name is replaced with the new data. • You can use the keyboard's MIDI capabilities to save your setup data to a computer or other external storage device. See "Using the Data Download Service" on page E-68 for details. To Save a Setup in Registration Memory 1. Select a tone and rhythm, and otherwise set up the keyboard the way you want it. • See "Registration Memory Settings" on page E-44 for details on what data is stored in the registration memory. 2. Use the BANK button to select the bank you want. • If you do not perform any operation for about five seconds after pressing the BANK button, the display returns to the contents in step 1, above. • Bank 1 selected. Bank 3. While holding down the STORE button, press a REGISTRATION button (1 to 4). • The following display appears when you press the 2 button. Store 4. Release the STORE and REGISTRATION buttons. ❚ NOTE • The setup is saved as soon as you press a REGISTRATION button in step 3, above. To Recall a Setup from Registration Memory 1. Use the BANK button to select the bank. • If you do not perform any operation for about five seconds after pressing the BANK button, the keyboard automatically clears the registration memory recall screen. Bank 2. Press the REGISTRATION button (1 to 4) for the area whose setup you want to recall. Reca l l • The setup name along with the message "Recall" appears on the display. ❚ NOTE • If you press a REGISTRATION button without using the BANK button to select a bank first, the last bank number selected is used. 703A-E-047A E-45
-
 1
1 -
2
-
3
-
4
-
5
-
6
-
7
-
8
-
9
-
10
-
11
-
12
-
13
-
14
-
15
-
16
-
17
-
18
-
19
-
20
-
21
-
22
-
23
-
24
-
25
-
26
-
27
-
28
-
29
-
30
-
31
-
32
-
33
-
34
-
35
-
36
-
37
-
38
-
39
-
40
-
41
-
 42
42 -
 43
43 -
 44
44 -
 45
45 -
 46
46 -
 47
47 -
 48
48 -
 49
49 -
 50
50 -
 51
51 -
 52
52 -
53
-
54
-
55
-
56
-
57
-
58
-
59
-
60
-
61
-
62
-
63
-
64
-
65
-
66
-
67
-
68
-
69
-
70
-
71
-
72
-
73
-
74
-
75
-
76
-
77
-
78
-
79
-
80
-
81
-
82
-
83
-
84
-
85
-
86
-
87
-
88
-
89
-
90
-
91
-
92
-
93
-
94
-
95
-
96
-
97
-
98
 |
 |