Casio CTK 671 User Guide - Page 52
Chord
 |
UPC - 079767312459
View all Casio CTK 671 manuals
Add to My Manuals
Save this manual to your list of manuals |
Page 52 highlights
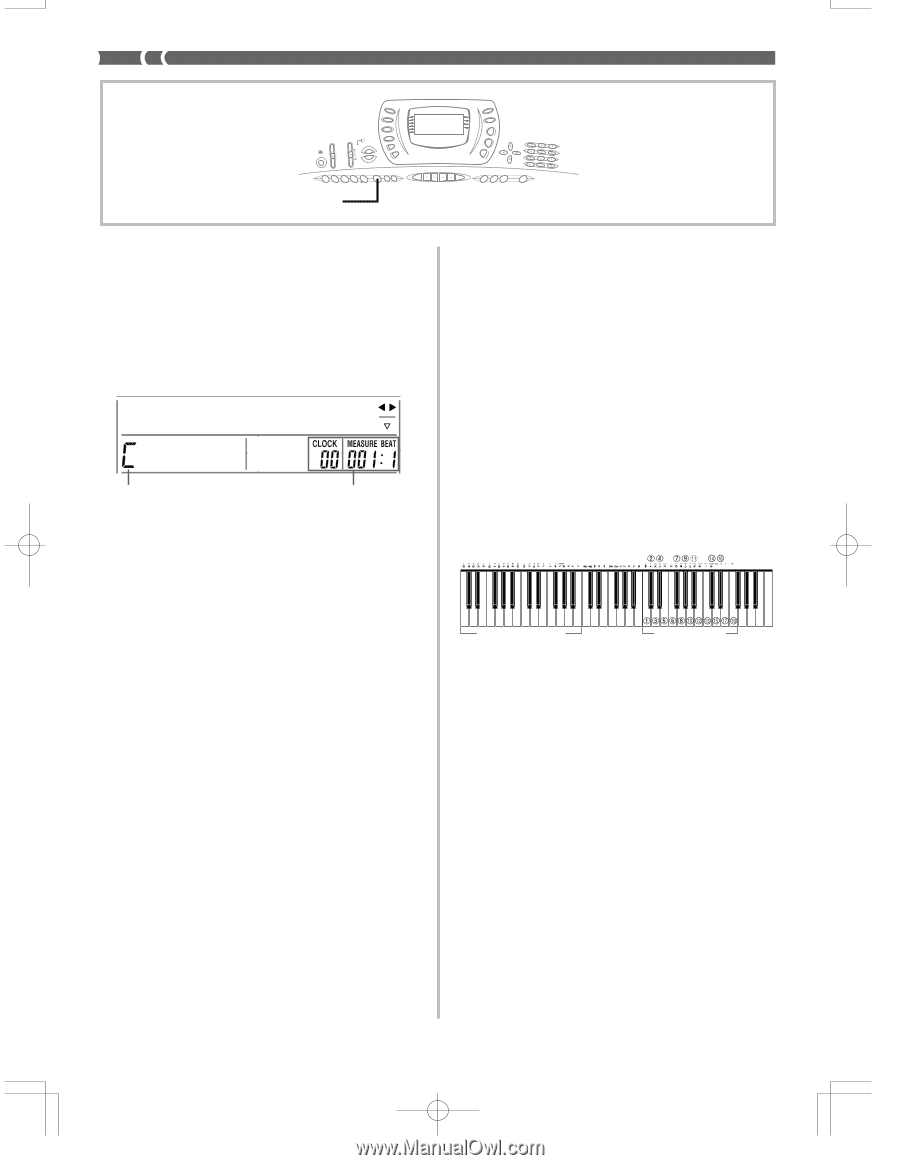
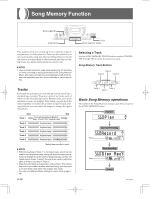
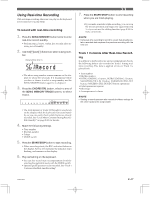
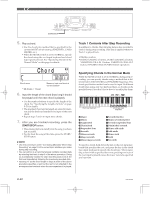
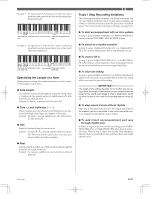
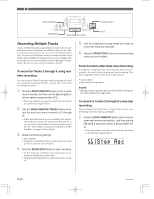
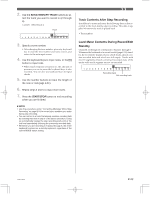
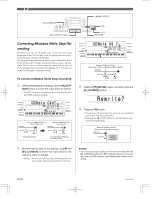
START/STOP 5. Play a chord. • Use the chord play method that is specified by the current MODE switch setting (FINGERED, CASIO CHORD, etc.). • When the MODE switch is set to NORMAL, specify the chord using the root input keyboard and chord type input keyboard. See "Specifying Chords in the Normal Mode" on this page for details. Cho r d Chord name * 96 clocks = 1 beat Measure, beat, and clock at current location* 6. Input the length of the chord (how long it should be played until the next chord is played). • Use the number buttons to specify the length of the chord. See "Specifying the Length of a Note" on page E-51 for details. • The specified chord and its length are stored in memory and the keyboard stands by for input of the next chord. • Repeat steps 5 and 6 to input more chords. 7. After you are finished recording, press the START/STOP button. • This enters playback standby for the song you have just recorded. • To play back the song at this time, press the START/ STOP button. ❚ NOTE • Use the procedure under "Correcting Mistakes While Step Recording" on page E-54 to correct input mistakes you make during step recording. • You can add on to a track that already contains recorded data by selecting that track in step 3 of the above procedure. Doing so automatically locates the step recording start point at the first beat immediately following the previously recorded data. • Inputting "0" as the chord length in steps 5 and 6 of the above procedure specifies a rest, but the rest is not reflected in the accompaniment contents when the accompaniment is played. Track 1 Contents After Step Recording In addition to chords, the following data is also recorded to Track 1 during step recording. This data is applied whenever Track 1 is played back. • Rhythm number • INTRO/ENDING 1 button, INTRO/ENDING 2 button, VARIATION/FILL-IN 1 button, VARIATION/FILL-IN 2 button, SYNCRHO/FILL-IN NEXT button operations Specifying Chords in the Normal Mode When the MODE switch is set to NORMAL during step recording, you can specify chords using a method that is different from CASIO CHORD and FINGERED fingerings. This chord specification method can be used to input 18 different chord types using only two keyboard keys, so chords can be specified even if you don't know how to actually play them. Root input keyboard Chord type input keyboard 1Major 2Minor 3Augmented 4Diminished 5Suspended four 6Seventh 7Minor seventh 8Major seventh 9Minor major seventh 0Seventh flat five AMinor seventh flat five BSeventh suspended four CDiminished seventh DMinor add ninth EAdd ninth FMinor sixth GSixth HSix ninth To specify a chord, hold down the key on the root input keyboard that specifies the root, and press the key in the chord type input keyboard to specify the chord type. When inputting a chord with a specified bass note, pressing two keys of the root input keyboard causes the lower note to be specified as a bass note. E-50 703A-E-052A
-
 1
1 -
2
-
3
-
4
-
5
-
6
-
7
-
8
-
9
-
10
-
11
-
12
-
13
-
14
-
15
-
16
-
17
-
18
-
19
-
20
-
21
-
22
-
23
-
24
-
25
-
26
-
27
-
28
-
29
-
30
-
31
-
32
-
33
-
34
-
35
-
36
-
37
-
38
-
39
-
40
-
41
-
42
-
43
-
44
-
45
-
46
-
 47
47 -
 48
48 -
 49
49 -
 50
50 -
 51
51 -
 52
52 -
 53
53 -
 54
54 -
 55
55 -
 56
56 -
 57
57 -
58
-
59
-
60
-
61
-
62
-
63
-
64
-
65
-
66
-
67
-
68
-
69
-
70
-
71
-
72
-
73
-
74
-
75
-
76
-
77
-
78
-
79
-
80
-
81
-
82
-
83
-
84
-
85
-
86
-
87
-
88
-
89
-
90
-
91
-
92
-
93
-
94
-
95
-
96
-
97
-
98
 |
 |