Casio CTK 671 User Guide - Page 62
Pizz.Str
 |
UPC - 079767312459
View all Casio CTK 671 manuals
Add to My Manuals
Save this manual to your list of manuals |
Page 62 highlights
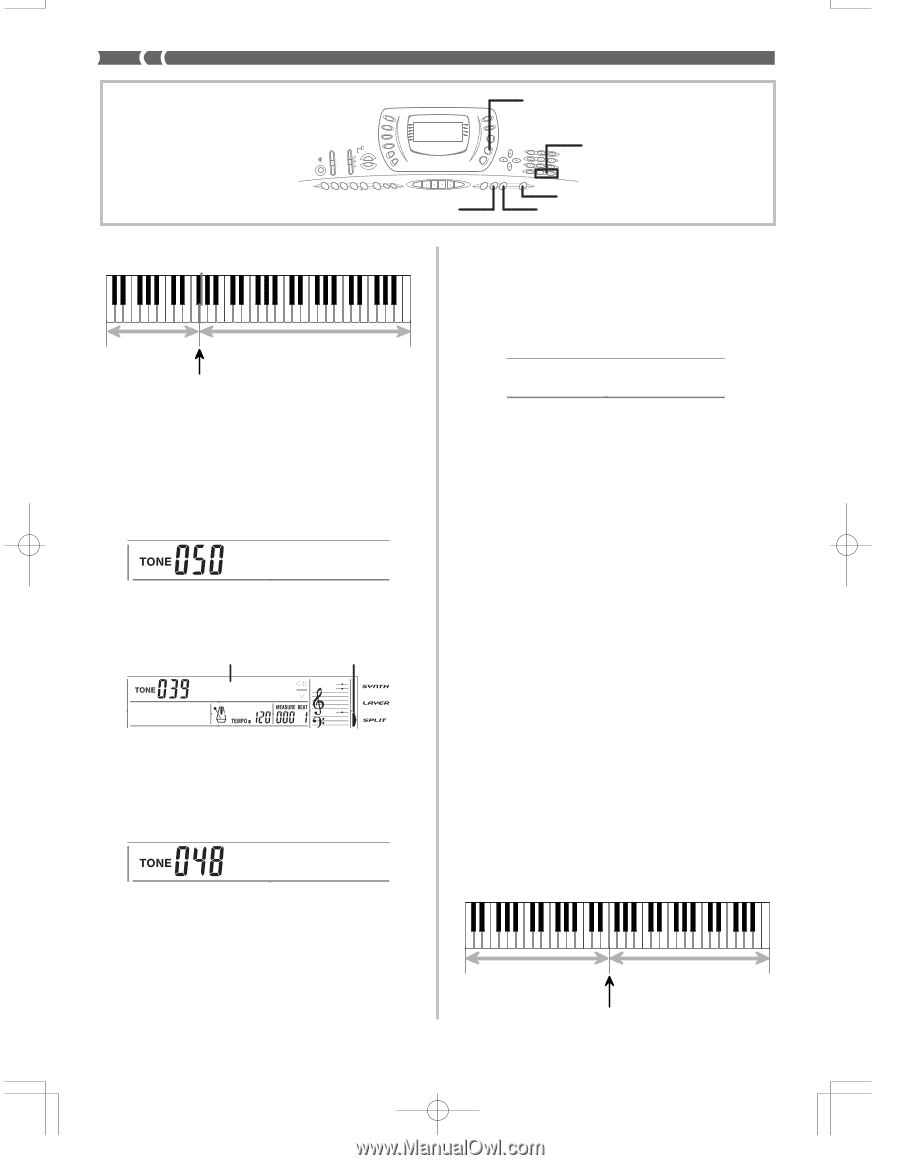
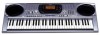
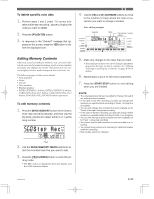
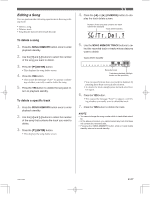
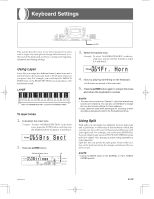
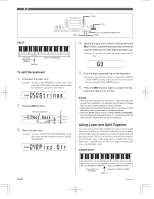
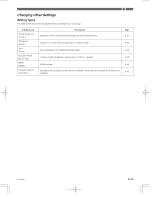
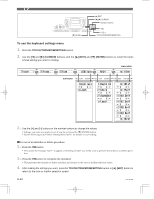
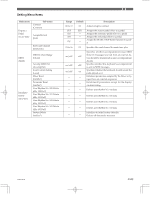
TONE [+]/[-] SPLIT TOUCH/TRANSPOSE/SETTING LAYER SPLIT Split Tone (PIZZICATO STRINGS) Split point Main Tone (STRINGS) 4. Specify the split point. While holding down the SPLIT button, press the keyboard key where you want the leftmost key of the high end range to be. Example: To specify G3 as the split point, press the G3 key. G3 To split the keyboard 1. First select the main tone. Example: To select "050 STRINGS" as the main tone, press the TONE button and then use the number buttons to input 0, 5 and then 0. St r i ngs 2. Press the SPLIT button. Selected split tone Lit Aco .Bass 3. Select the split tone. Example: To select "048 PIZZICATO STRINGS" as the split tone, use the number buttons to input 0, 4 and then 8. Pizz.St r 5. Now try playing something on the keyboard. • Every key from F 3 and below is assigned the PIZZICATO STRINGS tone, while every key from G3 and above is assigned the STRINGS tone. 6. Press the SPLIT button again to unsplit the key- board and return it to normal. ❚ NOTE • The main tone sounds over Channel 1, while the split tone sounds over Channel 3. You can also use the Mixer to change the tone and volume settings for these channels. • Split cannot be used while standing by for recording or while recording is being performed in the Memory Mode. • When the MODE switch is set to CASIO CHORD or FINGERED, the accompaniment keyboard range is in accordance with the split point you specify with the above procedure. Using Layer and Split Together You can use layer and split together to create a layered split keyboard. It makes no difference whether you layer tones first and then split the keyboard, or split the keyboard and then layer tones. When you use layer and split in combination, the high range of the keyboard is assigned two tones (main tone + layered tone), and the low range two tones (split tone + layered split tone). LAYER SPLIT E-60 Split Tone (PIZZICATO STRINGS) + Main Tone (BRASS SECTION) + Layered Split Tone Layered Tone (FRENCH HORN) (STRINGS) Split point 703A-E-062A
-
 1
1 -
2
-
3
-
4
-
5
-
6
-
7
-
8
-
9
-
10
-
11
-
12
-
13
-
14
-
15
-
16
-
17
-
18
-
19
-
20
-
21
-
22
-
23
-
24
-
25
-
26
-
27
-
28
-
29
-
30
-
31
-
32
-
33
-
34
-
35
-
36
-
37
-
38
-
39
-
40
-
41
-
42
-
43
-
44
-
45
-
46
-
47
-
48
-
49
-
50
-
51
-
52
-
53
-
54
-
55
-
56
-
 57
57 -
 58
58 -
 59
59 -
 60
60 -
 61
61 -
 62
62 -
 63
63 -
 64
64 -
 65
65 -
 66
66 -
 67
67 -
68
-
69
-
70
-
71
-
72
-
73
-
74
-
75
-
76
-
77
-
78
-
79
-
80
-
81
-
82
-
83
-
84
-
85
-
86
-
87
-
88
-
89
-
90
-
91
-
92
-
93
-
94
-
95
-
96
-
97
-
98
 |
 |