Casio CTK 671 User Guide - Page 50
Mixer Mode Settings - power supply
 |
UPC - 079767312459
View all Casio CTK 671 manuals
Add to My Manuals
Save this manual to your list of manuals |
Page 50 highlights
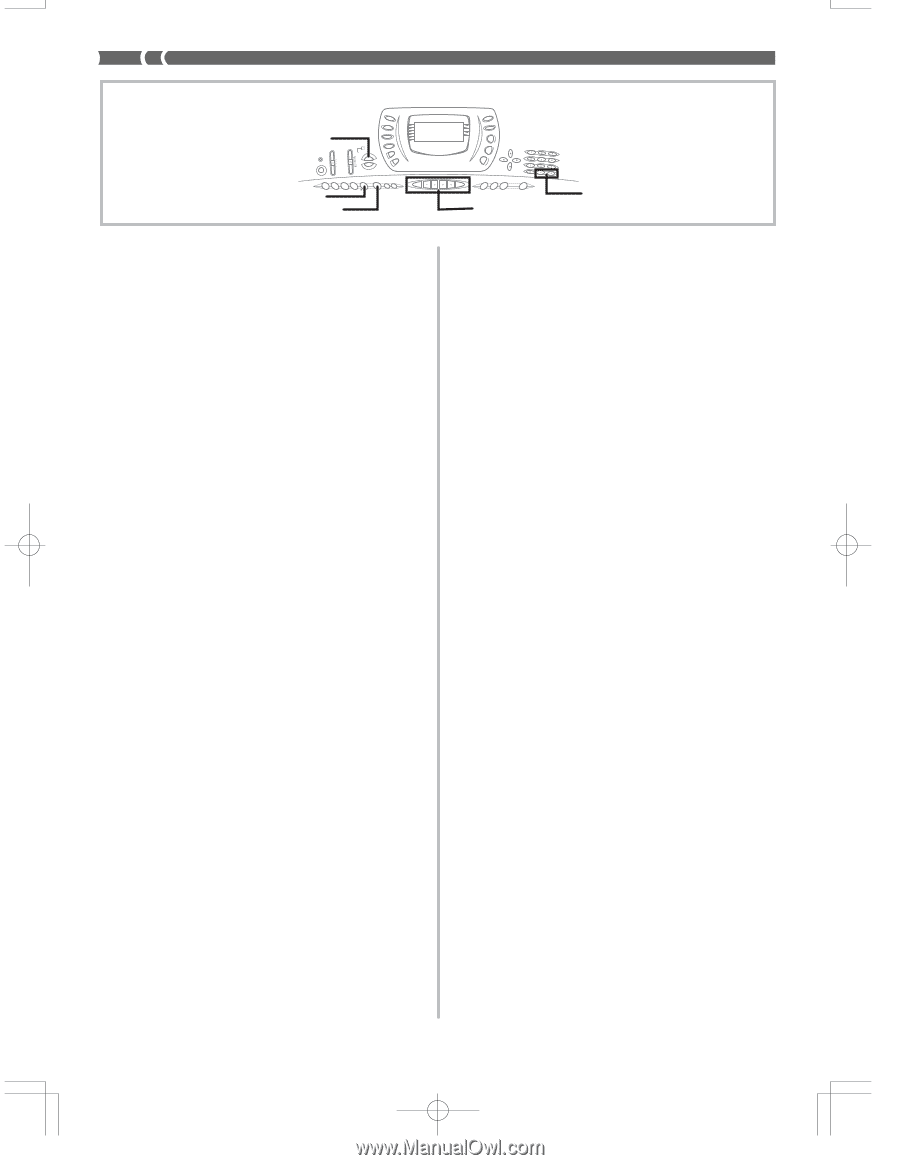
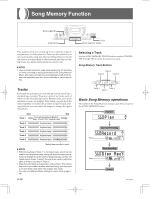
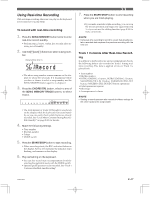
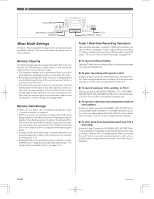
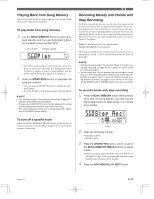
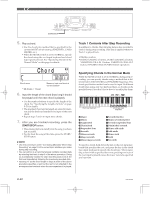
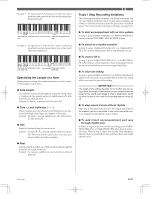
SONG MEMORY SYNCHRO/FILL-IN NEXT START/STOP Mixer Mode Settings Channel 1 Mixer parameters (page E-36) are automatically recorded to Track 1. You can use the Mixer to change each of the parameters. Memory Capacity The keyboard has memory for approximately 3,500 notes. You can use all 3,500 notes for a single song, or you can divide memory between two different songs. • The measure number and note number flash on the dis- play whenever remaining memory is less than 100 notes. • Recording automatically stops (and auto-accompaniment and rhythm stops playing if they are being used) whenever memory becomes full. • The same memory area is used for song memory and user rhythm memory. Because of this, the number of notes you can store in song memory is lower when there is user rhythm data stored in memory. You can clear memory contents and free up more space for song memory space using the Initialize / Delete setting menu (page E-65). Memory Data Storage • Whenever you make a new recording, anything previously stored in memory is replaced. • Memory contents are retained as long as the keyboard is being supplied with electrical power. Unplugging the AC adaptor when batteries are not loaded or when loaded batteries are dead cuts off the keyboard's electrical power supply, clearing all data stored in memory. Plug the keyboard into a wall outlet with the AC adaptor before replacing batteries. • Turning off the keyboard while a record operation is in progress causes the contents of the track your are currently recording to be lost. • Remember that you can dump memory contents to another MIDI device using the procedure described under "Using the Data Download Service" on page E-68. [+]/[-] SONG MEMORY TRACK Track 1 Real-time Recording Variations The following describes a number of different variations you can use when recording to Track 1 using real-time recording. All of these variations are based upon the procedure described under "To record with real-time recording" on page E-47. G To record without rhythm Skip step 5. Real-time recording without a rhythm starts when you press a keyboard key. G To start recording with synchro start In place of step 5, press the SYNCHRO/FILL-IN NEXT button. Auto-accompaniment and recording will both start when you play a chord on the accompaniment keyboard. G To record using an intro, ending, or fill-in During recording, the INTRO/ENDING 1/2, SYNCHRO/ FILL-IN NEXT, and VARIATION/FILL-IN 1/2 buttons (pages E-31 to 32) can all be used as they normally are. G To synchro start Auto Accompaniment with an intro pattern In place of step 5, press the SYNCHRO/FILL-IN NEXT button and then INTRO/ENDING 1 or INTRO/ENDING 2 button. Auto-accompaniment will start with the intro pattern when you play a chord on the accompaniment keyboard. G To start Auto Accompaniment part way into a recording In place of step 5, press the SYNCHRO/FILL-IN NEXT button and then play something on the melody keyboard to start recording without Auto Accompaniment. When you reach the point where you want accompaniment to start, play a chord on the accompaniment keyboard to start Auto Accompaniment. E-48 703A-E-050A
-
 1
1 -
2
-
3
-
4
-
5
-
6
-
7
-
8
-
9
-
10
-
11
-
12
-
13
-
14
-
15
-
16
-
17
-
18
-
19
-
20
-
21
-
22
-
23
-
24
-
25
-
26
-
27
-
28
-
29
-
30
-
31
-
32
-
33
-
34
-
35
-
36
-
37
-
38
-
39
-
40
-
41
-
42
-
43
-
44
-
 45
45 -
 46
46 -
 47
47 -
 48
48 -
 49
49 -
 50
50 -
 51
51 -
 52
52 -
 53
53 -
 54
54 -
 55
55 -
56
-
57
-
58
-
59
-
60
-
61
-
62
-
63
-
64
-
65
-
66
-
67
-
68
-
69
-
70
-
71
-
72
-
73
-
74
-
75
-
76
-
77
-
78
-
79
-
80
-
81
-
82
-
83
-
84
-
85
-
86
-
87
-
88
-
89
-
90
-
91
-
92
-
93
-
94
-
95
-
96
-
97
-
98
 |
 |