Dell Studio Hybrid Studio Slim Service Manual - Page 15
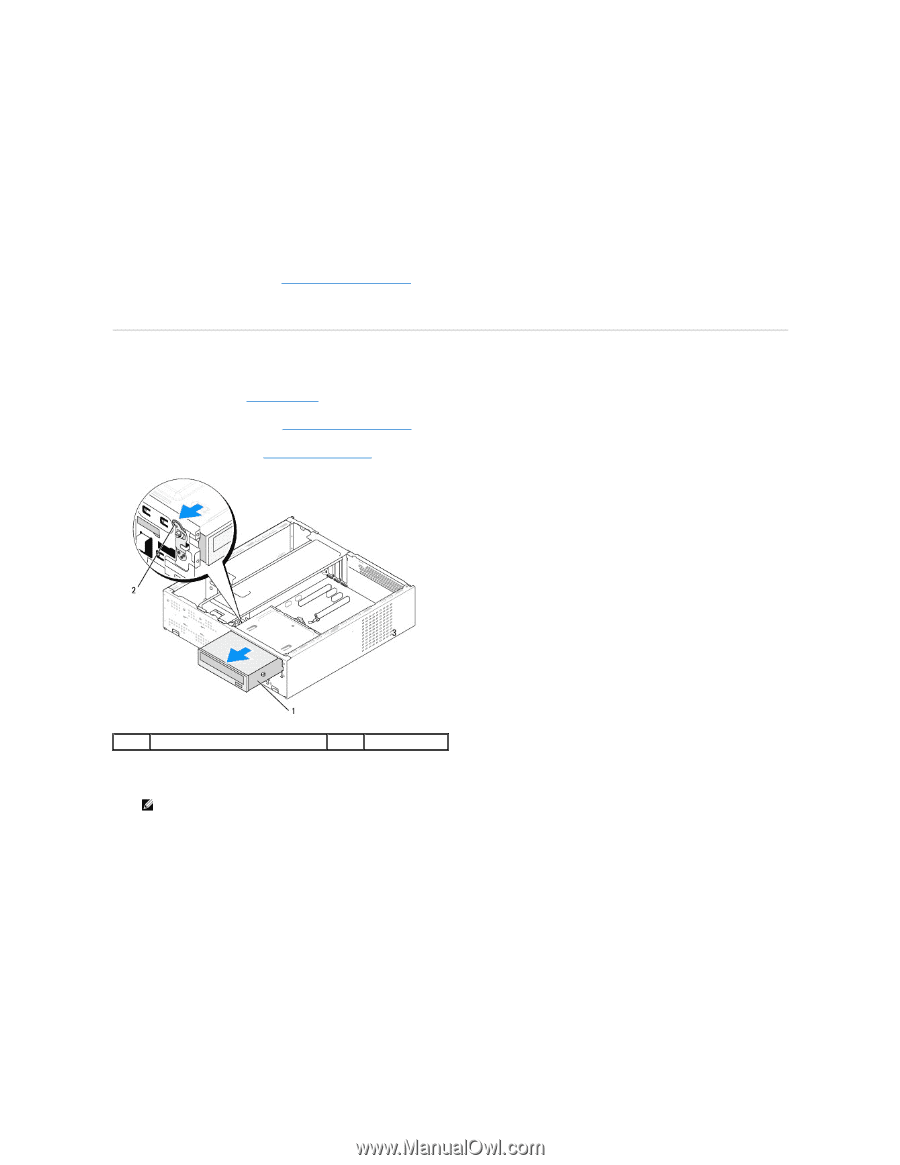
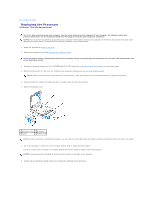
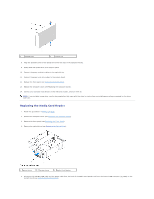
Replacing the Optical Drive
 |
View all Dell Studio Hybrid Studio Slim manuals
Add to My Manuals
Save this manual to your list of manuals |
Page 15 highlights
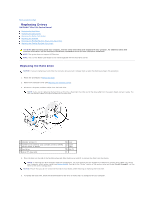
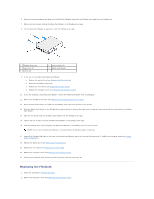
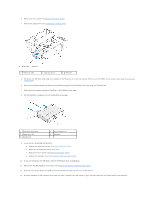
6. Fix the four shoulder screws to the hard drive. 7. Connect the power and data cables to the hard drive. 8. Connect the power and data cables to the system board. 9. Align the shoulder screws on the hard drive with the slots in the hard drive bay and place the hard drive into the hard drive bay. 10. Slide the hard drive into the hard drive bay, till it snaps into place. 11. Ensure that all the cables are properly connected and firmly seated. 12. Replace the computer cover (see Replacing the Computer Cover). 13. Connect your computer and devices to electrical outlets, and then turn them on. Replacing the Optical Drive 1. Follow the procedures in Before You Begin. 2. Remove the computer cover (see Replacing the Computer Cover). 3. Remove the front panel (see Replacing the Front Panel). 1 optical drive 2 lever 4. Disconnect the power cable and the data cable from the back of the optical drive. NOTE: If you are uninstalling the only optical drive in your computer and will not replace it at this time, disconnect the data cable from the system board and set it aside. 5. Pull the lever gently to release the optical drive. 6. Push and slide the optical drive out through the front of the computer. 7. To replace the optical drive, fix the four shoulder screws on the optical drive.
-
 1
1 -
2
-
3
-
4
-
5
-
6
-
7
-
8
-
9
-
 10
10 -
 11
11 -
 12
12 -
 13
13 -
 14
14 -
 15
15 -
 16
16 -
 17
17 -
 18
18 -
 19
19 -
 20
20 -
21
-
22
-
23
-
24
-
25
-
26
-
27
-
28
-
29
-
30
-
31
-
32
-
33
-
34
-
35
-
36
-
37
 |
 |