Epson R380 Printer Basics - Page 21
Choosing Print Settings, After choosing the photos you want to print see make sure you choose
 |
UPC - 010343859074
View all Epson R380 manuals
Add to My Manuals
Save this manual to your list of manuals |
Page 21 highlights
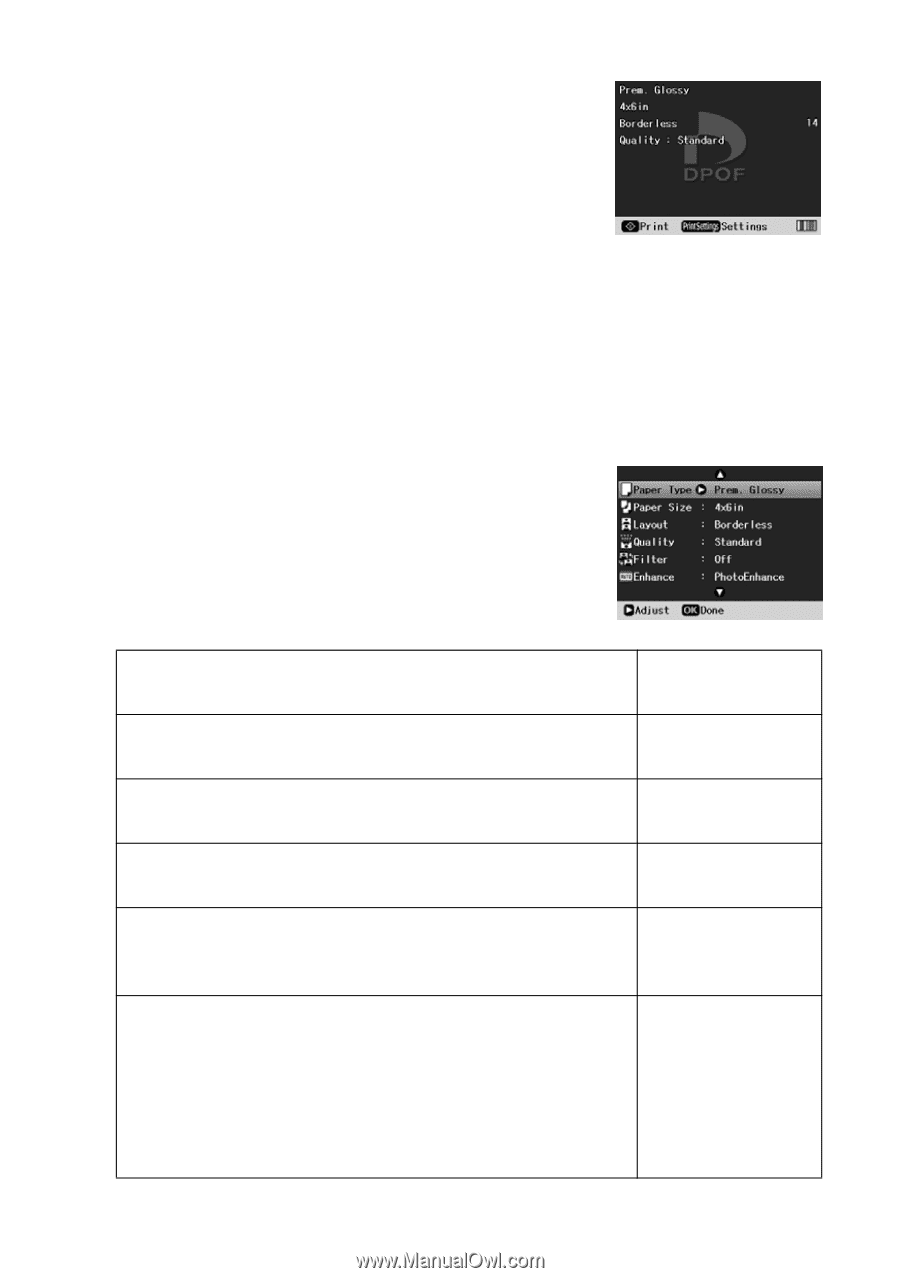
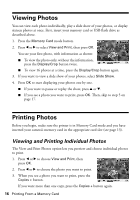
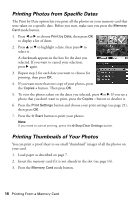
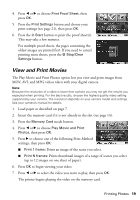
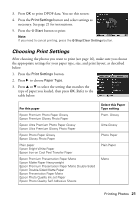
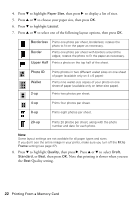
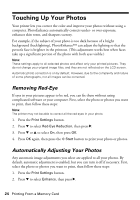
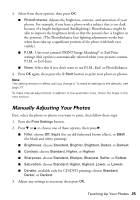
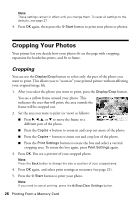
3. Press OK to print DPOF data. You see this screen: 4. Press the Print Settings button and select settings as necessary. See page 21 for instructions. 5. Press the x Start button to print. Note: If you need to cancel printing, press the y Stop/Clear Settings button. Choosing Print Settings After choosing the photos you want to print (see page 16), make sure you choose the appropriate settings for your paper type, size, and print layout, as described below. 1. Press the Print Settings button. 2. Press r to choose Paper Type. 3. Press u or d to select the setting that matches the type of paper you loaded, then press OK. Refer to the table below: For this paper Epson Premium Photo Paper Glossy Epson Premium Glossy Photo Paper Epson Ultra Premium Photo Paper Glossy Epson Ultra Premium Glossy Photo Paper Epson Photo Paper Glossy Epson Glossy Photo Paper Plain paper Epson Bright White Paper Epson Iron-on Cool Peel Transfer Paper Epson Premium Presentation Paper Matte Epson Matte Paper Heavyweight Epson Premium Presentation Paper Matte Double-Sided Epson Double-Sided Matte Paper Epson Presentation Paper Matte Epson Photo Quality Ink Jet Paper Epson Photo Quality Self Adhesive Sheets Select this Paper Type setting Prem. Glossy Ultra Glossy Photo Paper Plain Paper Matte Printing Photos 21
-
 1
1 -
2
-
3
-
4
-
5
-
6
-
7
-
8
-
9
-
10
-
11
-
12
-
13
-
14
-
15
-
 16
16 -
 17
17 -
 18
18 -
 19
19 -
 20
20 -
 21
21 -
 22
22 -
 23
23 -
 24
24 -
 25
25 -
 26
26 -
27
-
28
-
29
-
30
-
31
-
32
-
33
-
34
-
35
-
36
-
37
-
38
-
39
-
40
-
41
-
42
-
43
-
44
-
45
-
46
-
47
-
48
-
49
-
50
-
51
-
52
-
53
-
54
-
55
-
56
-
57
-
58
-
59
-
60
-
61
-
62
-
63
-
64
-
65
-
66
-
67
-
68
-
69
-
70
-
71
-
72
 |
 |