Epson R380 Printer Basics - Page 47
device. Depending on how many photos there are, this may take several
 |
UPC - 010343859074
View all Epson R380 manuals
Add to My Manuals
Save this manual to your list of manuals |
Page 47 highlights
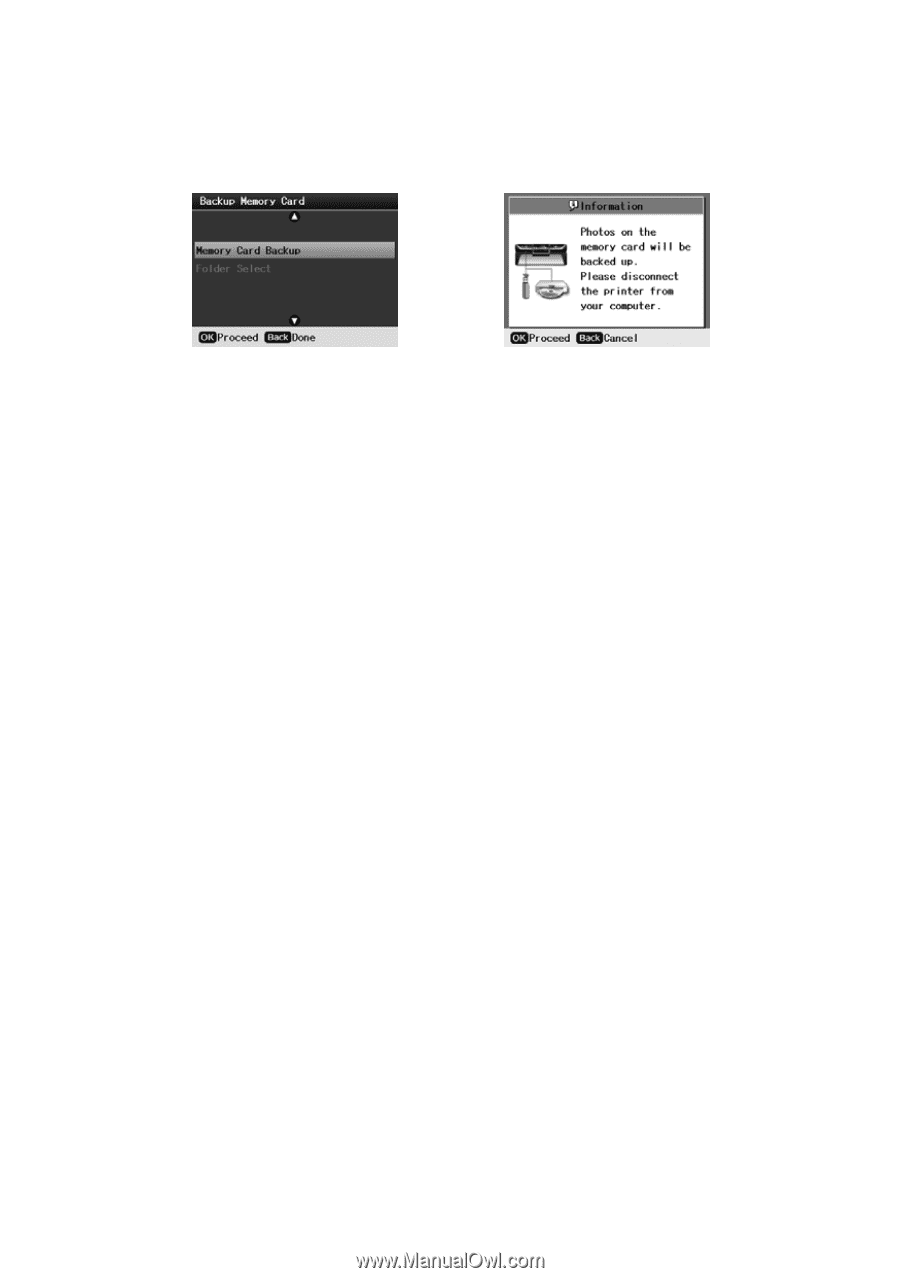
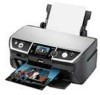
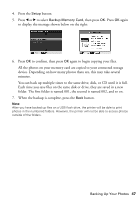
4. Press the Setup button. 5. Press l or r to select Backup Memory Card, then press OK. Press OK again to display the message shown below on the right: 6. Press OK to confirm, then press OK again to begin copying your files. All the photos on your memory card are copied to your connected storage device. Depending on how many photos there are, this may take several minutes. You can back up multiple times to the same drive, disk, or CD until it is full. Each time you save files on the same disk or drive, they are saved in a new folder. The first folder is named 001, the second is named 002, and so on. 7. When the backup is complete, press the Back button. Note: After you have backed up files on a USB flash drive, the printer will be able to print photos in the numbered folders. However, the printer will not be able to access photos outside of the folders. Backing Up Your Photos 47
-
 1
1 -
2
-
3
-
4
-
5
-
6
-
7
-
8
-
9
-
10
-
11
-
12
-
13
-
14
-
15
-
16
-
17
-
18
-
19
-
20
-
21
-
22
-
23
-
24
-
25
-
26
-
27
-
28
-
29
-
30
-
31
-
32
-
33
-
34
-
35
-
36
-
37
-
38
-
39
-
40
-
41
-
 42
42 -
 43
43 -
 44
44 -
 45
45 -
 46
46 -
 47
47 -
 48
48 -
 49
49 -
 50
50 -
 51
51 -
 52
52 -
53
-
54
-
55
-
56
-
57
-
58
-
59
-
60
-
61
-
62
-
63
-
64
-
65
-
66
-
67
-
68
-
69
-
70
-
71
-
72
 |
 |