Garmin GPSMAP 172C Owner's Manual - Page 32
Reference, Symbol Set, Symbol, Size, Text Size, Light Sectors - card
 |
UPC - 753759043537
View all Garmin GPSMAP 172C manuals
Add to My Manuals
Save this manual to your list of manuals |
Page 32 highlights
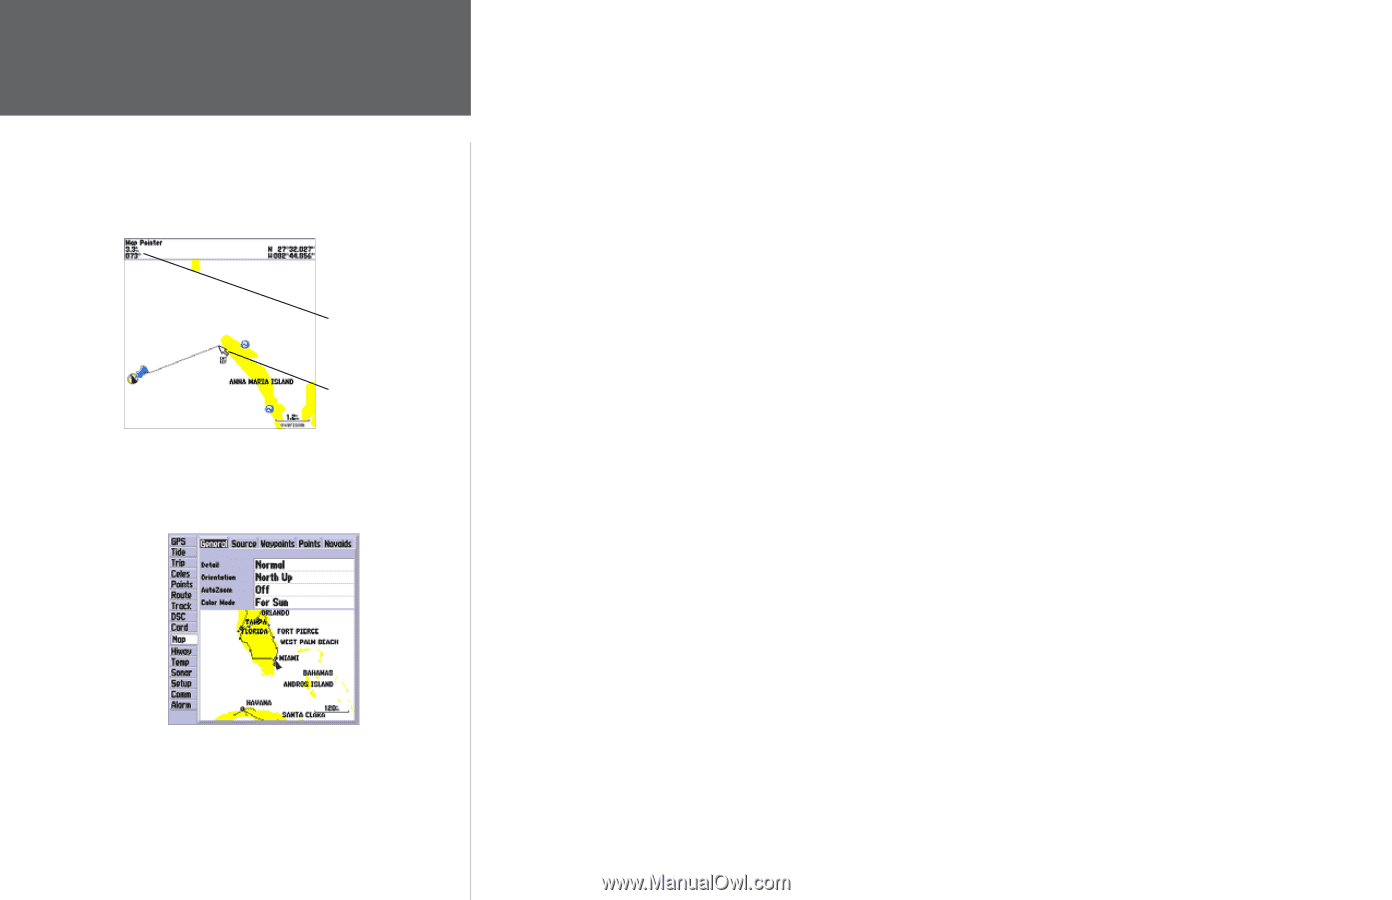
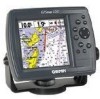
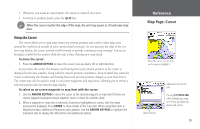
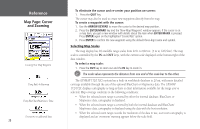
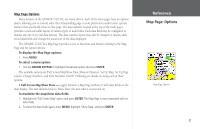
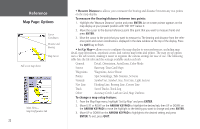
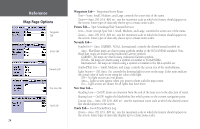
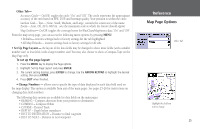
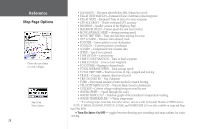
Reference Map Page: Options Cursor Coordinates Distance and Bearing Map Cursor Full screen map shown Main Menu- Map Configuration Tab 22 • Measure Distance- allows you to measure the bearing and distance between any two points on the map display. To measure the Bearing/distance between two points: 1. Highlight the 'Measure Distance' option and press ENTER. An on-screen pointer appears on the map display at your present position with 'ENT REF' below it. 2. Move the cursor to the desired reference point (the point that you want to measure from) and press ENTER. 3. Move the cursor to the point that you want to measure to. The bearing and distance from the reference point and cursor coordinates is displayed in the data window at the top of the display. Press the QUIT key to finish. • Set Up Map- allows you to configure the map display to your preferences, including map detail, map orientation, automatic zoom, and various map items and points. The map set up option uses a 'file tab' feature, making it easier to organize the various settings for ease of use. The following table lists the file tabs and the settings available under each tab: General Detail, Orientation, AutoZoom, Color Mode Source Basemap, Data Card Maps Waypoints Waypoints, Active Route Points Spot Soundings, Tide Stations, Services Navaids Symbol Set, Symbol, Size, Text Size, Light Sectors Nav Line Heading Line, Bearing Line, Course Line Track Saved Tracks, Track Log Other Accuracy Circle, Lat/Lon Grid, Map Outlines To change a map setup feature: 1. From the Map Page menu, highlight 'Set Up Map' and press ENTER. 2. Move LEFT or RIGHT on the ARROW KEYPAD to highlight the desired tab, then UP or DOWN on the ARROW KEYPAD to move the highlight to the setting you want to change and press ENTER. 3. Move UP or DOWN on the ARROW KEYPAD to highlight to the desired setting and press ENTER. To exit, press QUIT.
-
 1
1 -
2
-
3
-
4
-
5
-
6
-
7
-
8
-
9
-
10
-
11
-
12
-
13
-
14
-
15
-
16
-
17
-
18
-
19
-
20
-
21
-
22
-
23
-
24
-
25
-
26
-
 27
27 -
 28
28 -
 29
29 -
 30
30 -
 31
31 -
 32
32 -
 33
33 -
 34
34 -
 35
35 -
 36
36 -
 37
37 -
38
-
39
-
40
-
41
-
42
-
43
-
44
-
45
-
46
-
47
-
48
-
49
-
50
-
51
-
52
-
53
-
54
-
55
-
56
-
57
-
58
-
59
-
60
-
61
-
62
-
63
-
64
-
65
-
66
-
67
-
68
-
69
-
70
-
71
-
72
-
73
-
74
-
75
-
76
-
77
-
78
-
79
-
80
-
81
-
82
-
83
-
84
-
85
-
86
-
87
-
88
-
89
-
90
-
91
-
92
-
93
-
94
-
95
-
96
-
97
-
98
-
99
-
100
-
101
-
102
-
103
-
104
-
105
-
106
-
107
-
108
-
109
-
110
 |
 |