HP Deskjet 5100 HP Deskjet 5100 Series printer - (English) User Guide - Page 165
photographs, Verify that the photo paper is flat.
 |
View all HP Deskjet 5100 manuals
Add to My Manuals
Save this manual to your list of manuals |
Page 165 highlights
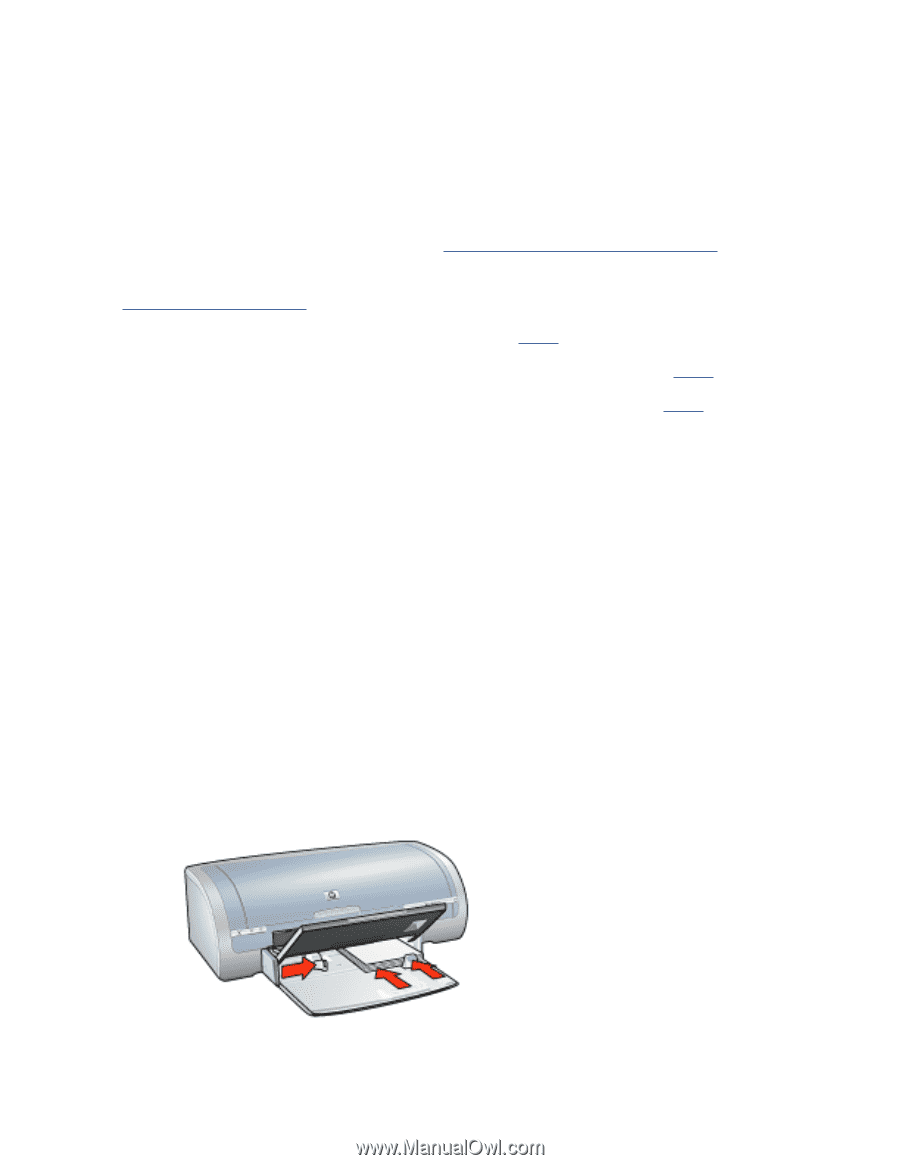
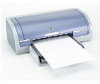
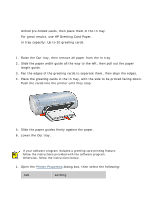
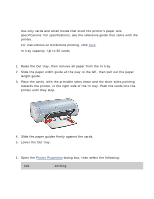
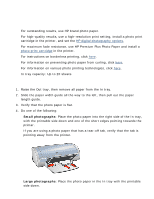
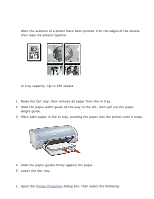
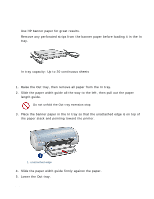
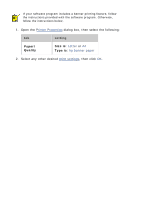
photographs guidelines q For outstanding results, use HP brand photo paper. q For high-quality results, use a high-resolution print setting, install a photo print cartridge in the printer, and set the HP digital photography options. q For maximum fade resistance, use HP Premium Plus Photo Paper and install a photo print cartridge in the printer. q For instructions on borderless printing, click here. q For information on preventing photo paper from curling, click here. q For information on various photo printing technologies, click here. q In tray capacity: Up to 20 sheets preparing to print 1. Raise the Out tray, then remove all paper from the In tray. 2. Slide the paper width guide all the way to the left, then pull out the paper length guide. 3. Verify that the photo paper is flat. 4. Do one of the following: r Small photographs: Place the photo paper into the right side of the In tray, with the printable side down and one of the short edges pointing towards the printer. If you are using a photo paper that has a tear-off tab, verify that the tab is pointing away from the printer. r Large photographs: Place the photo paper in the In tray with the printable side down.
-
 1
1 -
2
-
3
-
4
-
5
-
6
-
7
-
8
-
9
-
10
-
11
-
12
-
13
-
14
-
15
-
16
-
17
-
18
-
19
-
20
-
21
-
22
-
23
-
24
-
25
-
26
-
27
-
28
-
29
-
30
-
31
-
32
-
33
-
34
-
35
-
36
-
37
-
38
-
39
-
40
-
41
-
42
-
43
-
44
-
45
-
46
-
47
-
48
-
49
-
50
-
51
-
52
-
53
-
54
-
55
-
56
-
57
-
58
-
59
-
60
-
61
-
62
-
63
-
64
-
65
-
66
-
67
-
68
-
69
-
70
-
71
-
72
-
73
-
74
-
75
-
76
-
77
-
78
-
79
-
80
-
81
-
82
-
83
-
84
-
85
-
86
-
87
-
88
-
89
-
90
-
91
-
92
-
93
-
94
-
95
-
96
-
97
-
98
-
99
-
100
-
101
-
102
-
103
-
104
-
105
-
106
-
107
-
108
-
109
-
110
-
111
-
112
-
113
-
114
-
115
-
116
-
117
-
118
-
119
-
120
-
121
-
122
-
123
-
124
-
125
-
126
-
127
-
128
-
129
-
130
-
131
-
132
-
133
-
134
-
135
-
136
-
137
-
138
-
139
-
140
-
141
-
142
-
143
-
144
-
145
-
146
-
147
-
148
-
149
-
150
-
151
-
152
-
153
-
154
-
155
-
156
-
157
-
158
-
159
-
 160
160 -
 161
161 -
 162
162 -
 163
163 -
 164
164 -
 165
165 -
 166
166 -
 167
167 -
 168
168 -
 169
169 -
 170
170 -
171
-
172
-
173
 |
 |