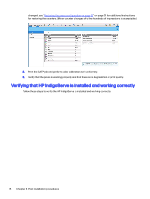
HP Indigo 10000 Software v3.5 I-Fix 1 Installation - Page 23
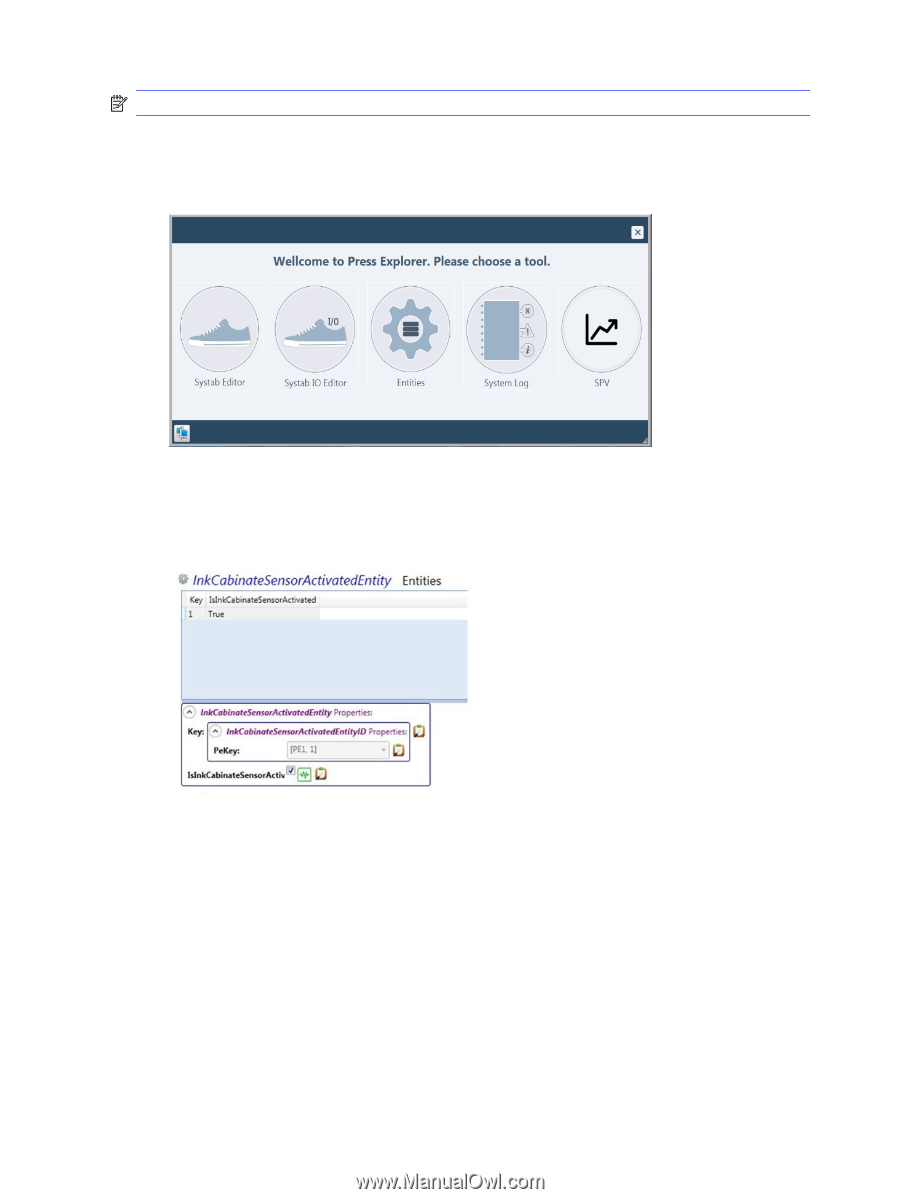
CE & Developer, List View, InkCabinateSensorActivatedEntity, InksBypassEntity, Start
 |
View all HP Indigo 10000 manuals
Add to My Manuals
Save this manual to your list of manuals |
Page 23 highlights
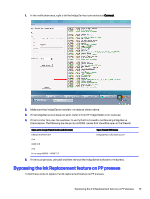
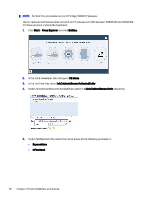
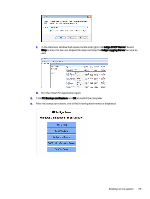
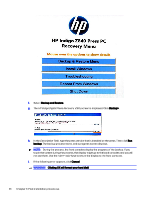
NOTE: Perform this procedure only on HP Indigo 10000 PP presses. The ink replacement feature does not work on PP presses with S/N between 50000100 and 50000129. On these presses, it should be bypassed. 1. Click Start > Press Explorer and click Entities. 2. In the CE & Developer tab, change to CE Mode. 3. In the List View tab, select InkCabinateSensorActivatedEntity 4. Under InkCabinateSensorActivatedEntity, select the IsInkCabinetSensorActiv check box. 5. Under InksBypassEntity, select the check boxes of the following parameters: ● BypassValue ● IsPersitend 20 Chapter 3 Post-installation procedures
-
 1
1 -
2
-
3
-
4
-
5
-
6
-
7
-
8
-
9
-
10
-
11
-
12
-
13
-
14
-
15
-
16
-
17
-
 18
18 -
 19
19 -
 20
20 -
 21
21 -
 22
22 -
 23
23 -
 24
24 -
 25
25 -
 26
26 -
 27
27 -
 28
28 -
29
-
30
-
31
-
32
-
33
-
34
-
35
-
36
-
37
-
38
-
39
-
40
-
41
-
42
-
43
 |
 |
NOTE:
Perform this procedure only on HP Indigo 10000 PP presses.
The ink replacement feature does not work on PP presses with S/N between 50000100 and 50000129.
On these presses, it should be bypassed.
1.
Click
Start
>
Press Explorer
and click
Entities.
2.
In the
CE & Developer
tab, change to
CE Mode
.
3.
In the
List View
tab, select
InkCabinateSensorActivatedEntity
4.
Under
InkCabinateSensorActivatedEntity
, select the
IsInkCabinetSensorActiv
check box.
5.
Under
InksBypassEntity
, select the check boxes of the following parameters:
●
BypassValue
●
IsPersitend
20
Chapter 3
Post-installation procedures