HP P Class 450/500/550/600/650/700/750 fx2+, fx4+, fx6+ graphics installation - Page 16
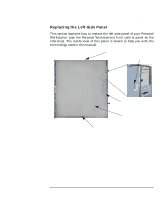
Sliding the Left-Side Panel to the Rear of the Personal, Workstation,
 |
View all HP P Class 450/500/550/600/650/700/750 manuals
Add to My Manuals
Save this manual to your list of manuals |
Page 16 highlights
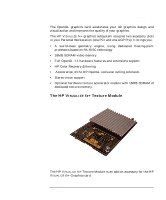
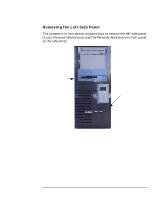
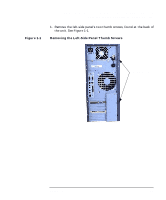
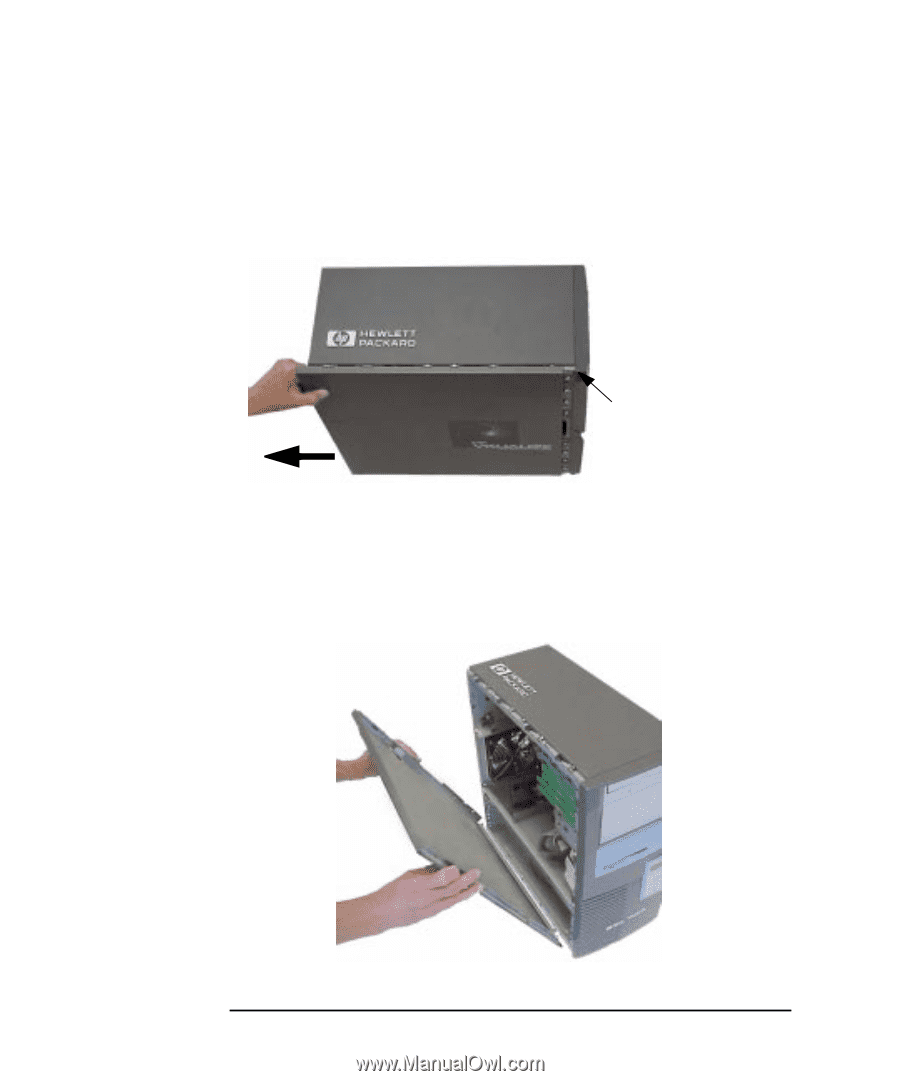
HP Visualize fx2+, fx4+, fx6+ Graphics Cards and Texture Module Installing the HP Visualize fx+ Graphics Card Figure 1-2 2. Slide the left-side panel toward the rear of the Personal Workstation approximately 0.5 inches as shown in Figure 1-2. Sliding the Left-Side Panel to the Rear of the Personal Workstation This gap is approximately 0.5 inches. Figure 1-3 3. Remove the left-side panel by grasping the rear part of the panel as shown in Figure 1-3 and pulling the panel outward. Next, lift the panel up and away from the Personal Workstation, and place it where its exterior surface cannot be damaged. Removing the Left-Side Panel 16 Chapter 1
-
 1
1 -
2
-
3
-
4
-
5
-
6
-
7
-
8
-
9
-
10
-
 11
11 -
 12
12 -
 13
13 -
 14
14 -
 15
15 -
 16
16 -
 17
17 -
 18
18 -
 19
19 -
 20
20 -
 21
21 -
22
-
23
-
24
-
25
-
26
-
27
-
28
-
29
-
30
-
31
-
32
-
33
-
34
-
35
-
36
-
37
-
38
-
39
-
40
-
41
-
42
-
43
-
44
-
45
-
46
-
47
-
48
-
49
-
50
-
51
-
52
-
53
-
54
-
55
-
56
-
57
-
58
-
59
-
60
 |
 |
16
Chapter 1
HP Visualize fx2+, fx4+, fx6+ Graphics Cards and Texture Module
Installing the HP Visualize fx+ Graphics Card
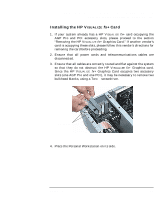
2.
Slide the left-side panel toward the rear of the Personal Workstation
approximately 0.5 inches as shown in Figure 1-2.
Figure 1-2
Sliding the Left-Side Panel to the Rear of the Personal
Workstation
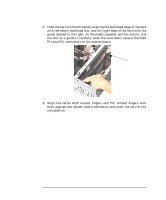
3.
Remove the left-side panel by grasping the rear part of the panel as
shown in Figure 1-3 and pulling the panel outward. Next, lift the
panel up and away from the Personal Workstation, and place it where
its exterior surface cannot be damaged.
Figure 1-3
Removing the Left-Side Panel
This gap is approximately
0.5 inches.