HP Visualize b180L installing the hp Visualize workstation b132L/b160L to b180 - Page 17
Transfer the Optional EGRAM Module from the Old, Main Tray to the New Main Tray
 |
View all HP Visualize b180L manuals
Add to My Manuals
Save this manual to your list of manuals |
Page 17 highlights
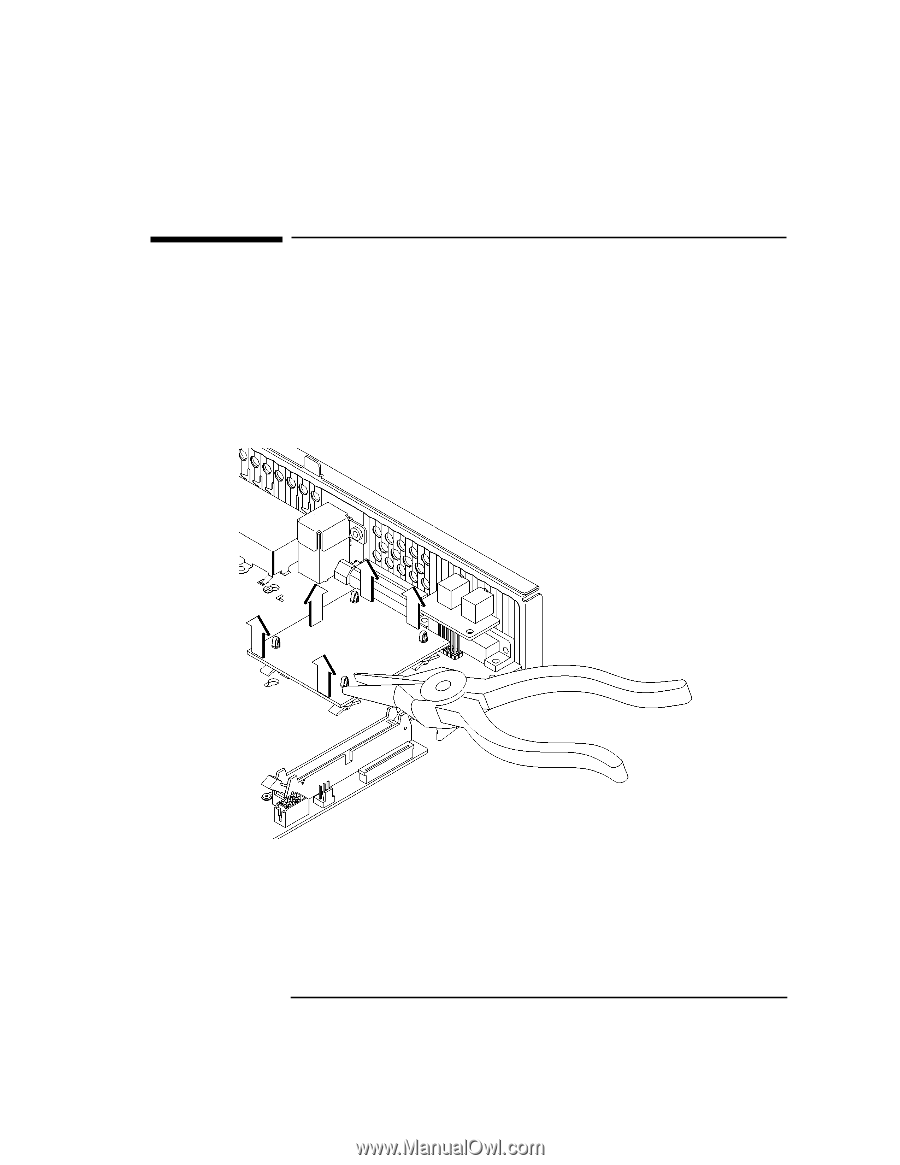
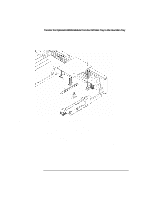
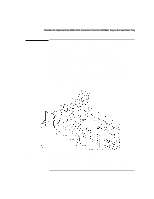
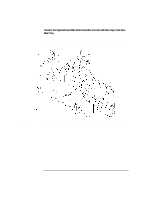
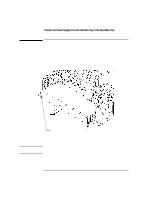
Transfer the Optional EGRAM Module from the Old Main Tray to the New Main Tray Transfer the Optional EGRAM Module from the Old Main Tray to the New Main Tray If an optional EGRAM module is installed on the old main tray it must be transferred to the new main tray. Remove the optional EGRAM module as follows: 1 Use a pair of needle-nose pliers to squeeze the tabs on the standoffs while lifting the corner of the EGRAM module slightly, as shown in Figure 8. Figure 8 Removing the Optional EGRAM Module 2 Grasp the EGRAM module from the sides and pull it straight up to disconnect it from the main tray assembly connector, as shown in Figure 8. 3 From the bottom of the main tray assembly use a pair of needle-nose pliers to squeeze the tabs on the standoffs and push them out of the main tray assembly. 15
-
 1
1 -
2
-
3
-
4
-
5
-
6
-
7
-
8
-
9
-
10
-
11
-
 12
12 -
 13
13 -
 14
14 -
 15
15 -
 16
16 -
 17
17 -
 18
18 -
 19
19 -
 20
20 -
 21
21 -
 22
22 -
23
-
24
-
25
-
26
-
27
-
28
 |
 |