HP Visualize b180L installing the hp Visualize workstation b132L/b160L to b180 - Page 9
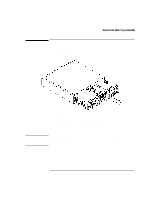
Remove the Main Tray Assembly
 |
View all HP Visualize b180L manuals
Add to My Manuals
Save this manual to your list of manuals |
Page 9 highlights
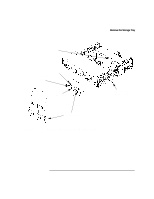
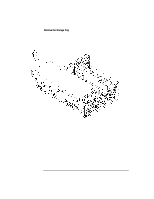
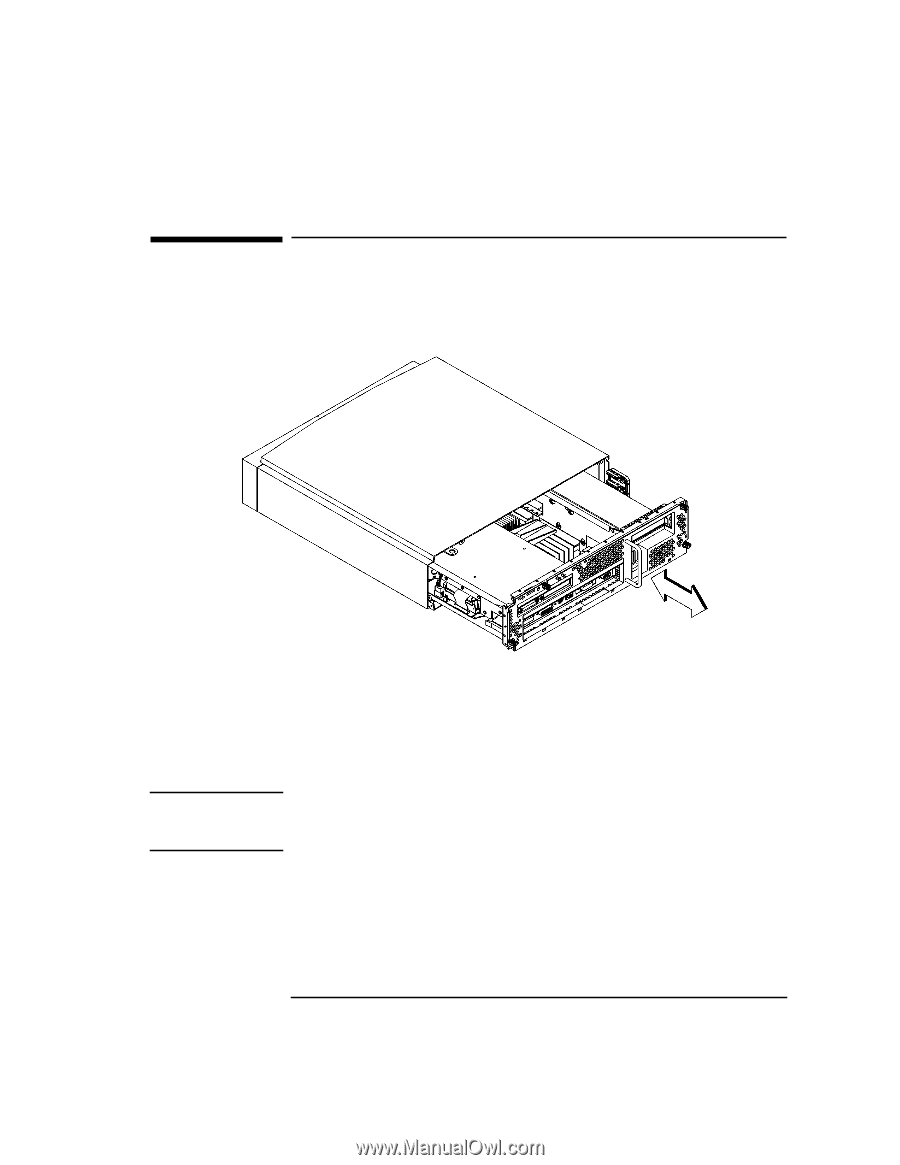
Remove the Main Tray Assembly Remove the Main Tray Assembly 1 Completely remove the four thumb screws on the rear of the system unit, as shown in Figure 2. Figure 2 CAUTION Removing Main Tray Assembly 2 Place one hand on the top of the system unit and push, while pulling the handle on the rear panel with your other hand. See Figure 2. 3 Slide the main tray assembly out of the chassis. To avoid damaging the interface card at the front of the main tray assembly, hold the main tray assembly on the left and right sides when lifting it out of the system unit. 7
-
 1
1 -
2
-
3
-
 4
4 -
 5
5 -
 6
6 -
 7
7 -
 8
8 -
 9
9 -
 10
10 -
 11
11 -
 12
12 -
 13
13 -
 14
14 -
15
-
16
-
17
-
18
-
19
-
20
-
21
-
22
-
23
-
24
-
25
-
26
-
27
-
28
 |
 |
7
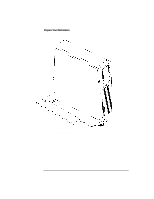
Remove the Main Tray Assembly
Remove the Main Tray Assembly
1
Completely remove the four thumb screws on the rear of the system unit, as
shown in Figure 2.
Figure 2
Removing Main Tray Assembly
2
Place one hand on the top of the system unit and push, while pulling the handle
on the rear panel with your other hand. See Figure 2.
3
Slide the main tray assembly out of the chassis.
CAUTION
To avoid damaging the interface card at the front of the main tray assembly,
hold the main tray assembly on the left and right sides when lifting it out of
the system unit.