HP Visualize b180L installing the hp Visualize workstation b132L/b160L to b180 - Page 18
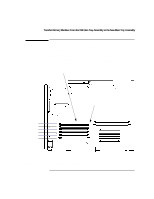
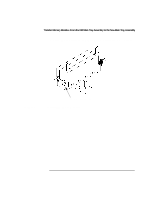
Transfer the Optional EGRAM Module from the Old Main Tray to the New Main Tray
 |
View all HP Visualize b180L manuals
Add to My Manuals
Save this manual to your list of manuals |
Page 18 highlights
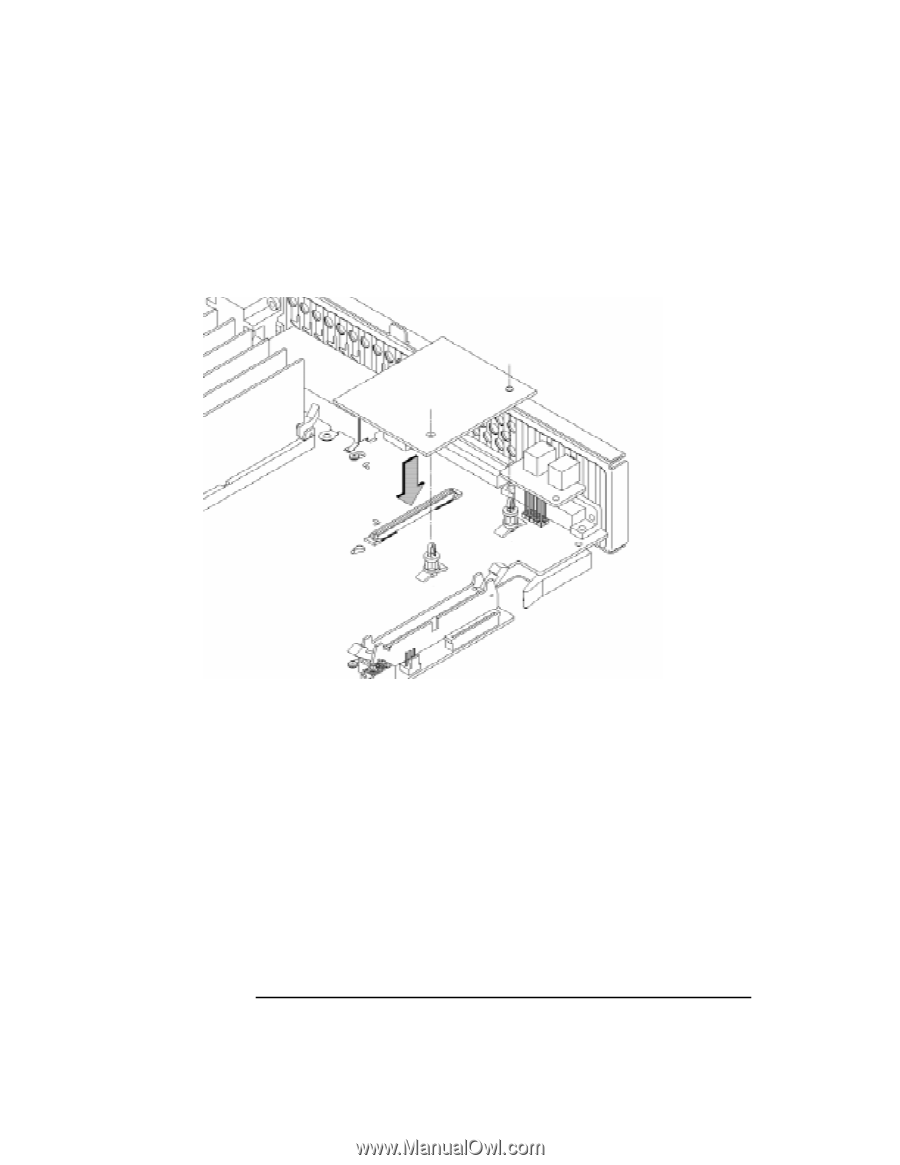
Transfer the Optional EGRAM Module from the Old Main Tray to the New Main Tray 4 Install the standoffs into the two holes on the new main tray assembly, as shown in Figure 9. Figure 9 Installing the Optional EGRAM Module 5 Line up the connector on the EGRAM module and the connector on the new main tray assembly while at the same time aligning the standoffs to the holes in the EGRAM module., as shown in Figure 9. 6 Connect the EGRAM board to the new main tray assembly. Press down firmly on the connector area and near the standoffs to make sure that the module is fully seated and that the standoffs are fully engaged with the EGRAM module. 16
-
 1
1 -
2
-
3
-
4
-
5
-
6
-
7
-
8
-
9
-
10
-
11
-
12
-
 13
13 -
 14
14 -
 15
15 -
 16
16 -
 17
17 -
 18
18 -
 19
19 -
 20
20 -
 21
21 -
 22
22 -
 23
23 -
24
-
25
-
26
-
27
-
28
 |
 |
16
Transfer the Optional EGRAM Module from the Old Main Tray to the New Main Tray
4
Install the standoffs into the two holes on the new main tray assembly, as shown
in Figure 9.
Figure 9
Installing the Optional EGRAM Module
5
Line up the connector on the EGRAM module and the connector on the new main
tray assembly while at the same time aligning the standoffs to the holes in the
EGRAM module., as shown in Figure 9.
6
Connect the EGRAM board to the new main tray assembly. Press down firmly on
the connector area and near the standoffs to make sure that the module is fully
seated and that the standoffs are fully engaged with the EGRAM module.