Konica Minolta bizhub 4750 bizhub 4750/4050 Print Functions User Guide - Page 78
Initializing the printer driver, Configuring the optional environment of this machine
 |
View all Konica Minolta bizhub 4750 manuals
Add to My Manuals
Save this manual to your list of manuals |
Page 78 highlights
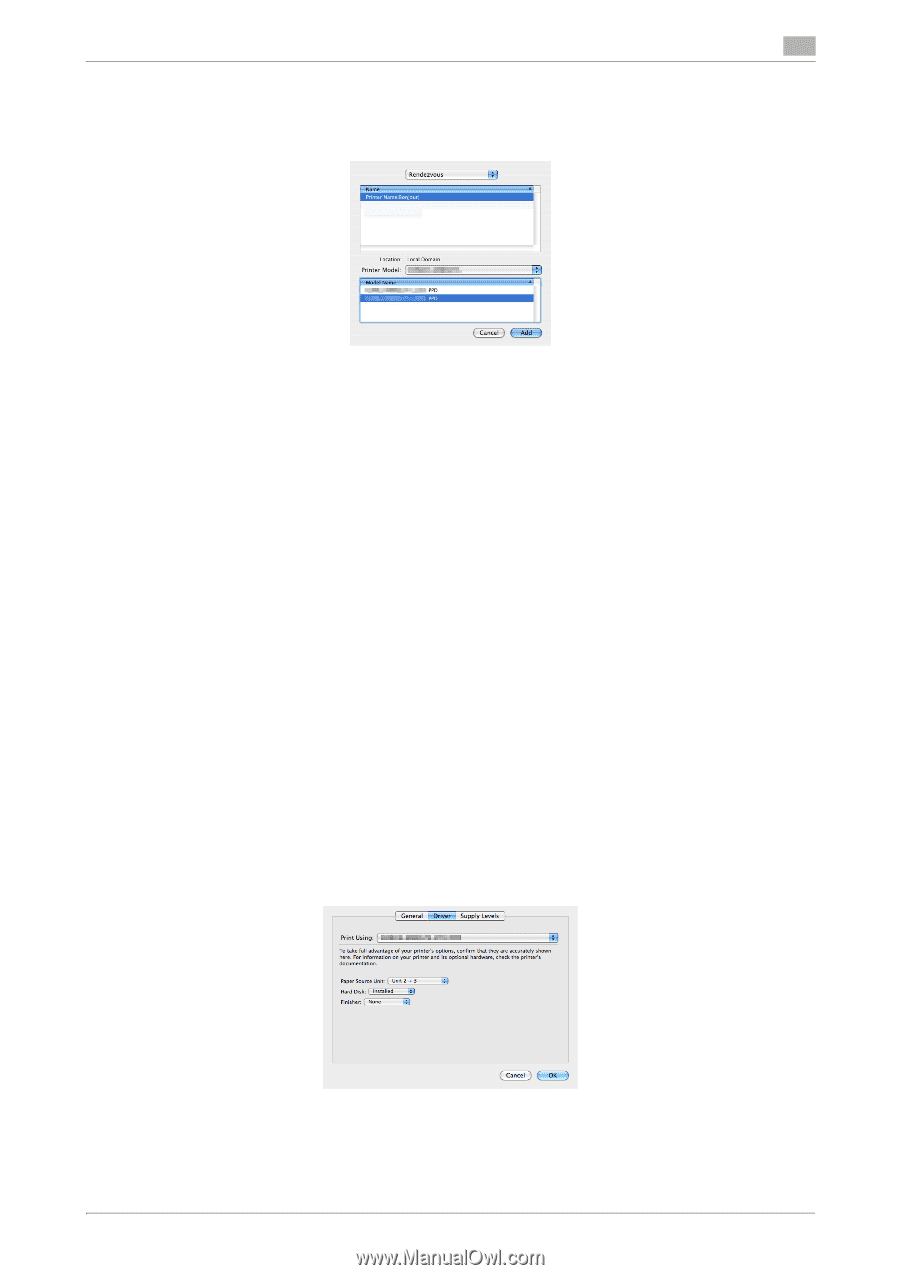
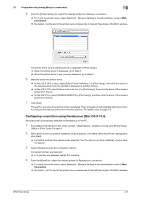
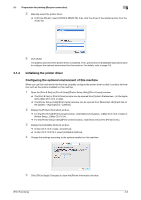
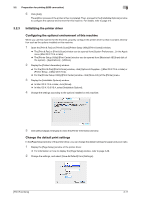
3.1 Preparation for printing (Bonjour connection) 3 5 Manually select the printer driver. % In [Printer Model:], select [KONICA MINOLTA], then click the driver of the desired printer from the model list. 6 Click [Add]. The addition process of the printer is then completed. Then, proceed to the [Installable Options] window to configure the optional environment for this machine. For details, refer to page 3-6. 3.1.4 Initializing the printer driver Configuring the optional environment of this machine When you use this machine for the first time, properly configure the printer driver so that it contains information such as the options installed on this machine. 1 Open the [Print & Fax] (or [Print & Scan]/[Printer Setup Utility]/[Print Center]) window. % The [Print & Fax] or [Print & Scan] window can be opened from [System Preferences...] in the Apple menu (Mac OS X 10.4 or later). % The [Printer Setup Utility]/[Print Center] window can be opened from [Macintosh HD] (hard disk of the system) - [Applications] - [Utilities]. 2 Display the [Printer Information] window. % For the [Print & Fax]/[Print & Scan] window, click [Options & Supplies...] (Mac OS X 10.5 or later) or [Printer Setup...] (Mac OS X 10.4). % For the [Printer Setup Utility]/[Print Center] window, click [Show Info] of the [Printer] menu. 3 Display the [Installable Options] window. % In Mac OS X 10.5 or later, click [Driver]. % In Mac OS X 10.3/10.4, select [Installable Options]. 4 Change the settings according to the options installed on this machine. 5 Click [OK] or [Apply Changes] to close the [Printer Information] window. [Print Functions] 3-6
-
 1
1 -
2
-
3
-
4
-
5
-
6
-
7
-
8
-
9
-
10
-
11
-
12
-
13
-
14
-
15
-
16
-
17
-
18
-
19
-
20
-
21
-
22
-
23
-
24
-
25
-
26
-
27
-
28
-
29
-
30
-
31
-
32
-
33
-
34
-
35
-
36
-
37
-
38
-
39
-
40
-
41
-
42
-
43
-
44
-
45
-
46
-
47
-
48
-
49
-
50
-
51
-
52
-
53
-
54
-
55
-
56
-
57
-
58
-
59
-
60
-
61
-
62
-
63
-
64
-
65
-
66
-
67
-
68
-
69
-
70
-
71
-
72
-
 73
73 -
 74
74 -
 75
75 -
 76
76 -
 77
77 -
 78
78 -
 79
79 -
 80
80 -
 81
81 -
 82
82 -
 83
83 -
84
-
85
-
86
-
87
-
88
-
89
-
90
-
91
-
92
-
93
-
94
-
95
-
96
-
97
-
98
-
99
-
100
-
101
-
102
-
103
-
104
-
105
-
106
-
107
-
108
-
109
-
110
-
111
-
112
-
113
-
114
 |
 |