Kyocera KM-2030 Print System K Instruction Handbook (Functions) - Page 38
Windows XL Driver
 |
View all Kyocera KM-2030 manuals
Add to My Manuals
Save this manual to your list of manuals |
Page 38 highlights
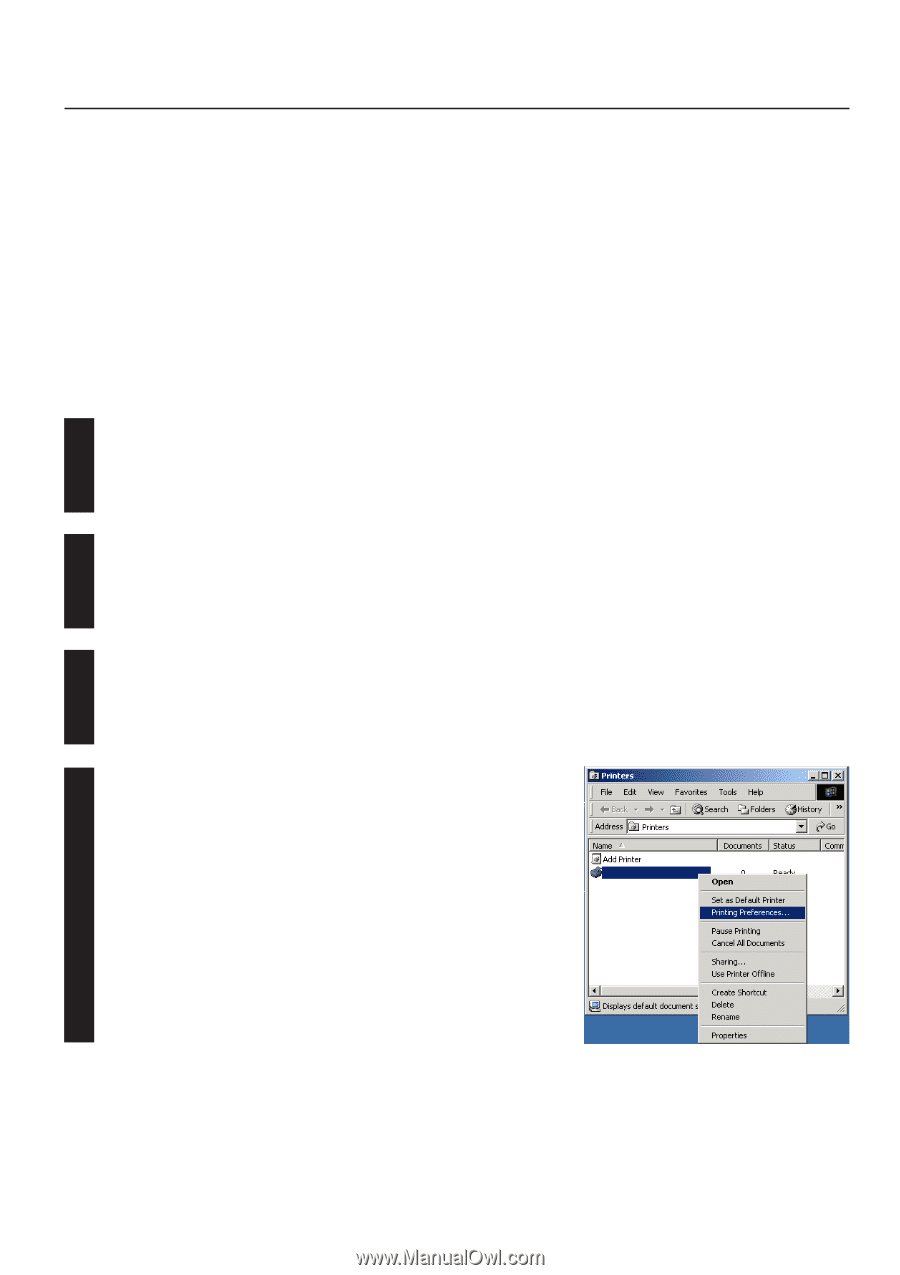
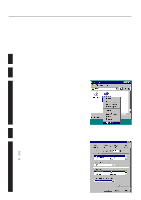
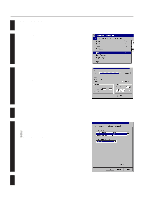
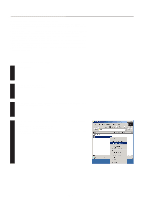
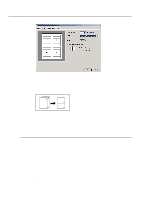
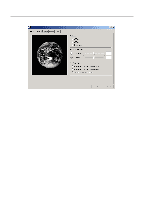
22..WWindionwsdXoLwDrsiveXr L Driver The following section explains the functions of the XL driver. * This Instruction Handbook uses illustrations from the message display of the 20 ppm copier for purposes of explanation, but the actual basic operation procedure is the same for 15 ppm copiers as well. * The following procedure is explained as though it is being carried out in Windows 2000. If you are using another operating system, use this procedure simply as reference. * Depending upon version upgrades of the printer driver, the screenshots shown here may differ somewhat from that of the actual printer driver. * Depending upon the model of your copier, there may be functions that are not supported or that require optional equipment to be installed. Even if the settings for such functions are performed, they will not be effective. * Refer to the Instruction Manual for Windows regarding items that are not explained in this Instruction Handbook. 2-1 Making printing and property settings 1 Start up Windows. 2 Click on [Start] in the Task Bar. The [Start] menu will be displayed. Use the mouse to point to [Settings] and click on [Printers] in the submenu that is 3 displayed. The [Printers] folder will open. Use the right mouse button to click on the icon for this printer. A pop-up menu will be 4 displayed. Select [Printing Preferences] from the menu. The Printing Preferences window will open. * When you are making settings for optional equipment, select [Properties] here and then click on the [Device Settings] Tab. 2-1
-
 1
1 -
2
-
3
-
4
-
5
-
6
-
7
-
8
-
9
-
10
-
11
-
12
-
13
-
14
-
15
-
16
-
17
-
18
-
19
-
20
-
21
-
22
-
23
-
24
-
25
-
26
-
27
-
28
-
29
-
30
-
31
-
32
-
 33
33 -
 34
34 -
 35
35 -
 36
36 -
 37
37 -
 38
38 -
 39
39 -
 40
40 -
 41
41 -
 42
42 -
 43
43 -
44
-
45
-
46
-
47
-
48
-
49
-
50
-
51
-
52
-
53
-
54
-
55
-
56
-
57
-
58
-
59
-
60
-
61
-
62
-
63
-
64
-
65
-
66
-
67
-
68
-
69
-
70
-
71
-
72
-
73
-
74
-
75
-
76
-
77
-
78
-
79
-
80
-
81
-
82
-
83
-
84
-
85
-
86
 |
 |