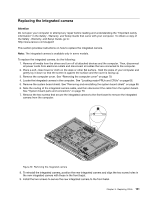
Lenovo ThinkCentre M72z Hardware Maintenance Manual (HMM) for ThinkCentre M72z - Page 105
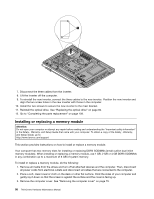
and pivot the memory module until it snaps into place. Make sure that the memory module is secured
 |
View all Lenovo ThinkCentre M72z manuals
Add to My Manuals
Save this manual to your list of manuals |
Page 105 highlights
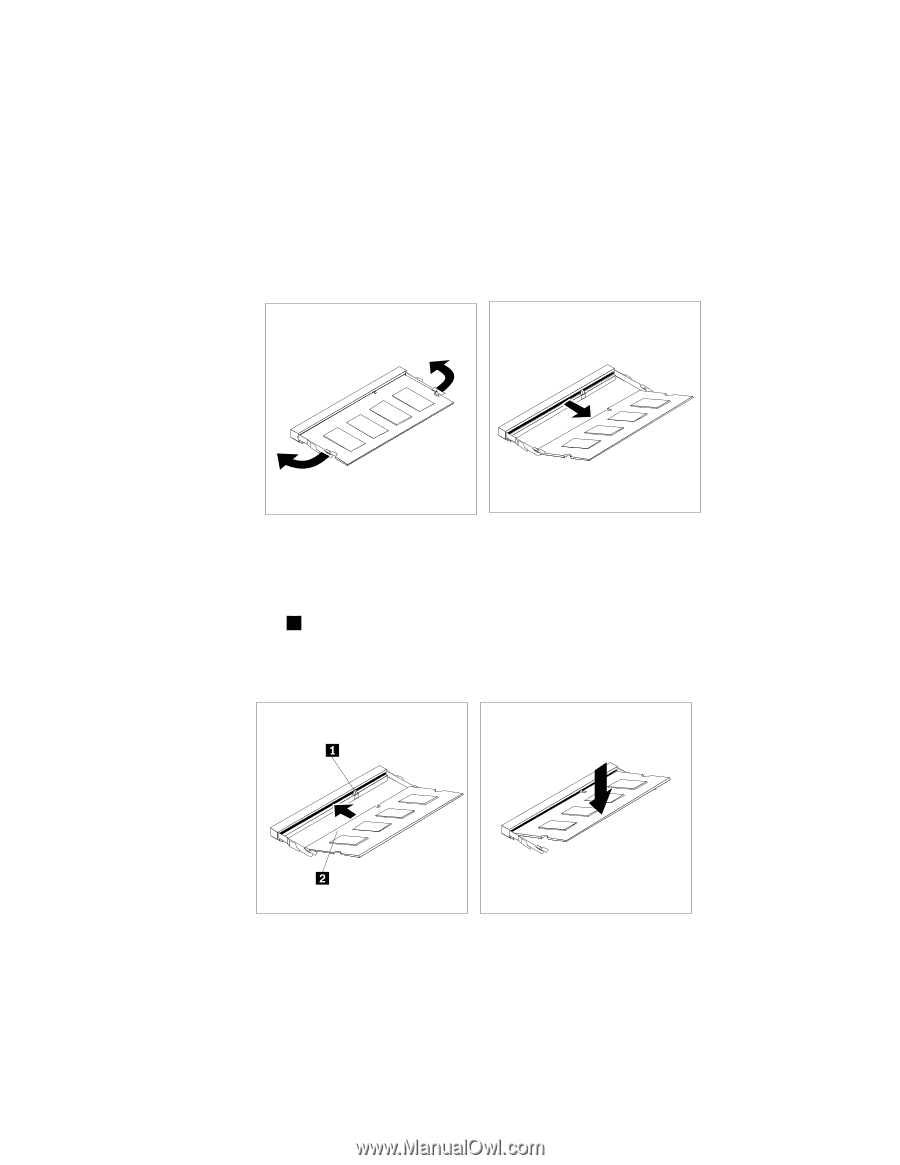
4. Locate the memory slots on the system board. See "Locating major FRUs and CRUs" on page 66. 5. Remove the system board shield or open the system board shield window to get access to the battery. See "Removing and reinstalling the system board shield" on page 86 or "Opening the system board shield window" on page 95. 6. Remove any parts and disconnect any cables that might prevent your access to the memory slots. 7. Do one of the following: • If you are replacing a memory module, open the retaining clips and remove the old memory module that is currently installed. Figure 36. Removing a memory module • If you are installing a memory module, open the retaining clips of the memory slot into which you want to install the memory module. 8. Insert the notched end 1 of the new memory module into the slot. Press the memory module firmly and pivot the memory module until it snaps into place. Make sure that the memory module is secured in the slot and does not move easily. Figure 37. Installing a memory module 9. Reinstall the system board shield or close the system board shield window. See "Removing and reinstalling the system board shield" on page 86 or "Opening the system board shield window" on page 95. 10. Go to "Completing the parts replacement" on page 109. Chapter 9. Replacing FRUs 99
-
 1
1 -
2
-
3
-
4
-
5
-
6
-
7
-
8
-
9
-
10
-
11
-
12
-
13
-
14
-
15
-
16
-
17
-
18
-
19
-
20
-
21
-
22
-
23
-
24
-
25
-
26
-
27
-
28
-
29
-
30
-
31
-
32
-
33
-
34
-
35
-
36
-
37
-
38
-
39
-
40
-
41
-
42
-
43
-
44
-
45
-
46
-
47
-
48
-
49
-
50
-
51
-
52
-
53
-
54
-
55
-
56
-
57
-
58
-
59
-
60
-
61
-
62
-
63
-
64
-
65
-
66
-
67
-
68
-
69
-
70
-
71
-
72
-
73
-
74
-
75
-
76
-
77
-
78
-
79
-
80
-
81
-
82
-
83
-
84
-
85
-
86
-
87
-
88
-
89
-
90
-
91
-
92
-
93
-
94
-
95
-
96
-
97
-
98
-
99
-
 100
100 -
 101
101 -
 102
102 -
 103
103 -
 104
104 -
 105
105 -
 106
106 -
 107
107 -
 108
108 -
 109
109 -
 110
110 -
111
-
112
-
113
-
114
-
115
-
116
-
117
-
118
-
119
-
120
-
121
-
122
-
123
-
124
-
125
-
126
 |
 |