Lexmark 4076 Execjet II Service Manual - Page 44
Removal Procedures, Releasing Plastic Latches
 |
View all Lexmark 4076 Execjet II manuals
Add to My Manuals
Save this manual to your list of manuals |
Page 44 highlights
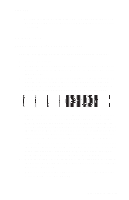
4076-0XX Removal Procedures The following procedures are arranged in alphabetical order according to the name of the printer part discussed. When there is artwork to support a procedure, it follows the text. Releasing Plastic Latches Many of the parts are held in place with plastic latches. To remove such parts, press the hook end of the latch away from the part to which it is latched. The latches break easily. Release them carefully. Hook Never apply excessive force when releasing the hook. 32
-
 1
1 -
2
-
3
-
4
-
5
-
6
-
7
-
8
-
9
-
10
-
11
-
12
-
13
-
14
-
15
-
16
-
17
-
18
-
19
-
20
-
21
-
22
-
23
-
24
-
25
-
26
-
27
-
28
-
29
-
30
-
31
-
32
-
33
-
34
-
35
-
36
-
37
-
38
-
 39
39 -
 40
40 -
 41
41 -
 42
42 -
 43
43 -
 44
44 -
 45
45 -
 46
46 -
 47
47 -
 48
48 -
 49
49 -
50
-
51
-
52
-
53
-
54
-
55
-
56
-
57
-
58
-
59
-
60
-
61
-
62
-
63
-
64
-
65
-
66
-
67
-
68
-
69
-
70
-
71
-
72
-
73
-
74
-
75
-
76
-
77
-
78
-
79
-
80
-
81
-
82
-
83
-
84
-
85
-
86
-
87
-
88
-
89
 |
 |
4076-0XX
32
Removal Procedures
The following procedures are arranged in alphabetical order accord-
ing to the name of the printer part discussed. When there is artwork
to support a procedure, it follows the text.
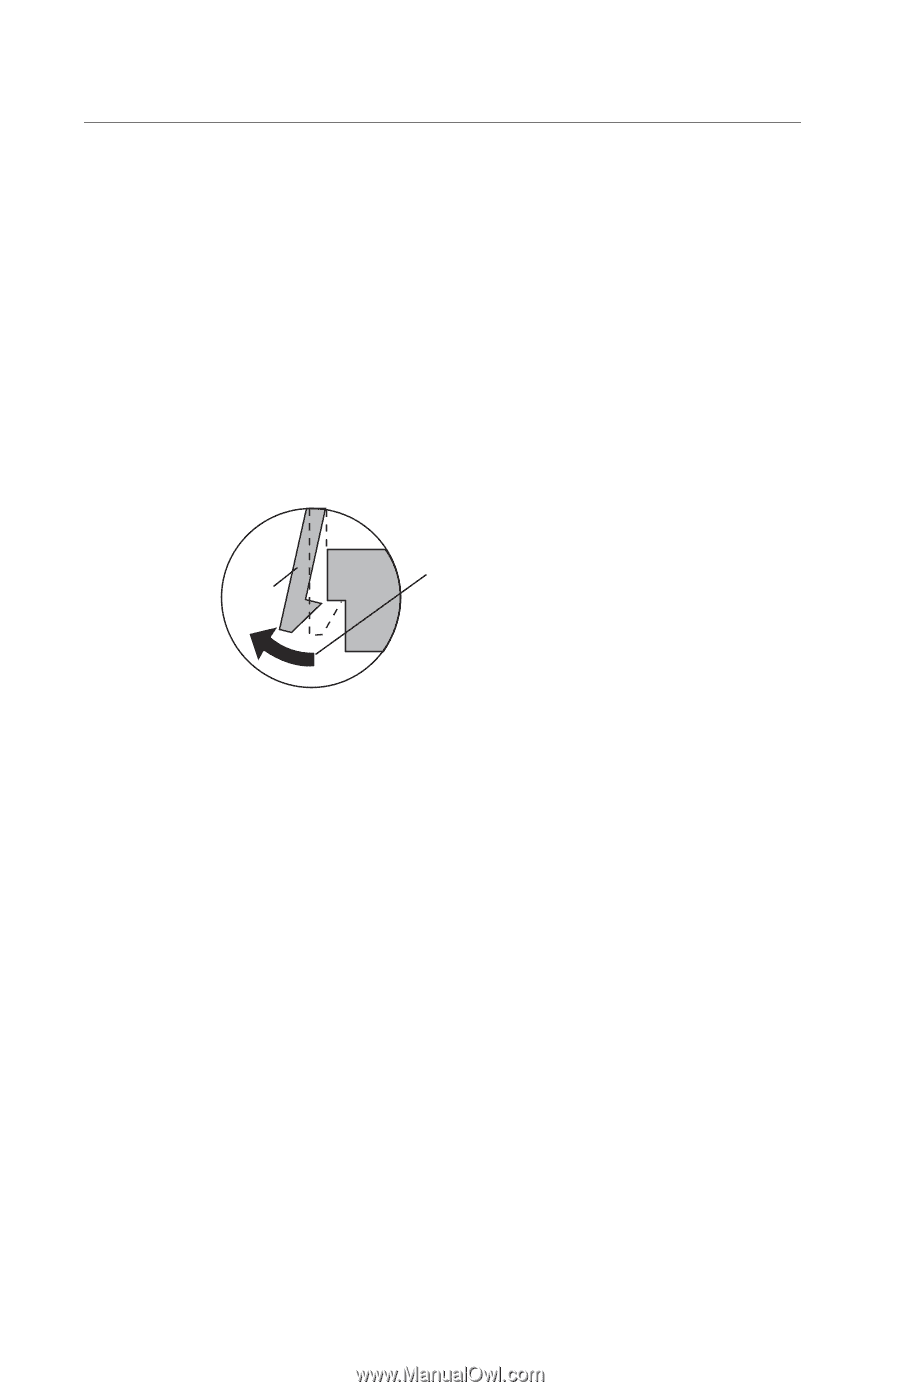
Releasing Plastic Latches
Many of the parts are held in place with plastic latches. To remove
such parts, press the hook end of the latch away from the part to
which it is latched. The latches break easily. Release them carefully.
Never apply excessive force
when releasing the hook.
Hook