Lexmark P350 Getting Started - Page 9
Setting up the printer, Aligning the print cartridge for better print quality - printers power supply
 |
View all Lexmark P350 manuals
Add to My Manuals
Save this manual to your list of manuals |
Page 9 highlights
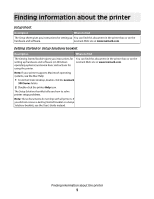
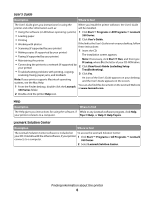
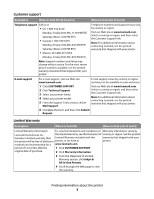
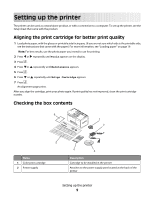
Setting up the printer The printer can be used as a stand-alone product, or with a connection to a computer. To set up the printer, see the Setup sheet that came with the product. Aligning the print cartridge for better print quality 1 Load photo paper, with the glossy or printable side facing you. (If you are not sure which side is the printable side, see the instructions that came with the paper.) For more information, see "Loading paper" on page 19. Note: For best results, use the photo paper you intend to use for printing. 2 Press or repeatedly until Tools appears on the display. 3 Press . 4 Press or repeatedly until Maintenance appears. 5 Press . 6 Press or repeatedly until Align Cartridge appears. 7 Press . An alignment page prints. After you align the cartridge, print your photo again. If print quality has not improved, clean the print cartridge nozzles. Checking the box contents Name 1 Color print cartridge 2 Power supply Description Cartridge to be installed in the printer Attaches to the power supply port located at the back of the printer Setting up the printer 9
-
 1
1 -
2
-
3
-
 4
4 -
 5
5 -
 6
6 -
 7
7 -
 8
8 -
 9
9 -
 10
10 -
 11
11 -
 12
12 -
 13
13 -
 14
14 -
15
-
16
-
17
-
18
-
19
-
20
-
21
-
22
-
23
-
24
-
25
-
26
-
27
-
28
-
29
-
30
-
31
-
32
-
33
-
34
-
35
-
36
-
37
-
38
-
39
-
40
-
41
-
42
-
43
-
44
-
45
-
46
-
47
-
48
-
49
-
50
-
51
-
52
-
53
 |
 |
