Panasonic KX-R530 Operating Instructions - Page 11
Inserting, Paper
 |
UPC - 037988700851
View all Panasonic KX-R530 manuals
Add to My Manuals
Save this manual to your list of manuals |
Page 11 highlights
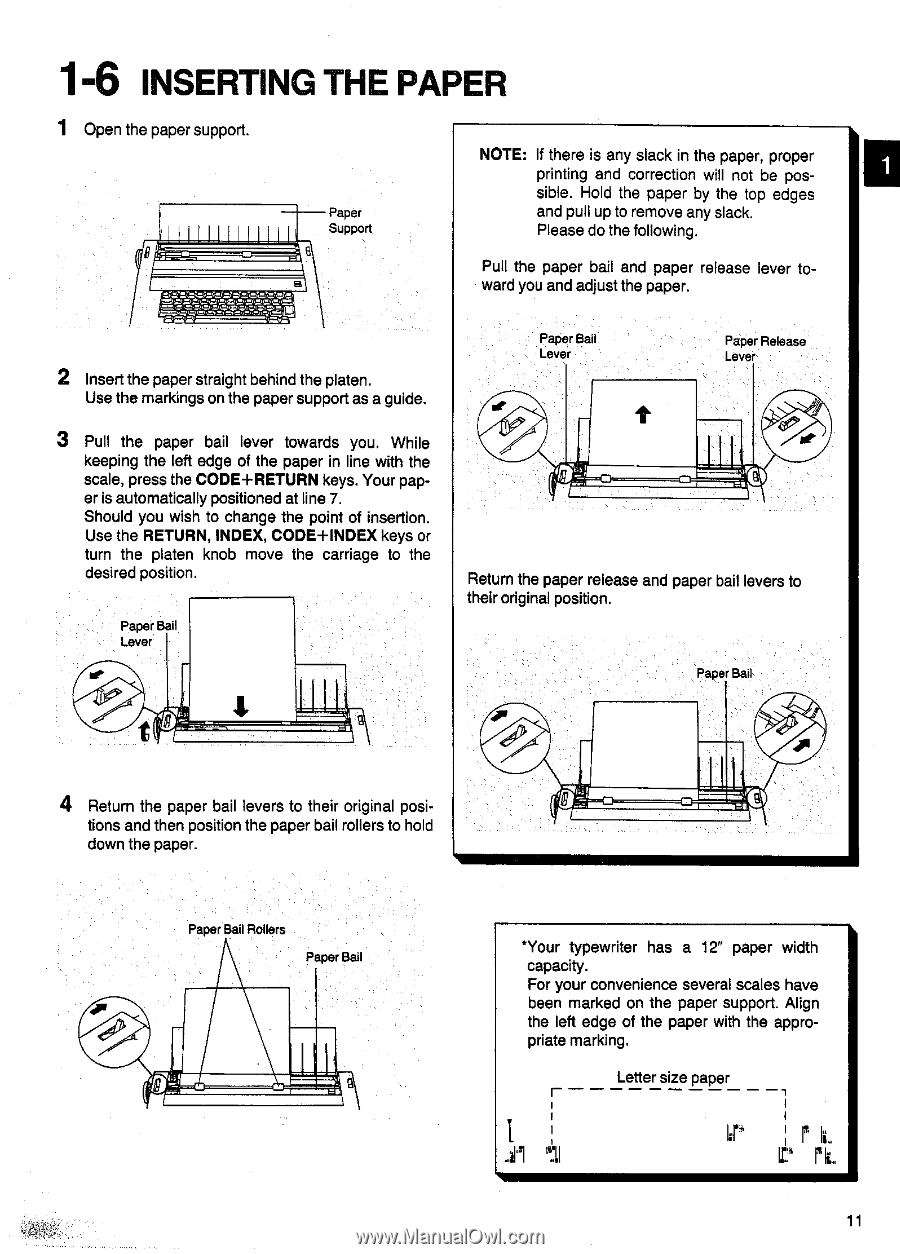
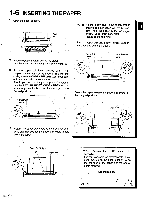
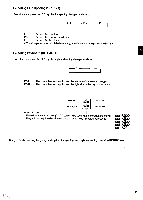
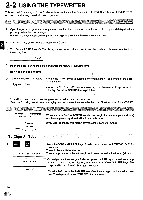
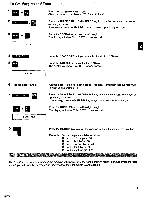
1-6 INSERTING THE PAPER 1 Open the paper support. Paper I I Support Ils 2 Insert the paper straight behind the platen. Use the markings on the paper support as a guide. NOTE: If there is any slack in the paper, proper printing and correction will not be possible. Hold the paper by the top edges and pull up to remove any slack. Please do the following. Pull the paper bail and paper release lever toward you and adjust the paper. Paper Bail Lever Paper Release Lever 3 Pull the paper bail lever towards you. While keeping the left edge of the paper in line with the scale, press the CODE+RETURN keys. Your paper is automatically positioned at line 7. Should you wish to change the point of insertion. Use the RETURN, INDEX, CODE+INDEX keys or turn the platen knob move the carriage to the desired position. Paper Bail Lever e Return the paper release and paper bail levers to their original position. Paper Bail 401 A 4 Return the paper bail levers to their original posi- 2 tions and then position the paper bail rollers to hold down the paper. Paper Bail Rollers Paper Bail A *Your typewriter has a 12" paper width capacity. For your convenience several scales have been marked on the paper support. Align the left edge of the paper with the appropriate marking. r I1 I ; mill Letter size paper II" i r; r rIILL. 11
-
 1
1 -
2
-
3
-
4
-
5
-
 6
6 -
 7
7 -
 8
8 -
 9
9 -
 10
10 -
 11
11 -
 12
12 -
 13
13 -
 14
14 -
 15
15 -
 16
16 -
17
-
18
-
19
-
20
-
21
-
22
-
23
-
24
-
25
-
26
-
27
-
28
-
29
-
30
-
31
-
32
-
33
-
34
-
35
-
36
-
37
-
38
-
39
-
40
-
41
-
42
-
43
-
44
-
45
-
46
-
47
 |
 |