Pioneer AVIC-Z140BH Owner's Manual - Page 69
Changing the phone settings, Using hands-free phoning
 |
View all Pioneer AVIC-Z140BH manuals
Add to My Manuals
Save this manual to your list of manuals |
Page 69 highlights
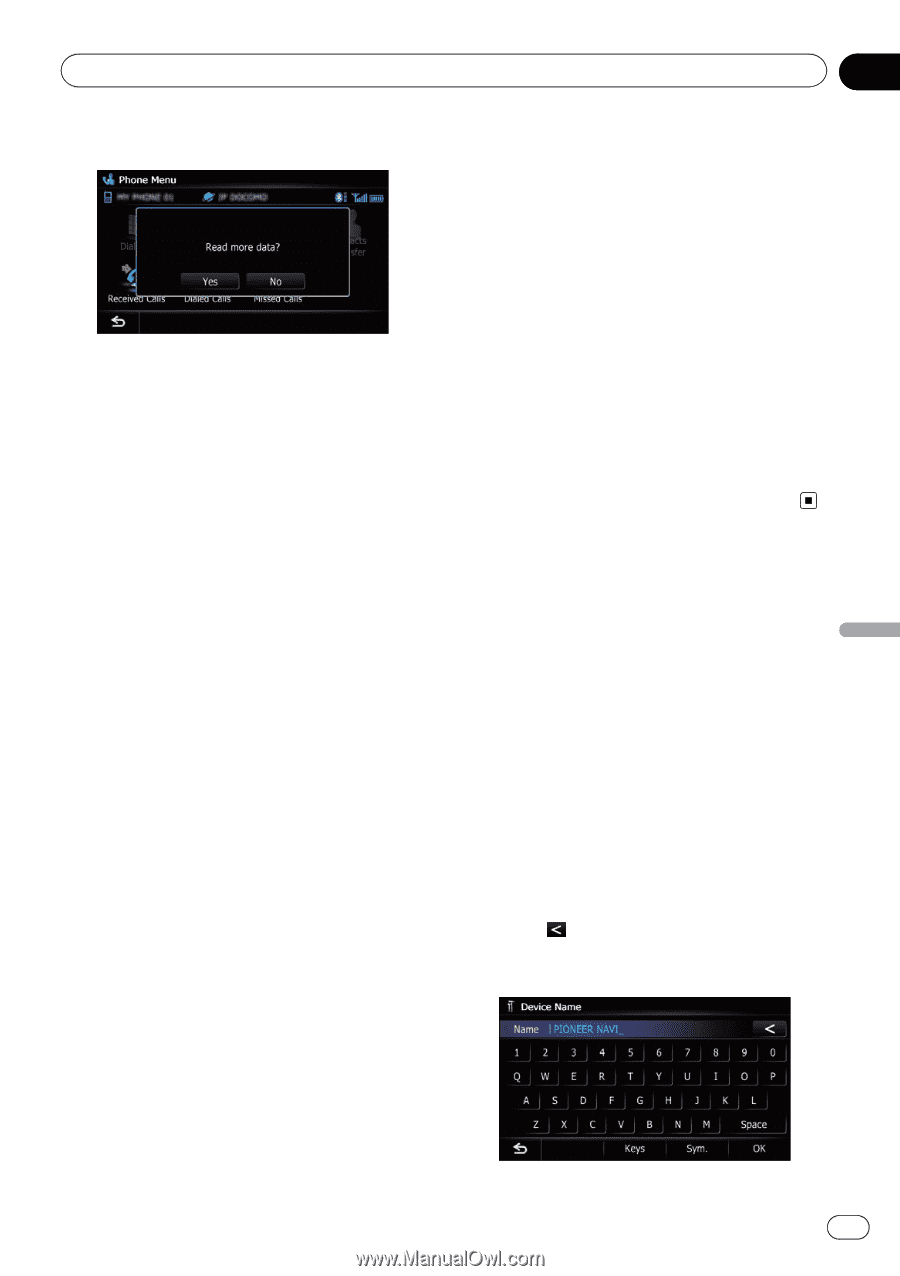
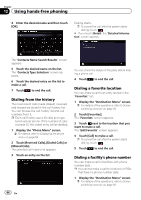
Using hands-free phoning Chapter 12 Using hands-free phoning 4 Touch [No]. The transferred data is imported to the navigation system. When the data is successfully imported, an import complete message is displayed and the "Contacts List" screen appears. p It may take time depending on how many entries will be transferred. 2 Touch [Contacts]. The "Contacts List" screen appears. 3 Touch [Delete]. The "Delete from Contacts" screen appears. 4 Touch the entry you want to delete. A check mark appears next to the entry. # If you touch [All], you can select all entries. If you want to deselect all entries, touch [None]. 5 Touch [Delete]. The message confirming whether to delete the entry appears. 6 Touch [Yes]. The entry is deleted. # If you touch [No], the deletion is canceled. Changing the order of names in the phone book 1 Display the "Settings Menu" screen. = For details of the operations, refer to Screen switching overview on page 26. 2 Touch [Bluetooth Settings]. The "Bluetooth Settings" screen appears. 3 Touch [Sort Order]. Each touch of [Sort Order] changes the settings as follows: ! First (default): Switches the contacts entries to first/last name display and sort the entries by order of first name. ! Last: Switches the contacts entries to last/first name display and sort the entries by order of last name. p Depending on the type of cellular phone, the settings may not be available. Changing the phone settings Editing the device name You can change the device name to be displayed on your cellular phone. (Default is "PIONEER NAVI".) 1 Display the "Settings Menu" screen. = For details of the operations, refer to Screen switching overview on page 26. 2 Touch [Bluetooth Settings]. The "Bluetooth Settings" screen appears. 3 Touch [Device Name]. The keyboard to enter the name appears. 4 Touch to delete the current name, and enter the new name by using the keyboard. Deleting registered contacts 1 Display the "Phone Menu" screen. = For details, refer to Displaying the phone menu on page 64. En 69
-
 1
1 -
2
-
3
-
4
-
5
-
6
-
7
-
8
-
9
-
10
-
11
-
12
-
13
-
14
-
15
-
16
-
17
-
18
-
19
-
20
-
21
-
22
-
23
-
24
-
25
-
26
-
27
-
28
-
29
-
30
-
31
-
32
-
33
-
34
-
35
-
36
-
37
-
38
-
39
-
40
-
41
-
42
-
43
-
44
-
45
-
46
-
47
-
48
-
49
-
50
-
51
-
52
-
53
-
54
-
55
-
56
-
57
-
58
-
59
-
60
-
61
-
62
-
63
-
 64
64 -
 65
65 -
 66
66 -
 67
67 -
 68
68 -
 69
69 -
 70
70 -
 71
71 -
 72
72 -
 73
73 -
 74
74 -
75
-
76
-
77
-
78
-
79
-
80
-
81
-
82
-
83
-
84
-
85
-
86
-
87
-
88
-
89
-
90
-
91
-
92
-
93
-
94
-
95
-
96
-
97
-
98
-
99
-
100
-
101
-
102
-
103
-
104
-
105
-
106
-
107
-
108
-
109
-
110
-
111
-
112
-
113
-
114
-
115
-
116
-
117
-
118
-
119
-
120
-
121
-
122
-
123
-
124
-
125
-
126
-
127
-
128
-
129
-
130
-
131
-
132
-
133
-
134
-
135
-
136
-
137
-
138
-
139
-
140
-
141
-
142
-
143
-
144
-
145
-
146
-
147
-
148
-
149
-
150
-
151
-
152
-
153
-
154
-
155
-
156
-
157
-
158
-
159
-
160
-
161
-
162
-
163
-
164
-
165
-
166
-
167
-
168
-
169
-
170
-
171
-
172
-
173
-
174
-
175
-
176
-
177
-
178
-
179
-
180
-
181
-
182
-
183
-
184
-
185
-
186
-
187
-
188
-
189
-
190
-
191
-
192
-
193
-
194
-
195
-
196
-
197
-
198
-
199
-
200
-
201
-
202
-
203
-
204
-
205
-
206
-
207
-
208
-
209
-
210
-
211
-
212
-
213
-
214
-
215
-
216
-
217
-
218
-
219
-
220
-
221
-
222
-
223
-
224
-
225
-
226
-
227
-
228
-
229
-
230
-
231
-
232
-
233
-
234
-
235
-
236
-
237
-
238
-
239
-
240
 |
 |