Samsung SCH-R860 User Manual (user Manual) (ver.f9) (English) - Page 40
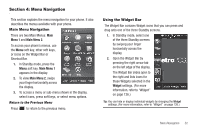
Mobile, Email, General, Select Group, New Group, Family, Friends, Colleagues, Business
 |
View all Samsung SCH-R860 manuals
Add to My Manuals
Save this manual to your list of manuals |
Page 40 highlights
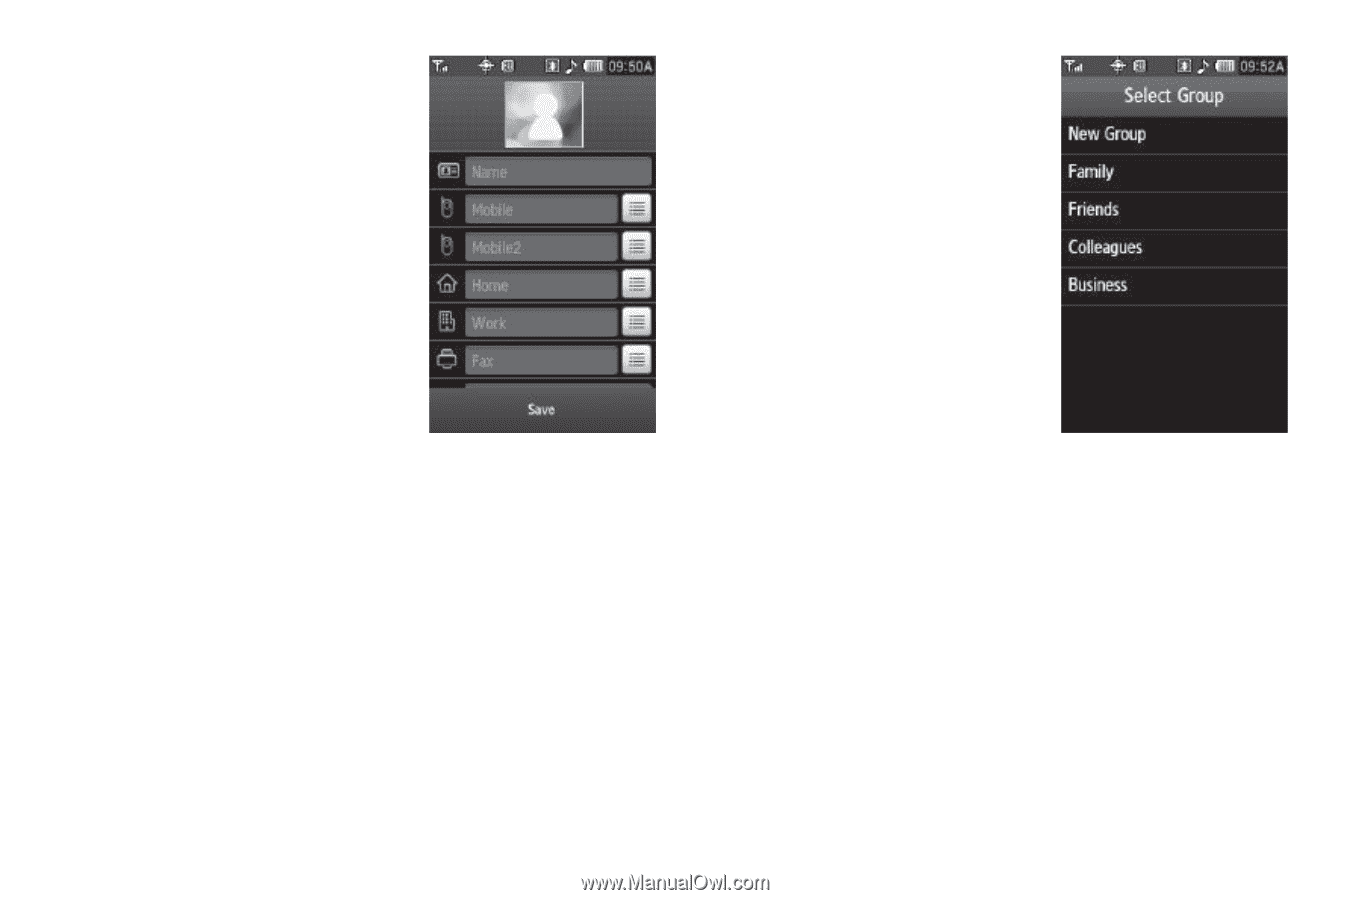
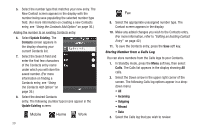
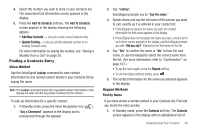
3. Select the Name field. The 3X4 Keypad text entry screen appears in the display. • If desired, select another text entry screen. (For more information, refer to "Changing Text Entry Screens" on page 49.) 4. Enter a name or phrase to associate with the new Contact. (For more information, refer to "Entering Text" on page 49.) 5. Select a phone number field (Mobile, Mobile 2, Home, Work, or Fax) or the e-mail address (Email) field. The 3X4 Keypad text entry screen appears in the display. • If desired, select another text entry screen. (For more information, refer to "Changing Text Entry Screens" on page 49.) 6. Enter a number or address for the new Contact. (For more information, refer to "Entering Text" on page 49.) 37 7. If desired, assign the new Contact to a Group. This lets you send messages to and find this Contact and other related contacts. (For more information, refer to "Group" on page 41.) • Select the General field. The Select Group screen appears in the display. The following groups are available: - New Group - Family - Friends - Colleagues - Business • Select the preferred group. A message pops-up confirming the group assignment for this Contact. 8. If desired, select a unique Ringtone or voice memo file to identify this new Contact. (For more information, refer to "Ringer Type" on page 131.) 9. If desired, enter an additional phone number (Mobile 2, Home, Work, or Fax) or e-mail address (Email) for the new Contacts entry.
-
 1
1 -
2
-
3
-
4
-
5
-
6
-
7
-
8
-
9
-
10
-
11
-
12
-
13
-
14
-
15
-
16
-
17
-
18
-
19
-
20
-
21
-
22
-
23
-
24
-
25
-
26
-
27
-
28
-
29
-
30
-
31
-
32
-
33
-
34
-
 35
35 -
 36
36 -
 37
37 -
 38
38 -
 39
39 -
 40
40 -
 41
41 -
 42
42 -
 43
43 -
 44
44 -
 45
45 -
46
-
47
-
48
-
49
-
50
-
51
-
52
-
53
-
54
-
55
-
56
-
57
-
58
-
59
-
60
-
61
-
62
-
63
-
64
-
65
-
66
-
67
-
68
-
69
-
70
-
71
-
72
-
73
-
74
-
75
-
76
-
77
-
78
-
79
-
80
-
81
-
82
-
83
-
84
-
85
-
86
-
87
-
88
-
89
-
90
-
91
-
92
-
93
-
94
-
95
-
96
-
97
-
98
-
99
-
100
-
101
-
102
-
103
-
104
-
105
-
106
-
107
-
108
-
109
-
110
-
111
-
112
-
113
-
114
-
115
-
116
-
117
-
118
-
119
-
120
-
121
-
122
-
123
-
124
-
125
-
126
-
127
-
128
-
129
-
130
-
131
-
132
-
133
-
134
-
135
-
136
-
137
-
138
-
139
-
140
-
141
-
142
-
143
-
144
-
145
-
146
-
147
-
148
-
149
-
150
-
151
-
152
-
153
-
154
-
155
-
156
-
157
-
158
-
159
-
160
-
161
-
162
-
163
-
164
-
165
-
166
-
167
-
168
-
169
-
170
-
171
-
172
-
173
-
174
-
175
-
176
-
177
-
178
-
179
-
180
 |
 |