Samsung SCH-R860 User Manual (user Manual) (ver.f9) (English) - Page 59
Creating and Sending a Picture Message, Incoming, Outgoing, Missed, Select All
 |
View all Samsung SCH-R860 manuals
Add to My Manuals
Save this manual to your list of manuals |
Page 59 highlights
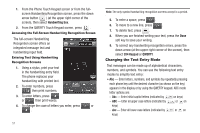
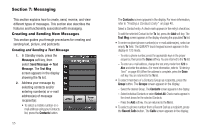
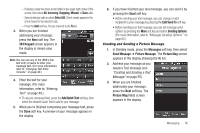
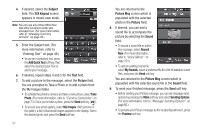
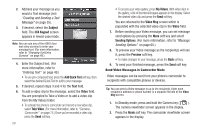
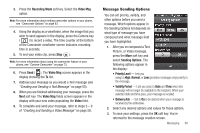
- If desired, press the down arrow button in the upper right corner of the screen, then select All, Incoming, Outgoing, Missed, or Data calls. - Select individual calls or select Select All. Check marks appear in the check boxes for the selected calls. - Press the Add soft key. You are returned to the To list. 3. When you are finished addressing your message, press the Next soft key. The 3X4 Keypad screen appears in the display in mixed-case mode. Note: You can use any of the r860's four text entry screens to enter your message text. (For more information, refer to "Changing Text Entry Screens" on page 49.) 4. Enter the text for your message. (For more information, refer to "Entering Text" on page 49.) • To use pre-composed text, press the Add Quick Text soft key, then select the desired Quick Text to add to your message. 5. When you're finished composing your message text, press the Done soft key. A preview of your message appears in the display. 6. If you have finished your text message, you can send it by pressing the Send soft key. • Before sending your text message, you can change or add recipients to your message by pressing the Edit Send To soft key. • Before sending your text message, you can set message send options by pressing the More soft key and select Sending Options. (For more information, refer to "Message Sending Options" on page 60.) Creating and Sending a Picture Message 1. In Standby mode, press the Messages soft key, then select Send Message ➔ Picture Message. The Picture Msg screen appears in the display showing the To list. 2. Address your message as you would a Text message (see "Creating and Sending a Text Message" on page 55). 3. When you are finished addressing your message, press the Next soft key. The Picture Msg fields screen appears in the display. Messaging 56
-
 1
1 -
2
-
3
-
4
-
5
-
6
-
7
-
8
-
9
-
10
-
11
-
12
-
13
-
14
-
15
-
16
-
17
-
18
-
19
-
20
-
21
-
22
-
23
-
24
-
25
-
26
-
27
-
28
-
29
-
30
-
31
-
32
-
33
-
34
-
35
-
36
-
37
-
38
-
39
-
40
-
41
-
42
-
43
-
44
-
45
-
46
-
47
-
48
-
49
-
50
-
51
-
52
-
53
-
 54
54 -
 55
55 -
 56
56 -
 57
57 -
 58
58 -
 59
59 -
 60
60 -
 61
61 -
 62
62 -
 63
63 -
 64
64 -
65
-
66
-
67
-
68
-
69
-
70
-
71
-
72
-
73
-
74
-
75
-
76
-
77
-
78
-
79
-
80
-
81
-
82
-
83
-
84
-
85
-
86
-
87
-
88
-
89
-
90
-
91
-
92
-
93
-
94
-
95
-
96
-
97
-
98
-
99
-
100
-
101
-
102
-
103
-
104
-
105
-
106
-
107
-
108
-
109
-
110
-
111
-
112
-
113
-
114
-
115
-
116
-
117
-
118
-
119
-
120
-
121
-
122
-
123
-
124
-
125
-
126
-
127
-
128
-
129
-
130
-
131
-
132
-
133
-
134
-
135
-
136
-
137
-
138
-
139
-
140
-
141
-
142
-
143
-
144
-
145
-
146
-
147
-
148
-
149
-
150
-
151
-
152
-
153
-
154
-
155
-
156
-
157
-
158
-
159
-
160
-
161
-
162
-
163
-
164
-
165
-
166
-
167
-
168
-
169
-
170
-
171
-
172
-
173
-
174
-
175
-
176
-
177
-
178
-
179
-
180
 |
 |
