Sharp AR-P450 AR-P350 AR-P450 Operation Manual - Page 29
Setting the paper size and type, LOADING PAPER
 |
View all Sharp AR-P450 manuals
Add to My Manuals
Save this manual to your list of manuals |
Page 29 highlights
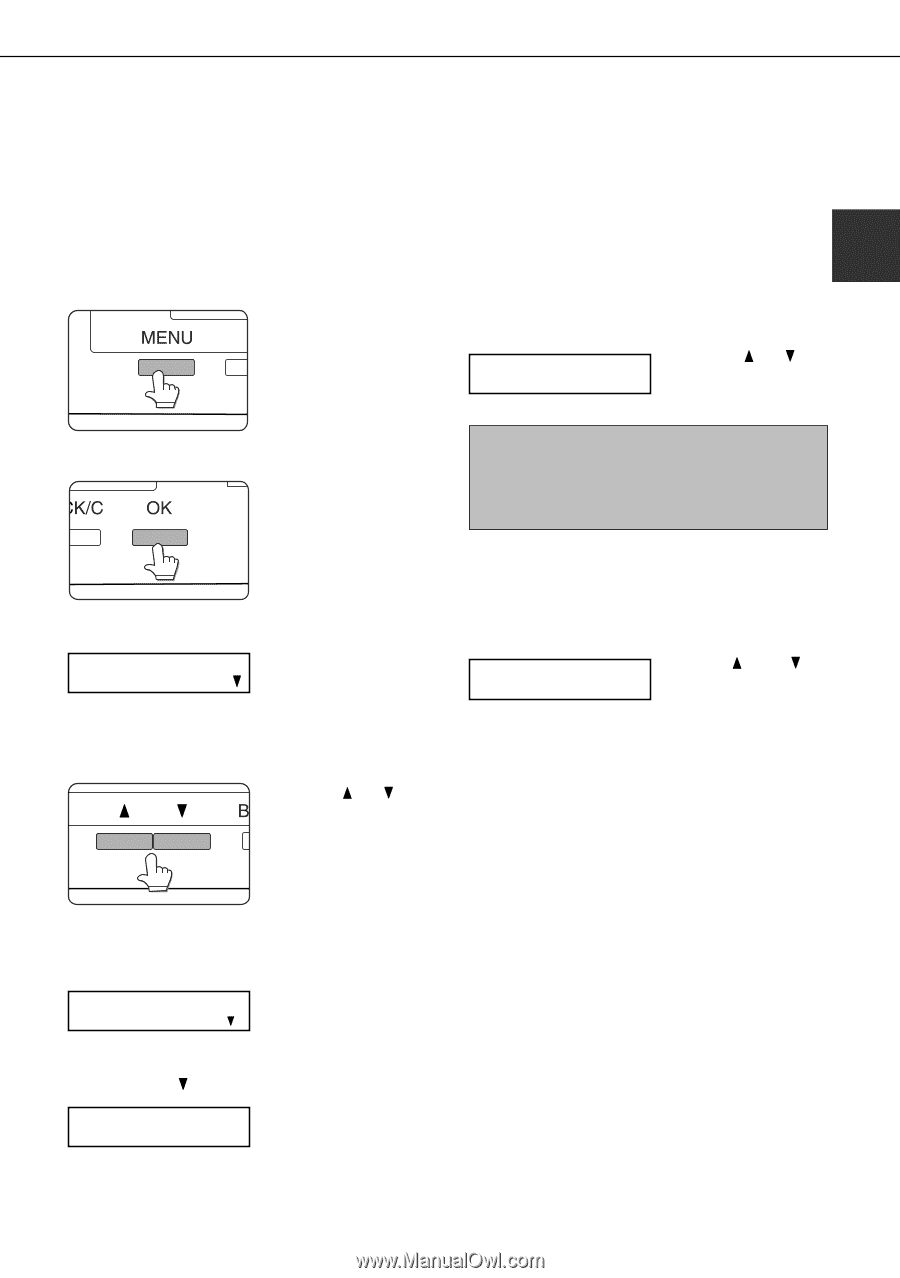
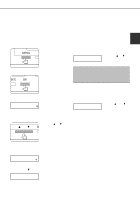
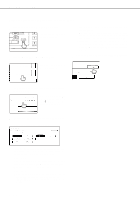
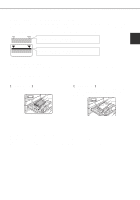
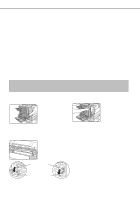
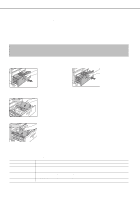
LOADING PAPER Setting the paper size and type For the specifications for types and sizes of paper for loading paper trays, see page 1-17. Setting the paper size and type from the operation panel on the main printer When the paper size or type is changed in a paper tray, set them referring to the following procedure. 1 Press the [MENU] key repeatedly until "CUSTOM SETTINGS" appears in the 7 Press the [OK] key. 1 To cancel the setting change, press the [BACK/C] message display. key to return to step 4. 8 Select the paper type that has been set in the tray. PLAIN OK? Press the or key repeatedly until the paper type that has been set appears. 2 Press the [OK] key. When the [OK] key is pressed,"TRAY SETTING" will appear in the message display. NOTE Special paper such as thick paper, transparency film, labels, and postcards can be set for tray 2 and the bypass tray. Envelopes can be set only for tray 2. 9 Press the [OK] key. 3 Press the [OK] key. TRAY SETTING TRAY1 When the [OK] key is pressed,the message shown to the left will appear in the message display. 4 Select the desired paper tray. Press the or key repeatedly until the desired paper tray is indicated in the display. 5 Press the [OK] key. The paper size and paper type of the tray selected in step 4 will appear. LETTER PLAIN If TRAY 1 is selected in step 4, the message shown to the left will appear in the display. 6 Press the key. CHANGE TRAY1 SETTING OK? If TRAY 1 is selected in step 4, the message shown to the left will appear in the display. 10 Ensure that the desired paper size is selected. LETTER OK? Press the key or key repeatedly until the desired paper size appears. q Depending on the selected tray, a selection for "AUTO-AB" and "AUTO-INCH" may appear. "AUTO-AB": Select when you have set AB system paper. "AUTO-INCH": Select when you have set inch system paper. When the paper system is changed from the inch system to the AB system or vise versa, the paper type must be designated. Select the paper type. q If you have set paper of non-standard size, select "NON STANDARD". This size can be selected when tray 2 or the bypass tray has been selected in step 4. 11 Press the [OK] key to complete the setting. 1-19
-
 1
1 -
2
-
3
-
4
-
5
-
6
-
7
-
8
-
9
-
10
-
11
-
12
-
13
-
14
-
15
-
16
-
17
-
18
-
19
-
20
-
21
-
22
-
23
-
 24
24 -
 25
25 -
 26
26 -
 27
27 -
 28
28 -
 29
29 -
 30
30 -
 31
31 -
 32
32 -
 33
33 -
 34
34 -
35
-
36
-
37
-
38
-
39
-
40
-
41
-
42
-
43
-
44
-
45
-
46
-
47
-
48
-
49
-
50
-
51
-
52
-
53
-
54
-
55
-
56
-
57
-
58
-
59
-
60
-
61
-
62
-
63
-
64
-
65
-
66
-
67
-
68
-
69
-
70
-
71
-
72
-
73
-
74
-
75
-
76
-
77
-
78
-
79
-
80
-
81
-
82
-
83
-
84
-
85
-
86
-
87
-
88
-
89
-
90
-
91
-
92
-
93
-
94
-
95
-
96
-
97
-
98
-
99
-
100
-
101
-
102
-
103
-
104
-
105
-
106
-
107
-
108
-
109
-
110
-
111
-
112
 |
 |