Sharp AR-P450 AR-P350 AR-P450 Operation Manual - Page 72
Troubleshooting
 |
View all Sharp AR-P450 manuals
Add to My Manuals
Save this manual to your list of manuals |
Page 72 highlights
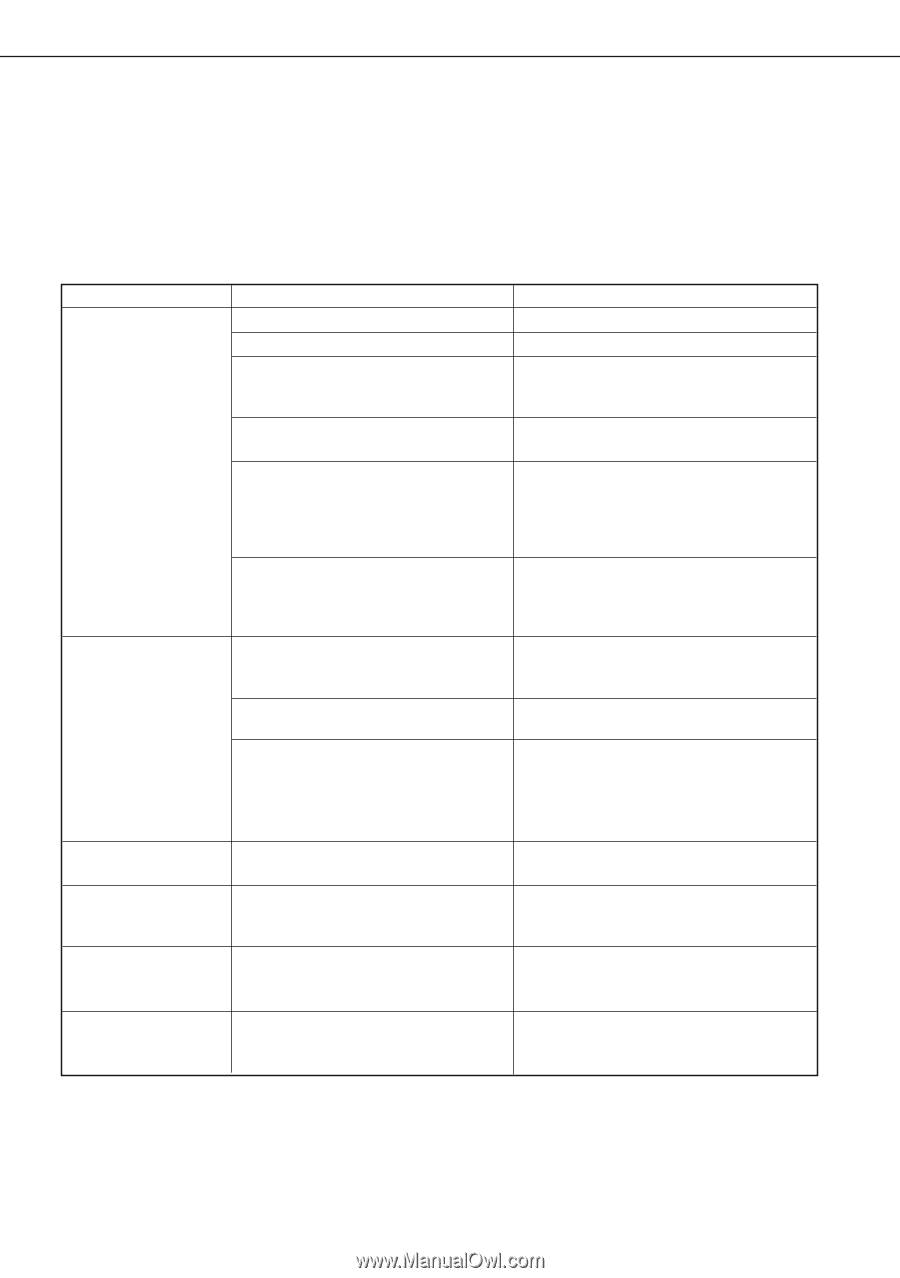
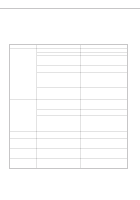
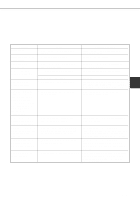
TROUBLESHOOTING Whenever the printer stops or operation is not possible, check the operation panel display for messages. In most cases these messages will give sufficient information to return the machine to an operating condition. In cases where this information is not enough, check the list below for more information. This section describes problems concerning printer features. For troubleshooting specific problems related to copier, facsimile, or network scanner features, see the separate manuals provided for them. For problems related to peripheral devices, see chapter 5 of this manual. Problem Printer does not operate. Printer is on but data is not received. Check q Printer plugged in? q Main power switch on? q READY indicator off? q Message indicating need to load paper displayed? q Message indicating need to replace the toner cartridge displayed? (ERROR indicator lit at the same time on the operation panel of the main unit?) q Message indicating a paper misfeed displayed? (ERROR indicator lit at the same time on the operation panel of the main unit?) q Is the correct interface cable properly connected between the printer and your computer? q Is the correct printer driver installed? q Has the printer been selected properly in the application software or, when the printer is being used as a network printer, has it been properly registered on the network? Solution or cause Plug the printer into a grounded outlet. Turn on the main power switch. The printer is warming up. (Warm-up time is approximately 80 seconds.) Wait until the READY indicator lights up. Load paper. (page 1-16) Replace the toner cartridge. See the separate "Operation manual (Read this document before installing the product.)." Remove misfed paper. (page 4-2) Ensure that the correct interface cable is connected between the printer and your computer. (page 2-2) Install the appropriate printer driver. (page 2-3) Ensure that this printer is selected on the application software or use an appropriate utility to check that the printer is registered on the network. Data is received but not printed. Printer cannot be selected from computer. The orientation of the image is incorrect on the print. Image loss has occurred. The image is larger than the paper. q Is paper of the specified and type loaded in the printer? q Is the printer driver installed correctly? q Is the orientation setting in the printer driver correct? q Zoom printing? Load paper, select another paper size or cancel printing. Install the printer driver correctly. (page 2-3) Correct the orientation in the printer driver. Check the zoom setting in the driver. 4-8
-
 1
1 -
2
-
3
-
4
-
5
-
6
-
7
-
8
-
9
-
10
-
11
-
12
-
13
-
14
-
15
-
16
-
17
-
18
-
19
-
20
-
21
-
22
-
23
-
24
-
25
-
26
-
27
-
28
-
29
-
30
-
31
-
32
-
33
-
34
-
35
-
36
-
37
-
38
-
39
-
40
-
41
-
42
-
43
-
44
-
45
-
46
-
47
-
48
-
49
-
50
-
51
-
52
-
53
-
54
-
55
-
56
-
57
-
58
-
59
-
60
-
61
-
62
-
63
-
64
-
65
-
66
-
 67
67 -
 68
68 -
 69
69 -
 70
70 -
 71
71 -
 72
72 -
 73
73 -
 74
74 -
 75
75 -
 76
76 -
 77
77 -
78
-
79
-
80
-
81
-
82
-
83
-
84
-
85
-
86
-
87
-
88
-
89
-
90
-
91
-
92
-
93
-
94
-
95
-
96
-
97
-
98
-
99
-
100
-
101
-
102
-
103
-
104
-
105
-
106
-
107
-
108
-
109
-
110
-
111
-
112
 |
 |