Sony VRDMC10 Operating Instructions - Page 42
To stop recording, Notes on using a memory card, Press the, record button to start, recording.
 |
UPC - 027242735675
View all Sony VRDMC10 manuals
Add to My Manuals
Save this manual to your list of manuals |
Page 42 highlights
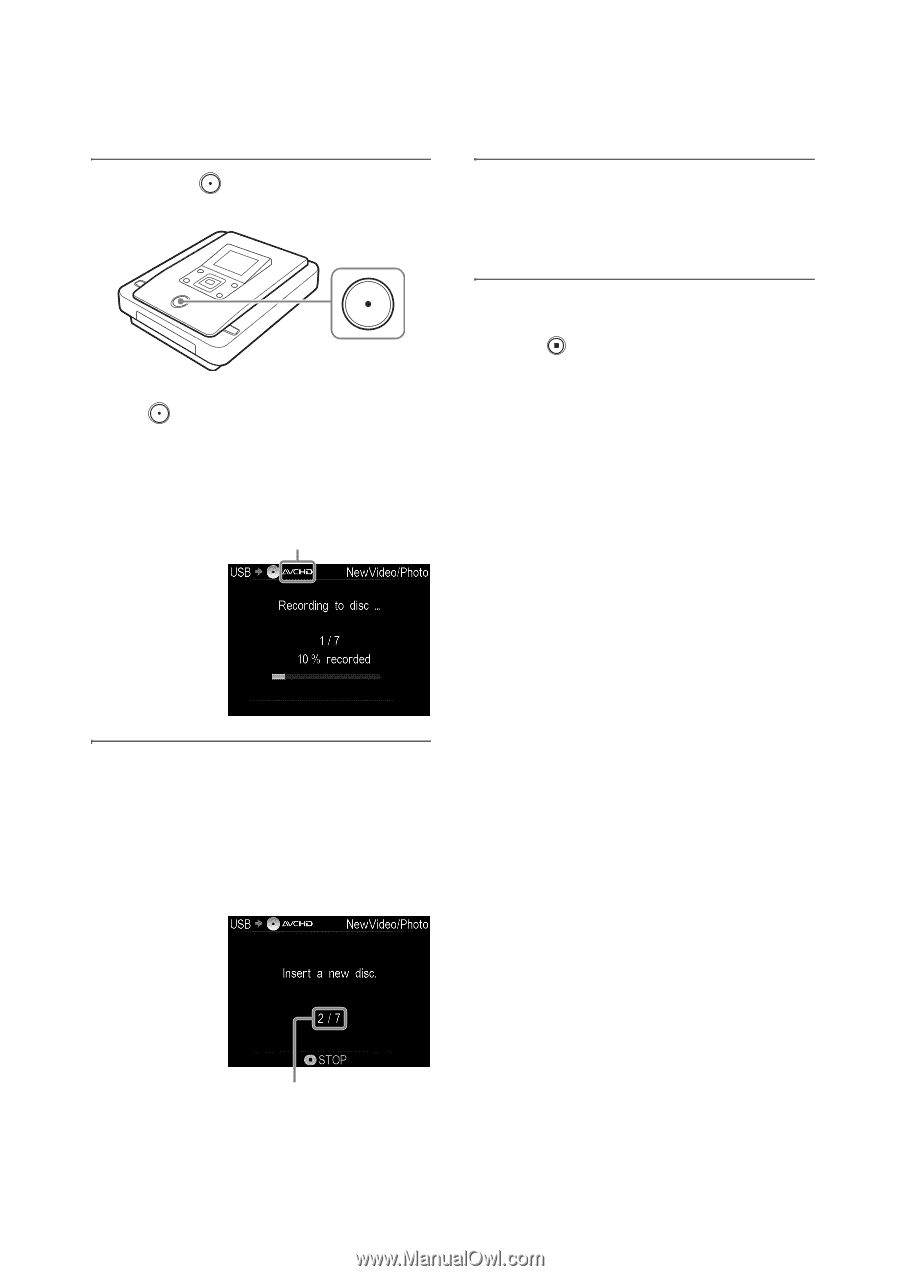
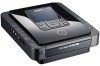
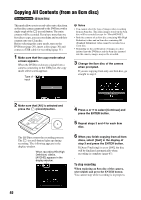
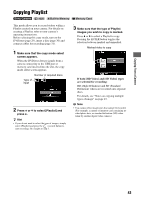
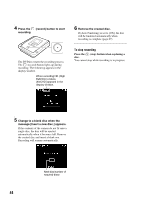
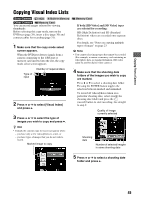
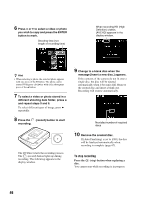
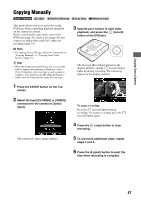
4 Press the (record) button to start recording. The DVDirect starts the recording process. The (record) button lights up during recording. The following appears in the display window. When recording HD (High Definition) videos, [AVCHD] appears in the display window. 6 Remove the created disc. If [Auto Finalizing] is set to [ON], the disc will be finalized automatically when recording is complete (page 67). To stop recording Press the (stop) button when replacing a disc. You cannot stop while recording is in progress. z Hint • The DVDirect stores the recording history of a camera (built-in memory), or a memory card, copying only newly-recorded video (to be recorded to a disc). The DVDirect can store a combined total of 10 recording history stored in a camera or memory card. Notes on using a memory card When copying from a memory card that has been shared between cameras, make sure that the clock on each camera is set correctly. If the clock setting is not correct, copying only new video/ photo may not be performed as desired. 5 Change to a blank disc when the message [Insert a new disc.] appears. If the contents of the camera do not fit onto a single disc, the disc will be ejected automatically when it becomes full. Remove the created disc and insert a blank one. Recording will resume automatically. Next disc/number of required discs 42
-
 1
1 -
2
-
3
-
4
-
5
-
6
-
7
-
8
-
9
-
10
-
11
-
12
-
13
-
14
-
15
-
16
-
17
-
18
-
19
-
20
-
21
-
22
-
23
-
24
-
25
-
26
-
27
-
28
-
29
-
30
-
31
-
32
-
33
-
34
-
35
-
36
-
 37
37 -
 38
38 -
 39
39 -
 40
40 -
 41
41 -
 42
42 -
 43
43 -
 44
44 -
 45
45 -
 46
46 -
 47
47 -
48
-
49
-
50
-
51
-
52
-
53
-
54
-
55
-
56
-
57
-
58
-
59
-
60
-
61
-
62
-
63
-
64
-
65
-
66
-
67
-
68
-
69
-
70
-
71
-
72
-
73
-
74
-
75
-
76
-
77
-
78
-
79
-
80
-
81
-
82
-
83
-
84
 |
 |